|
Photos as we have available here and there and while working on the remake of the 1972 Camaro. You can click the image for larger view
|
|
Passenger side view. Completing the last side run wiring
|
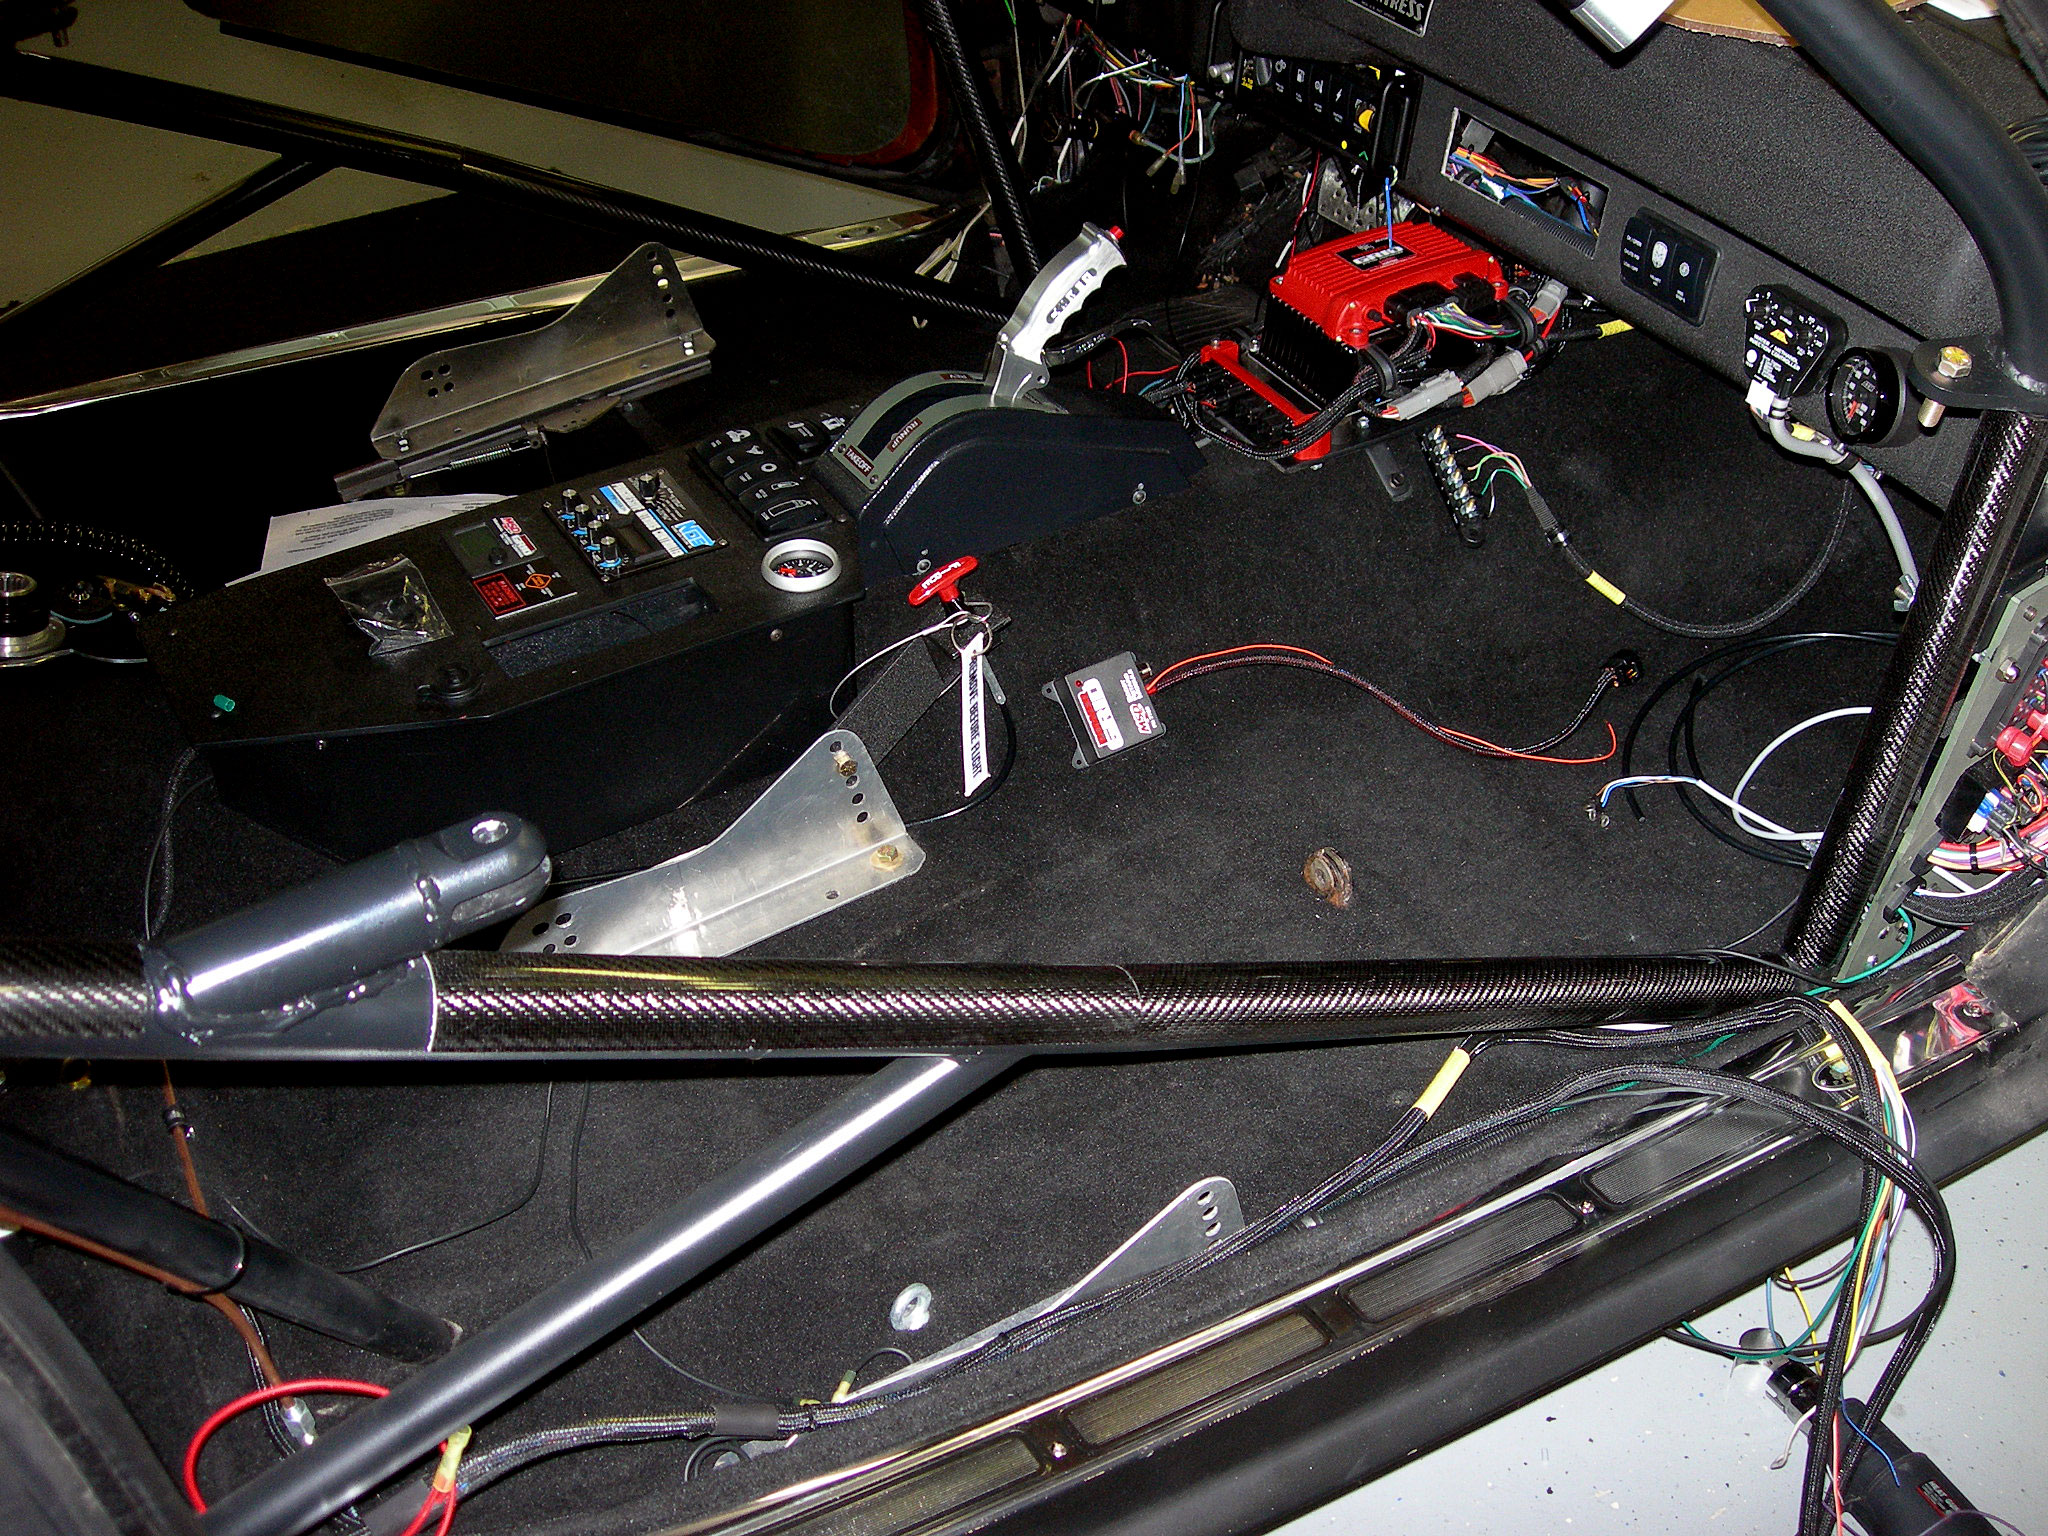
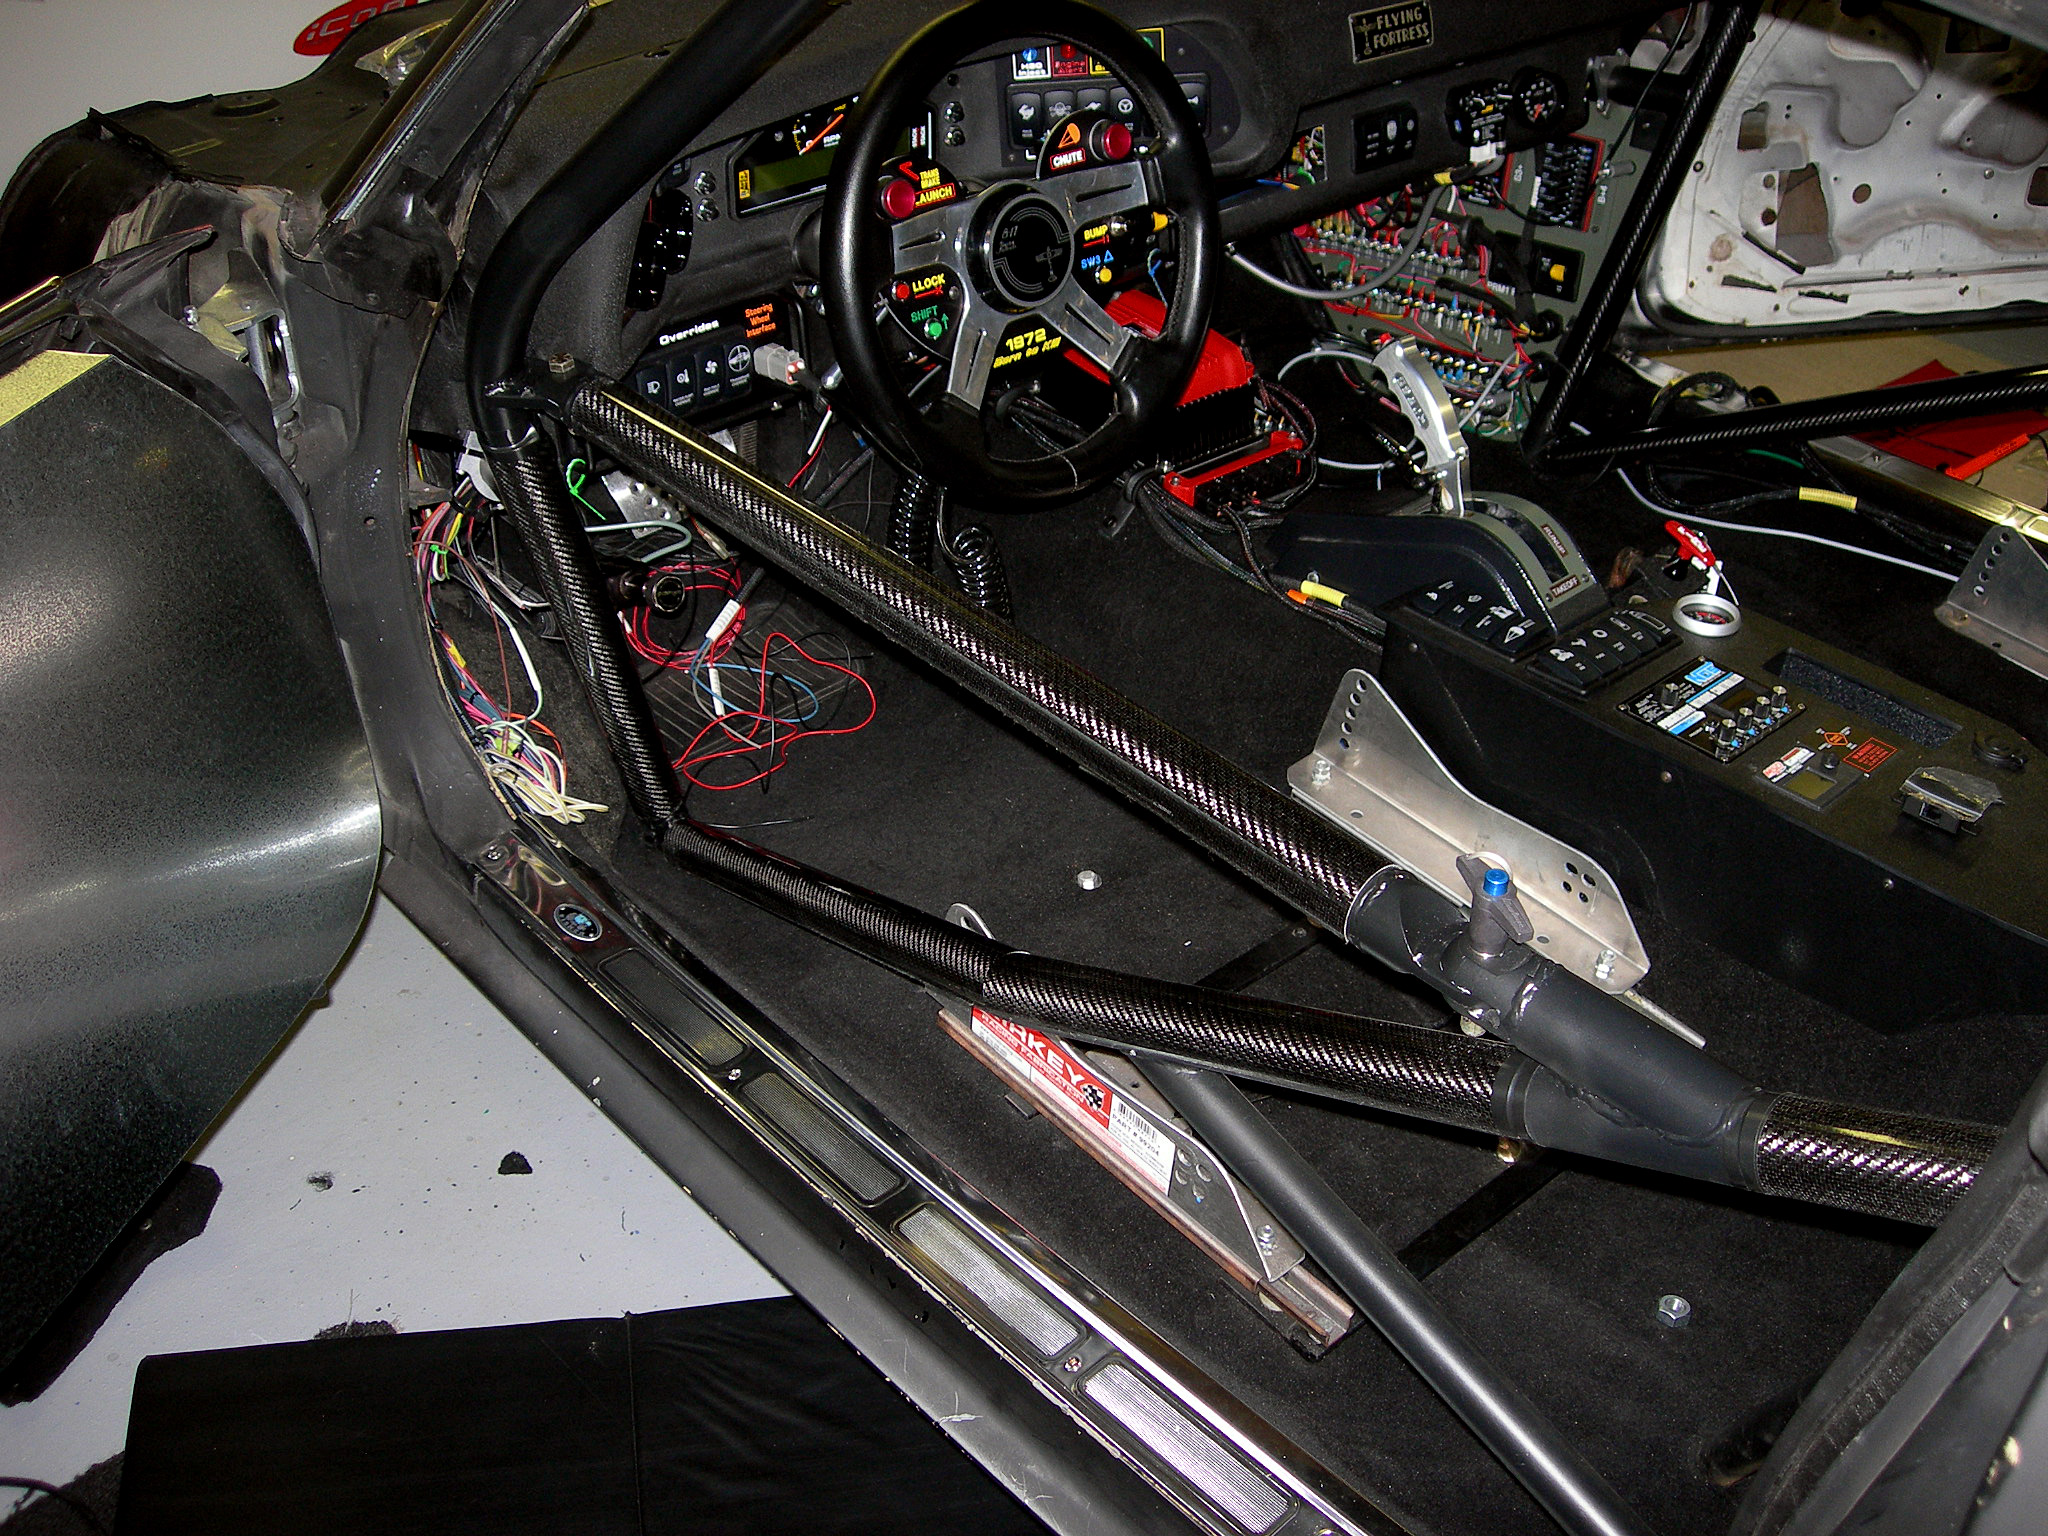
Driver side view, a little wiring left to do. Steering Column installed.
|
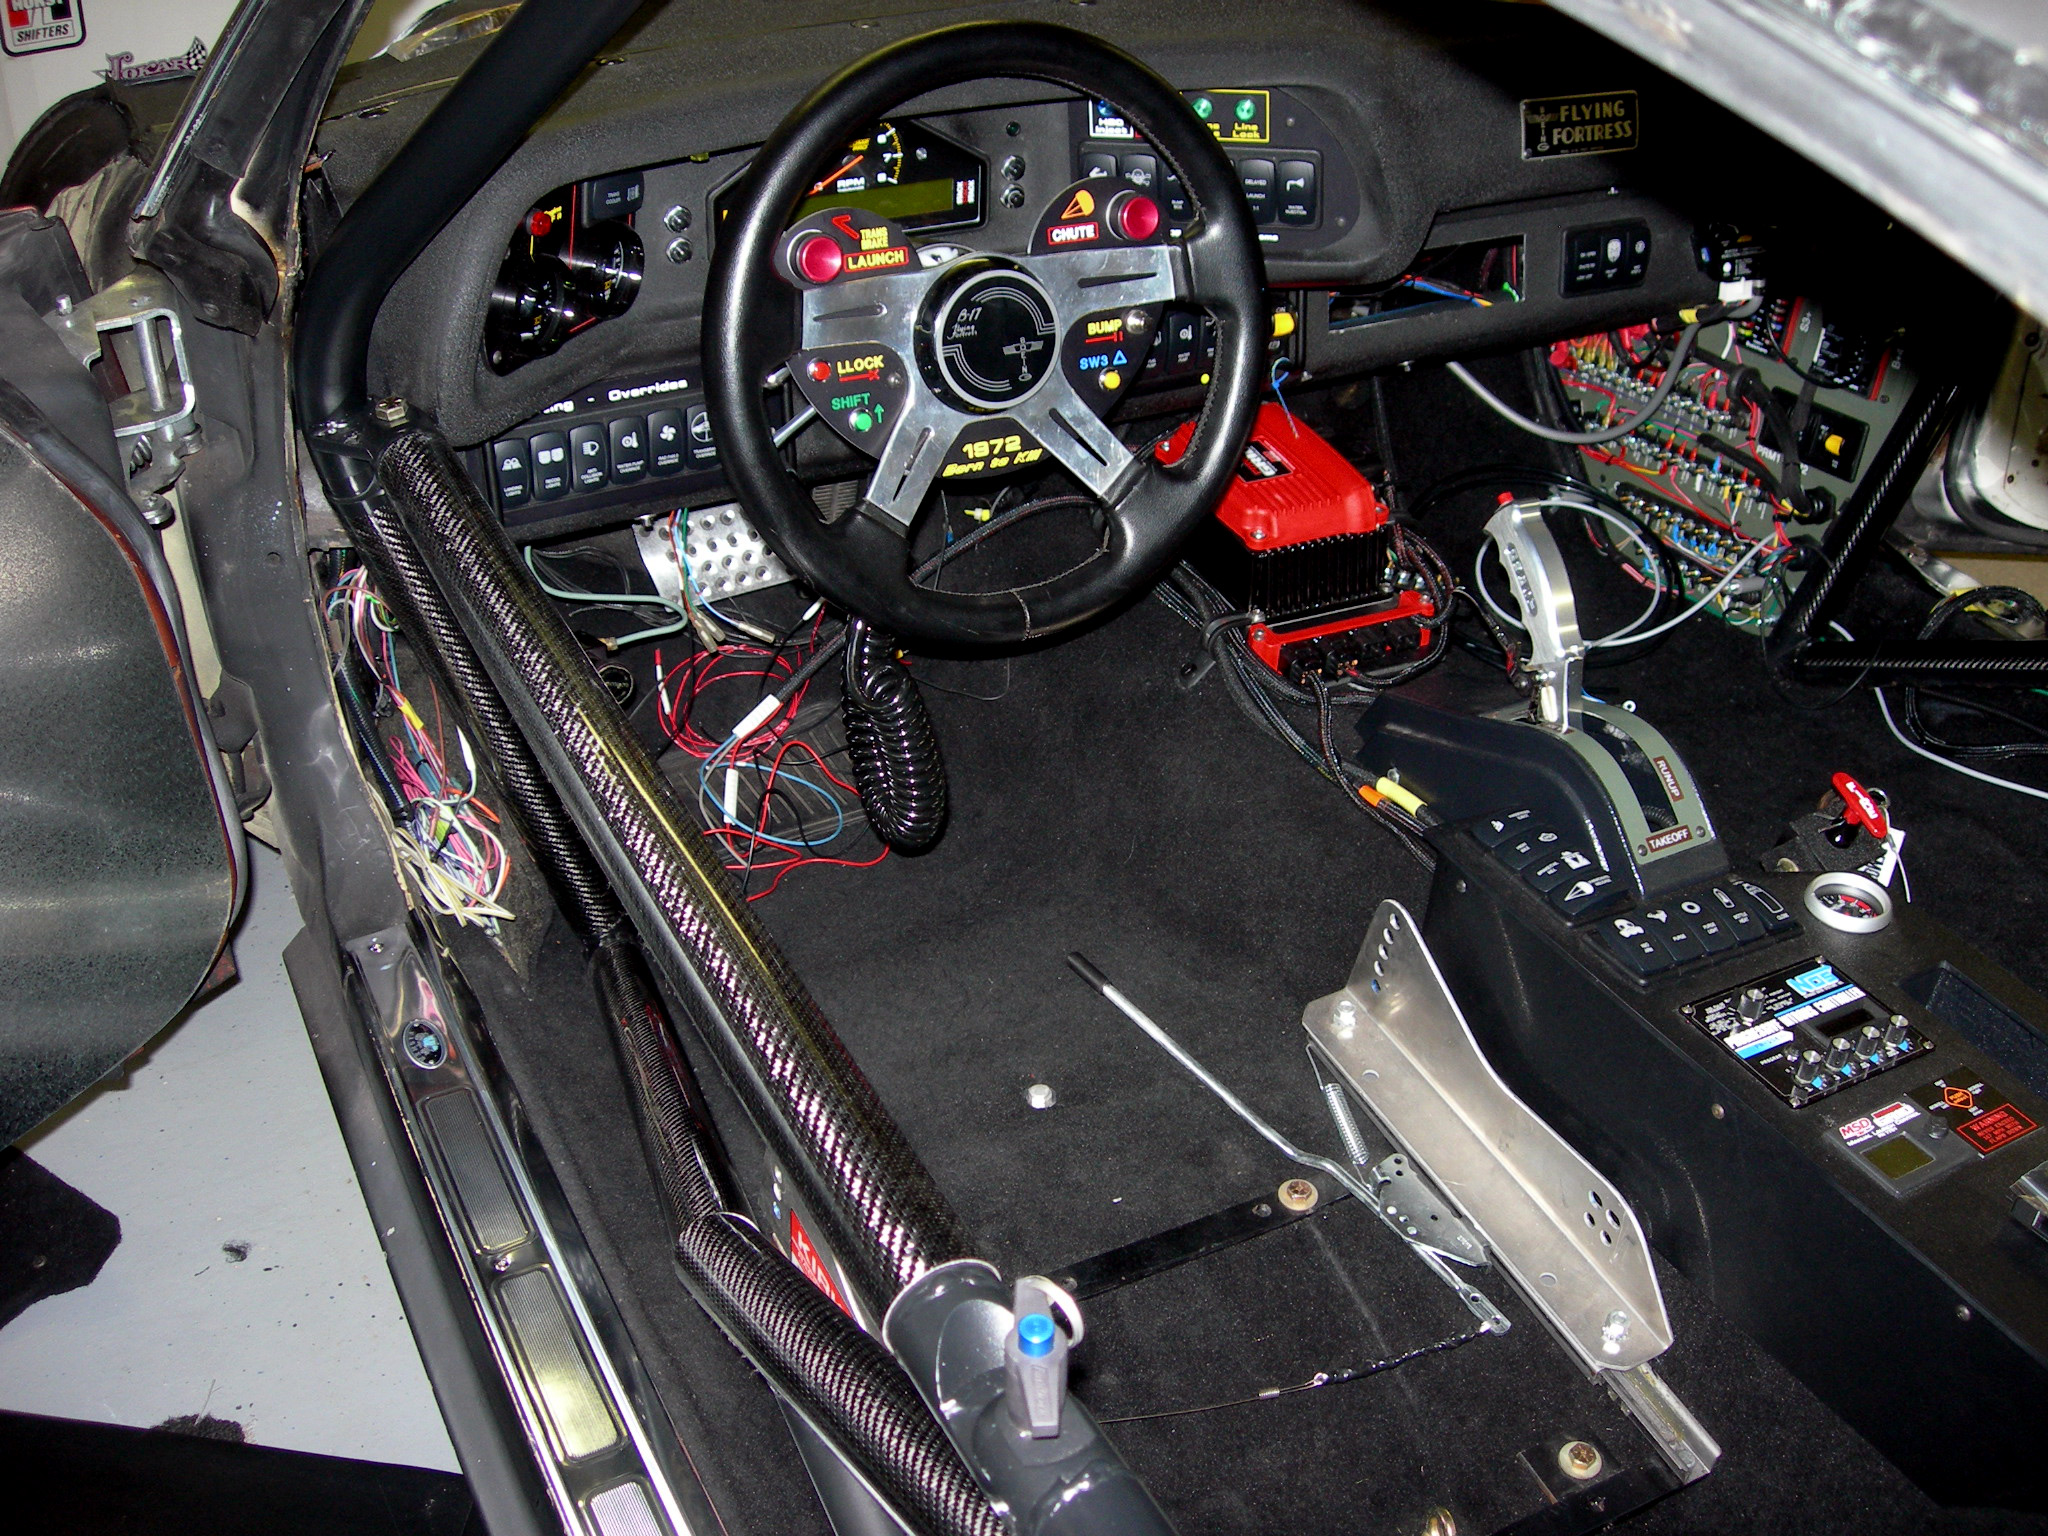
Almost ready for seat install!
|
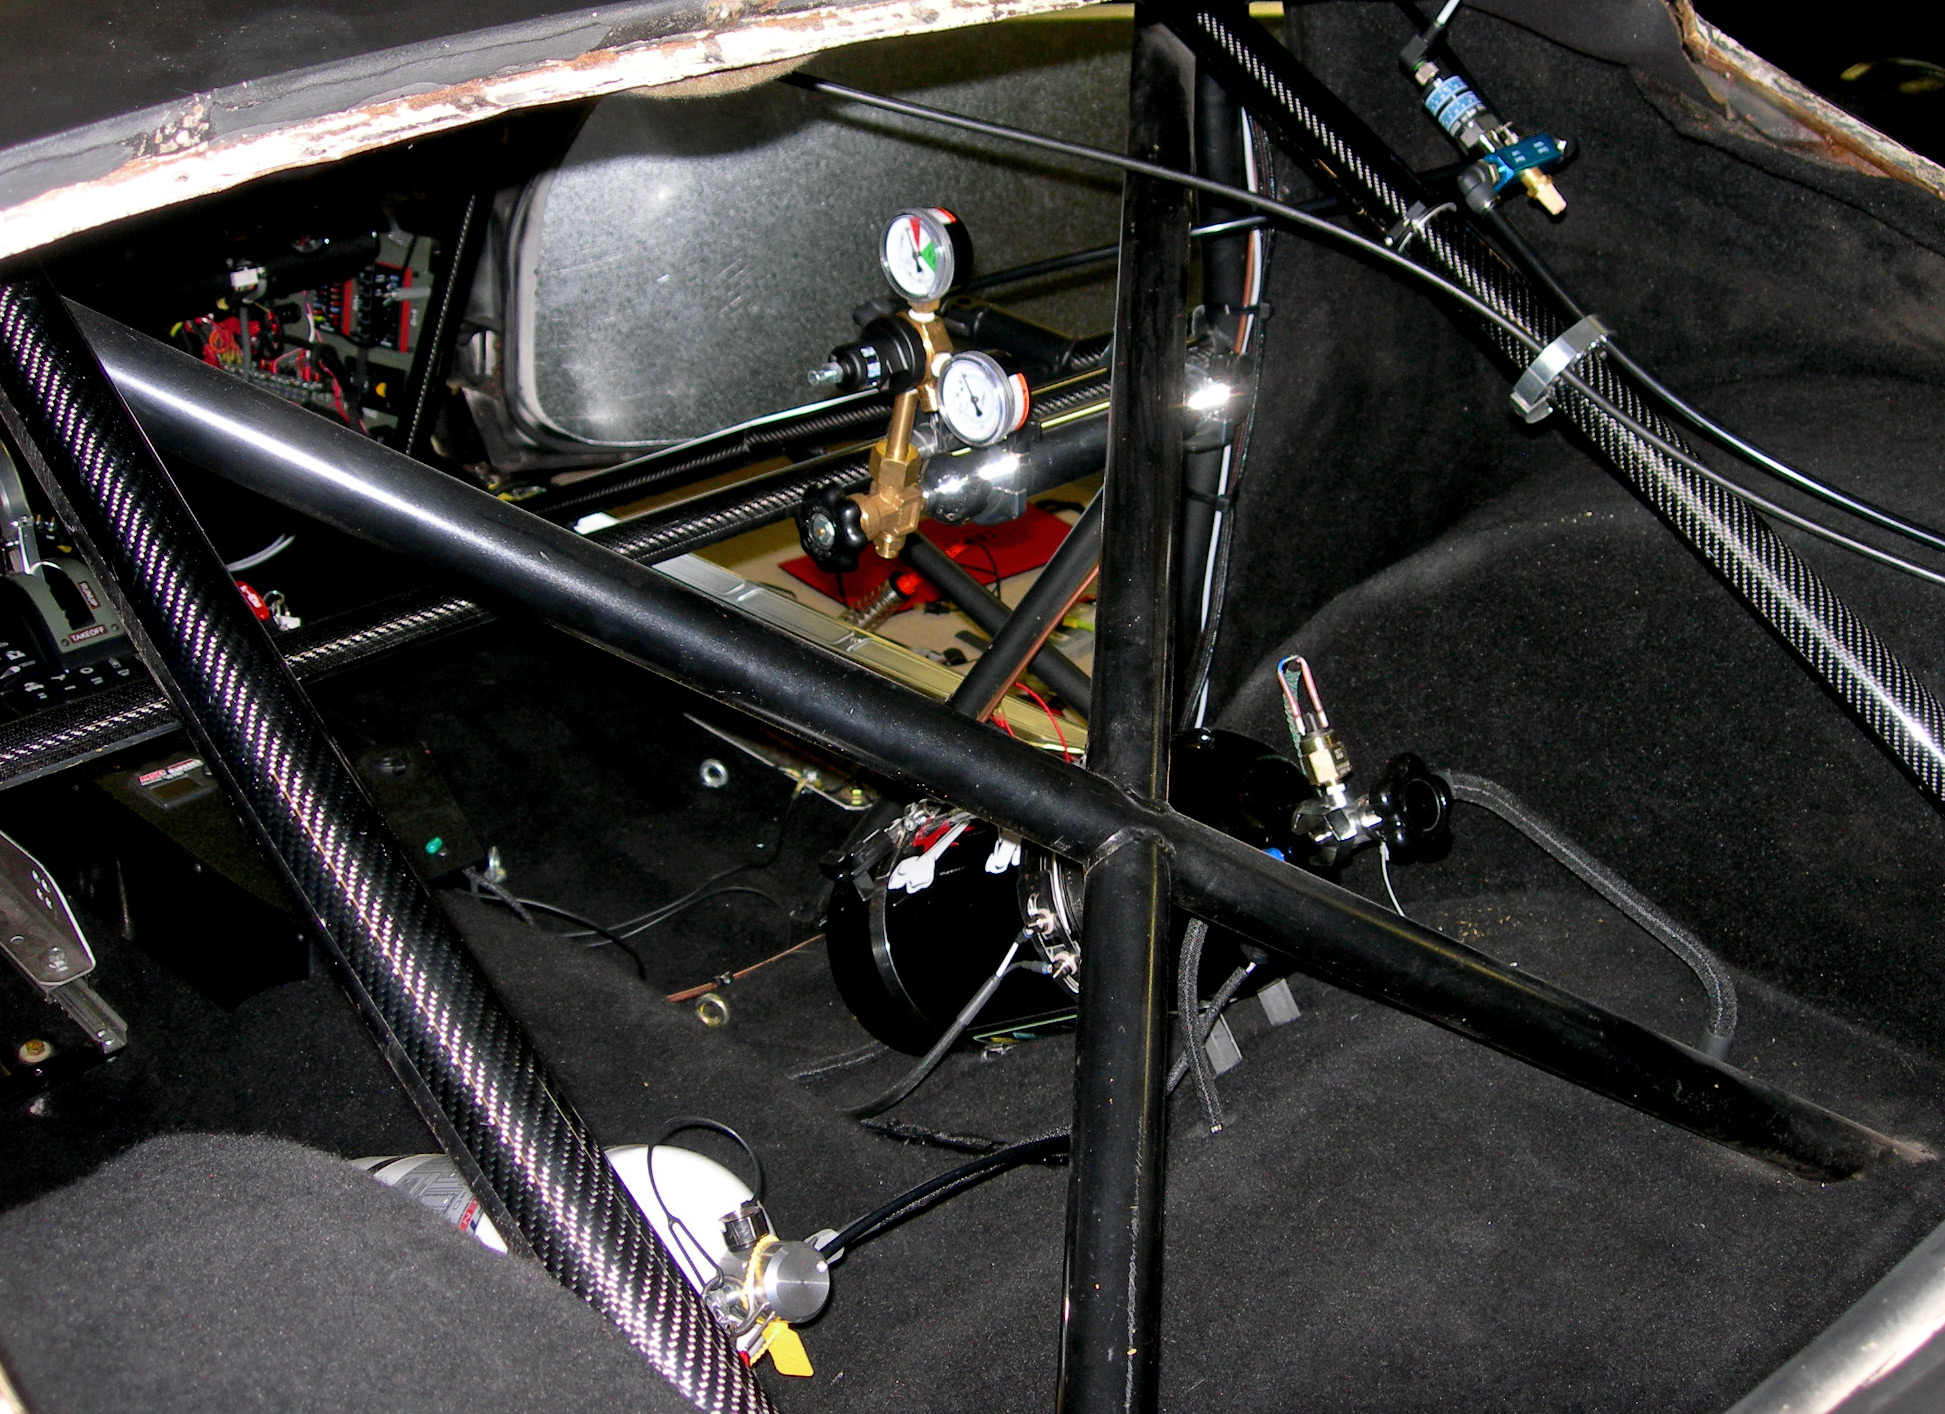
Rear area from driver side
|
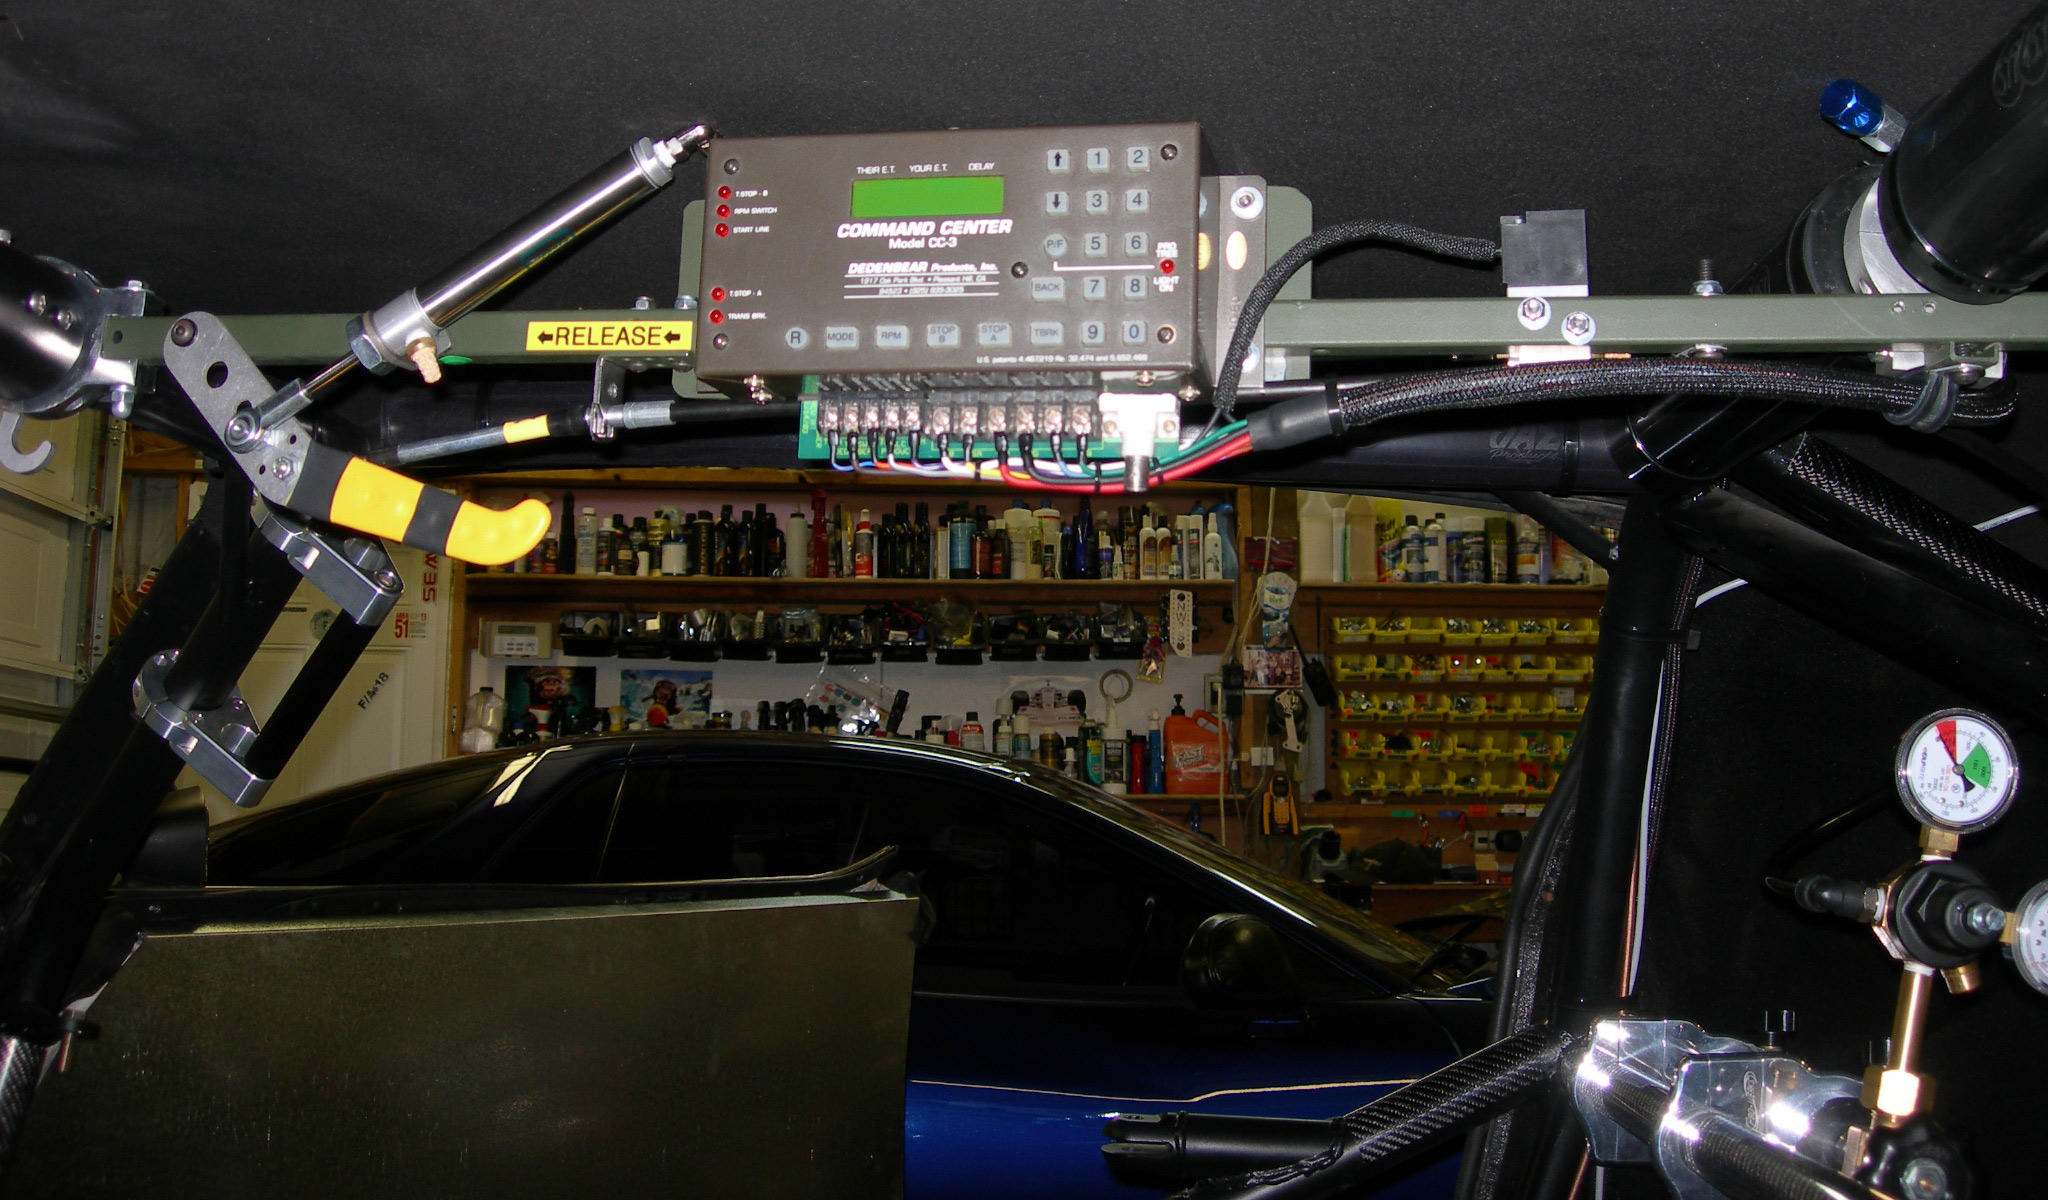
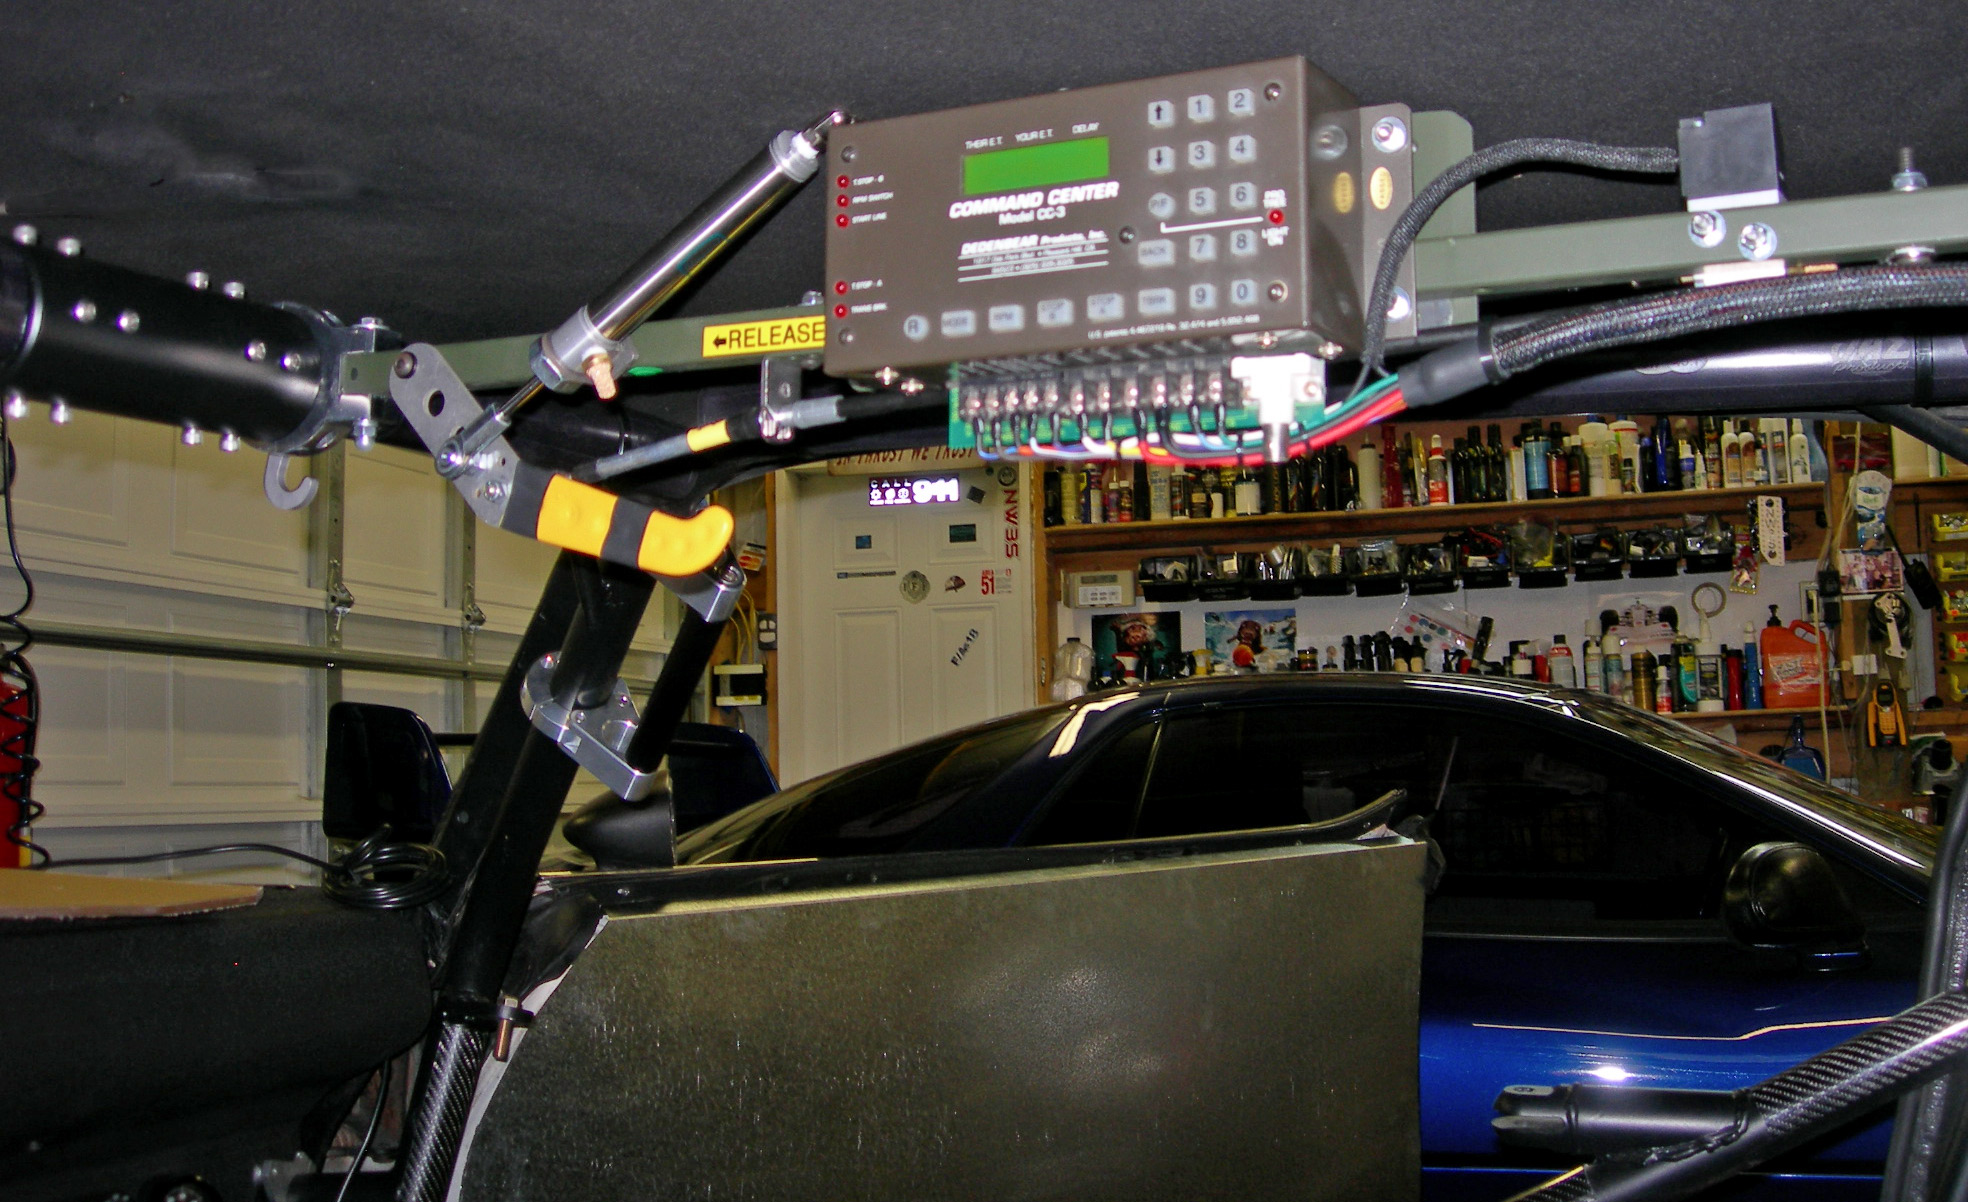
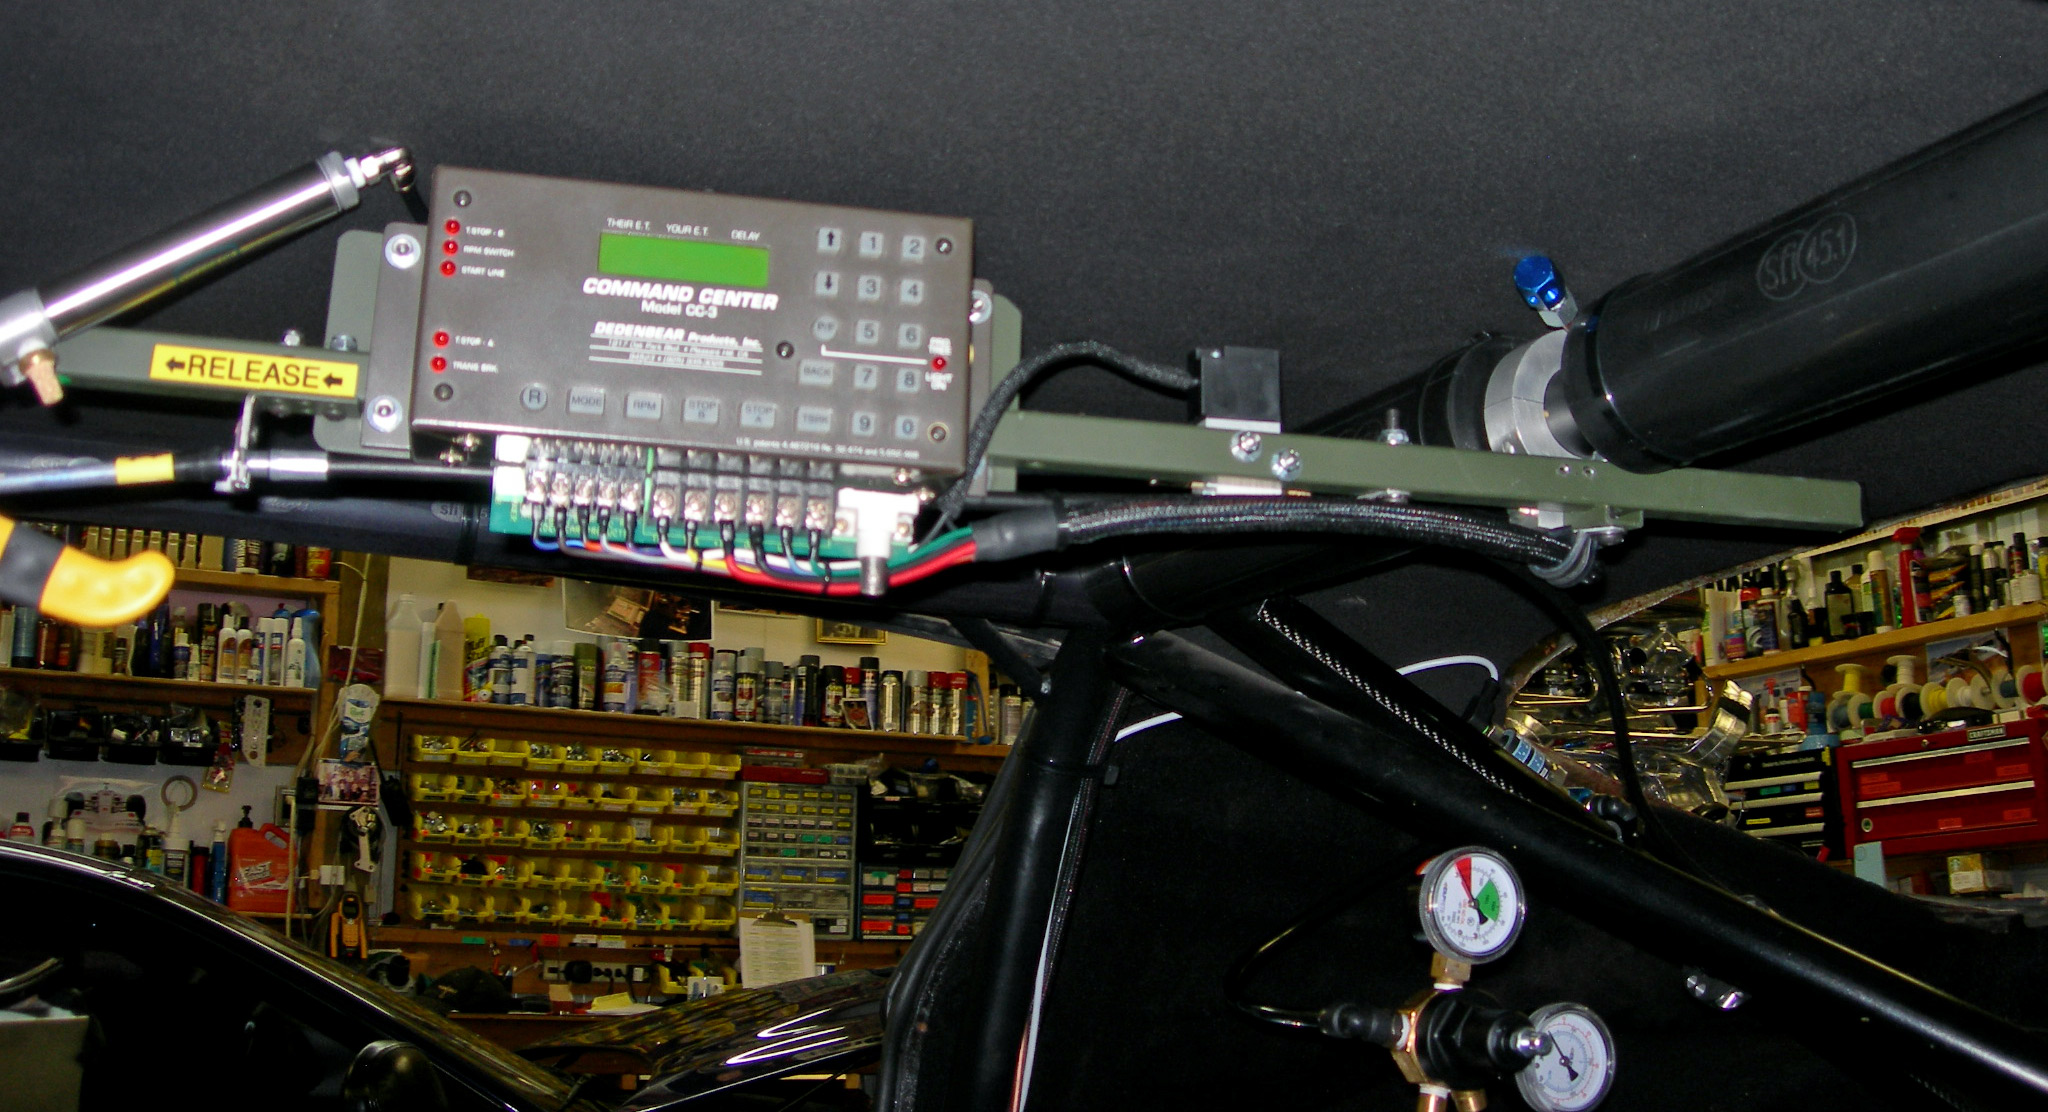
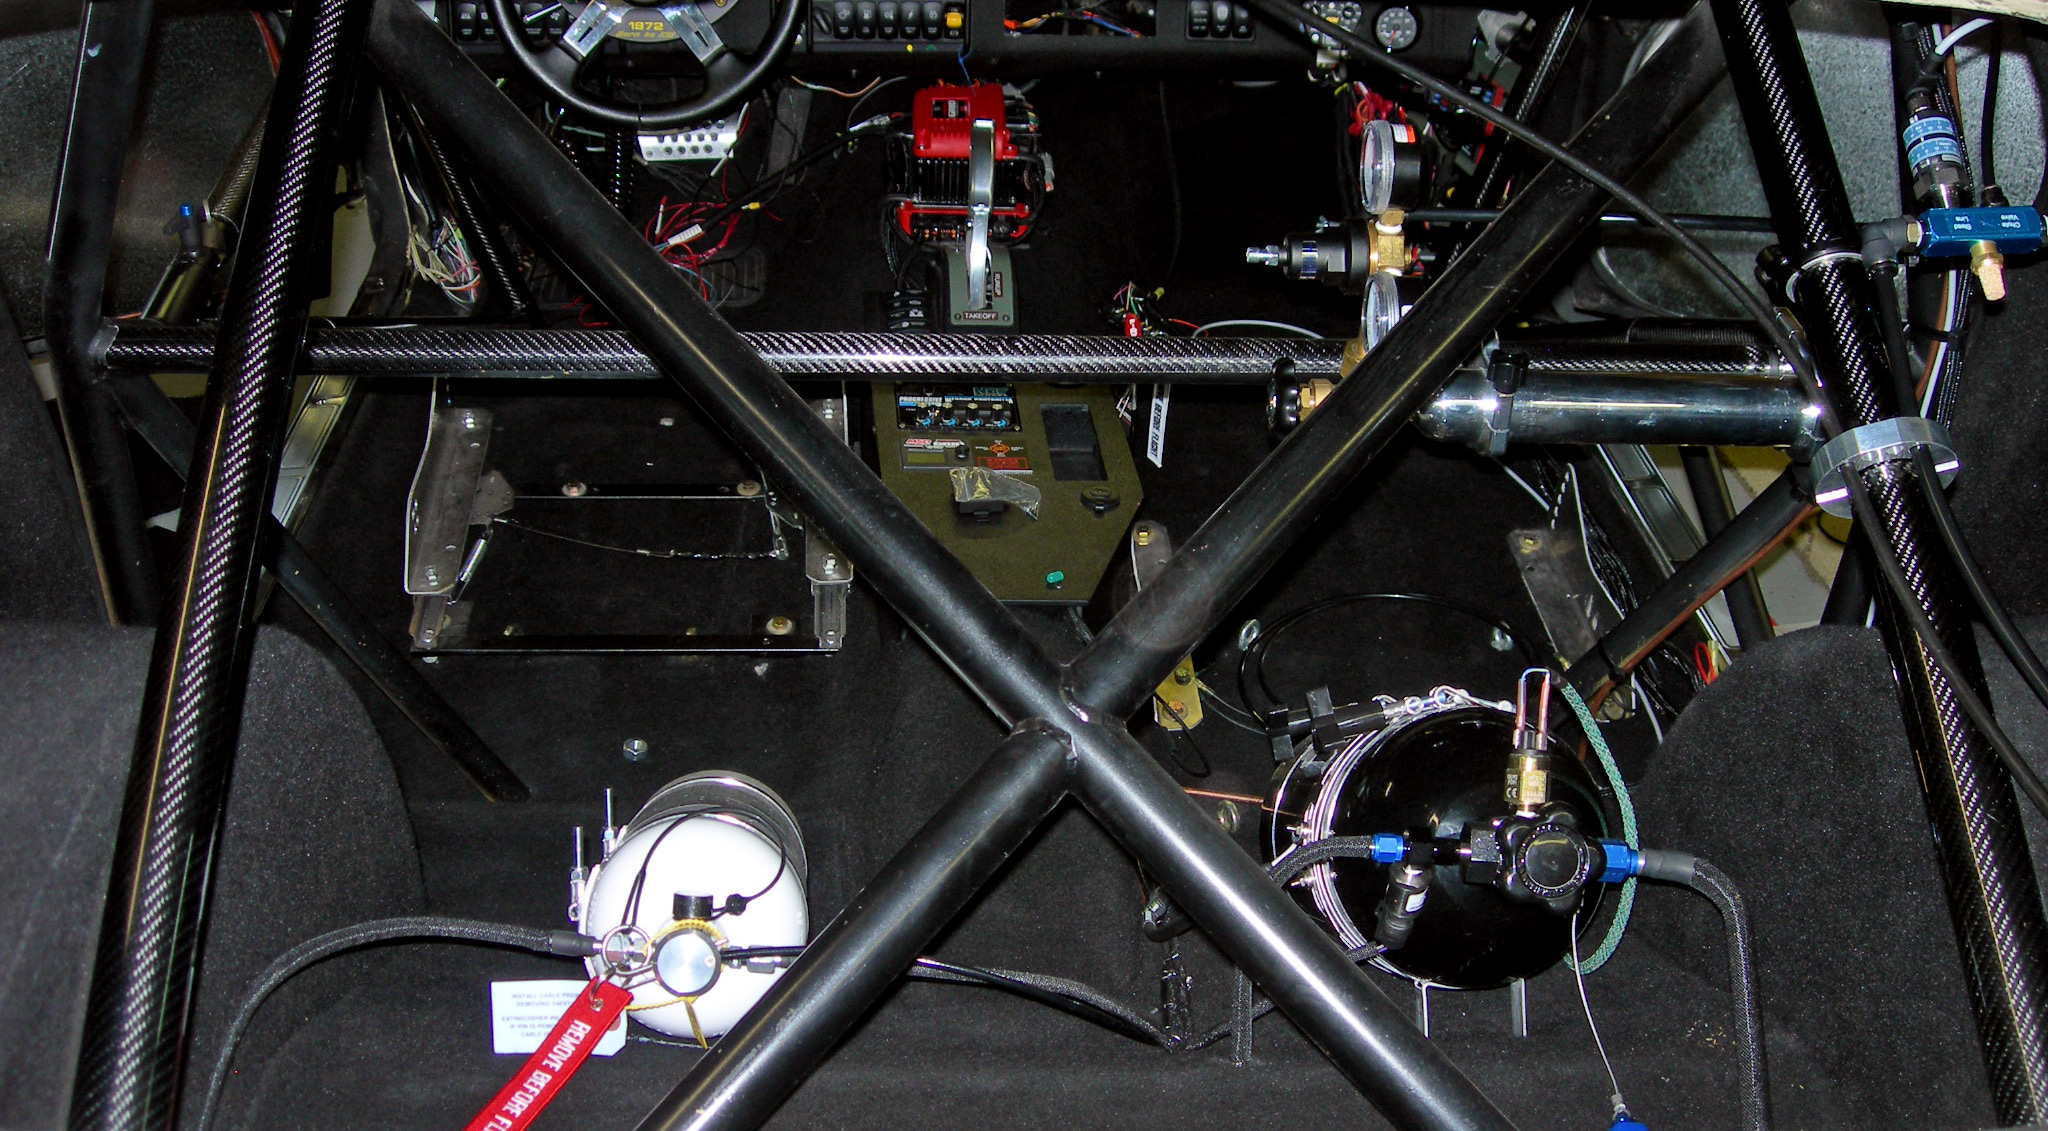
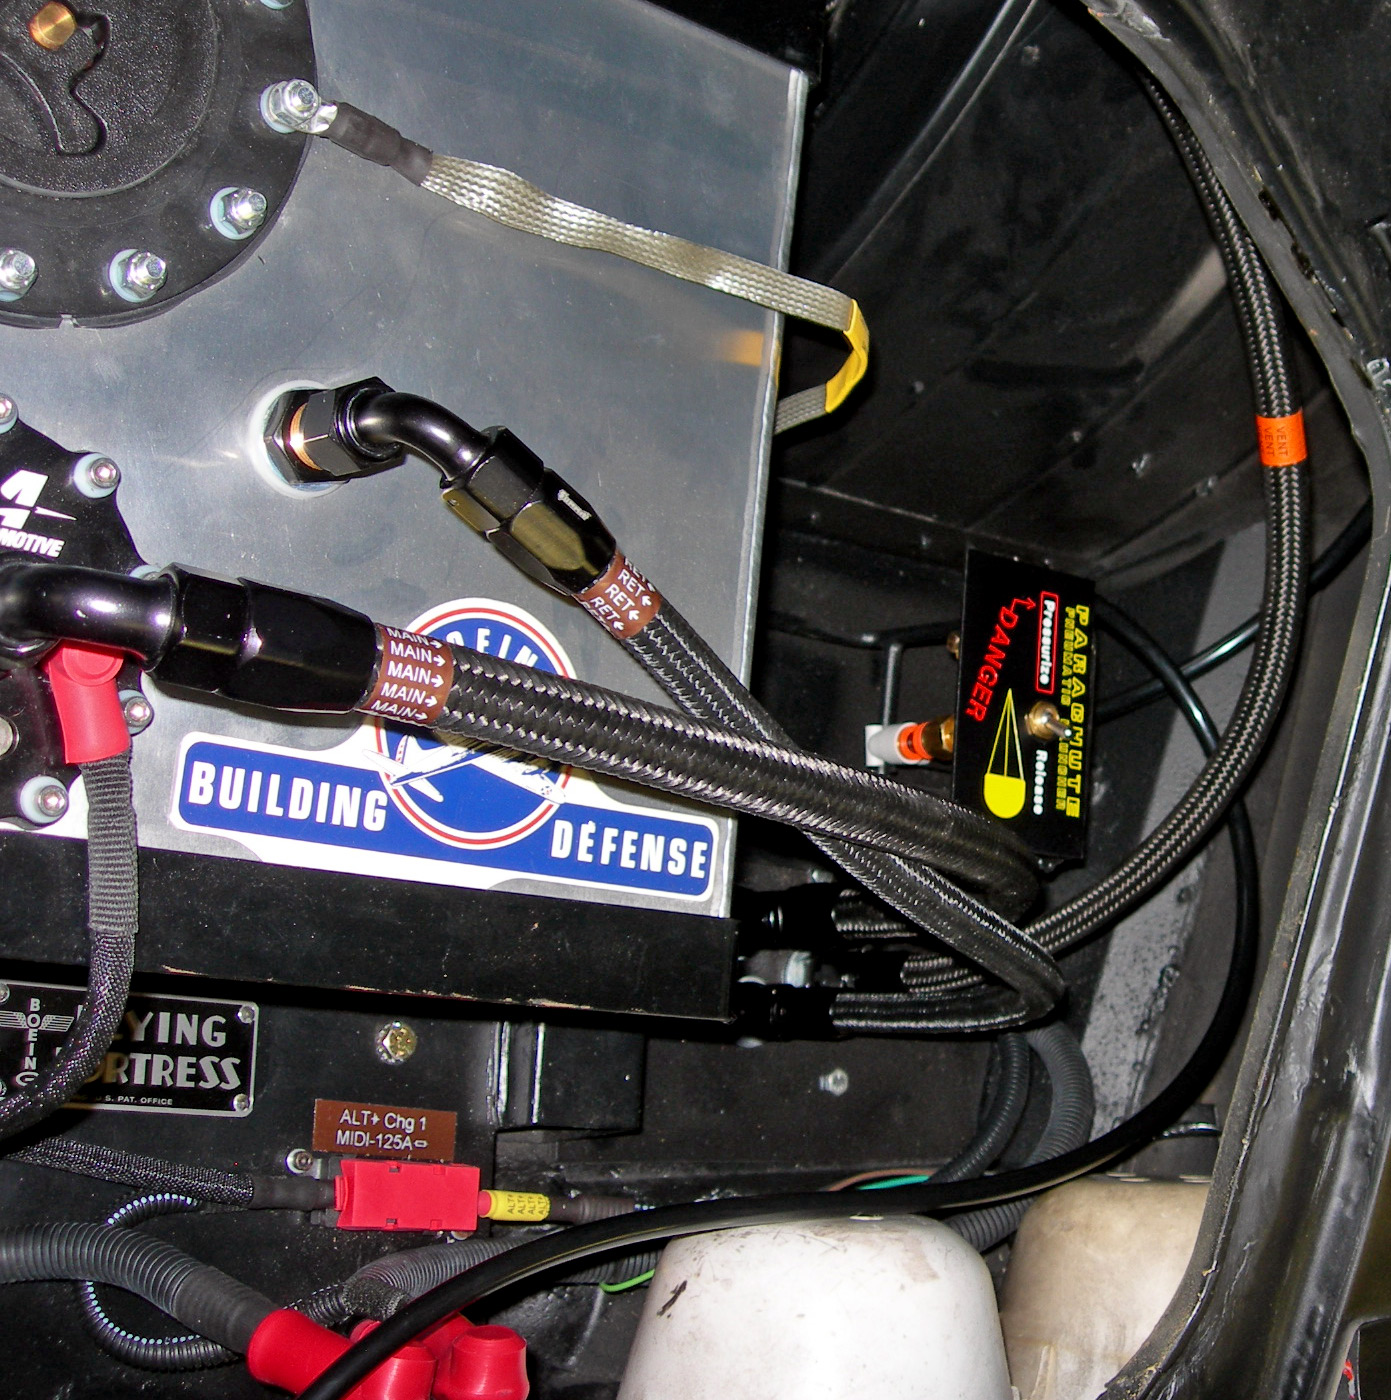
Driver side view - Parachute release system and CC3 Dedenbear Command Center and Delay Box install.
|
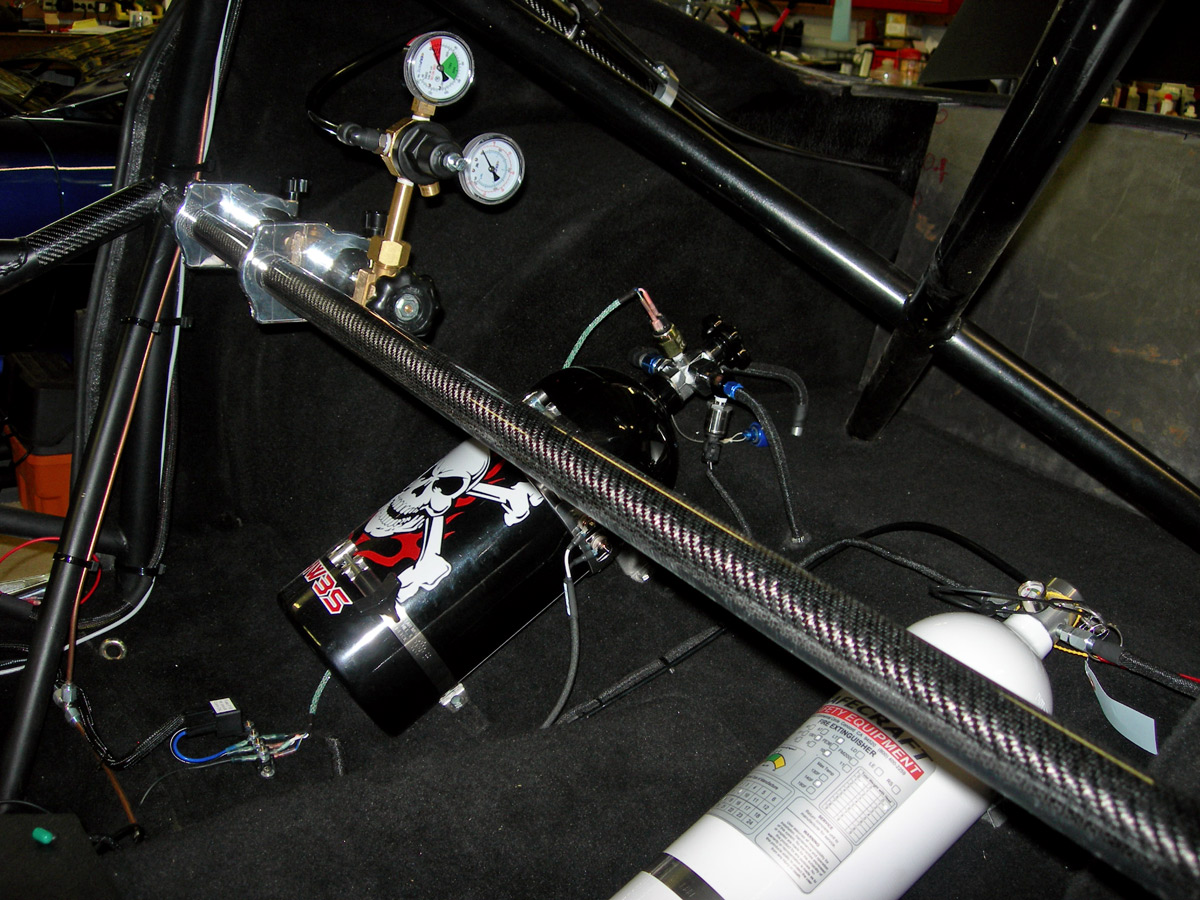
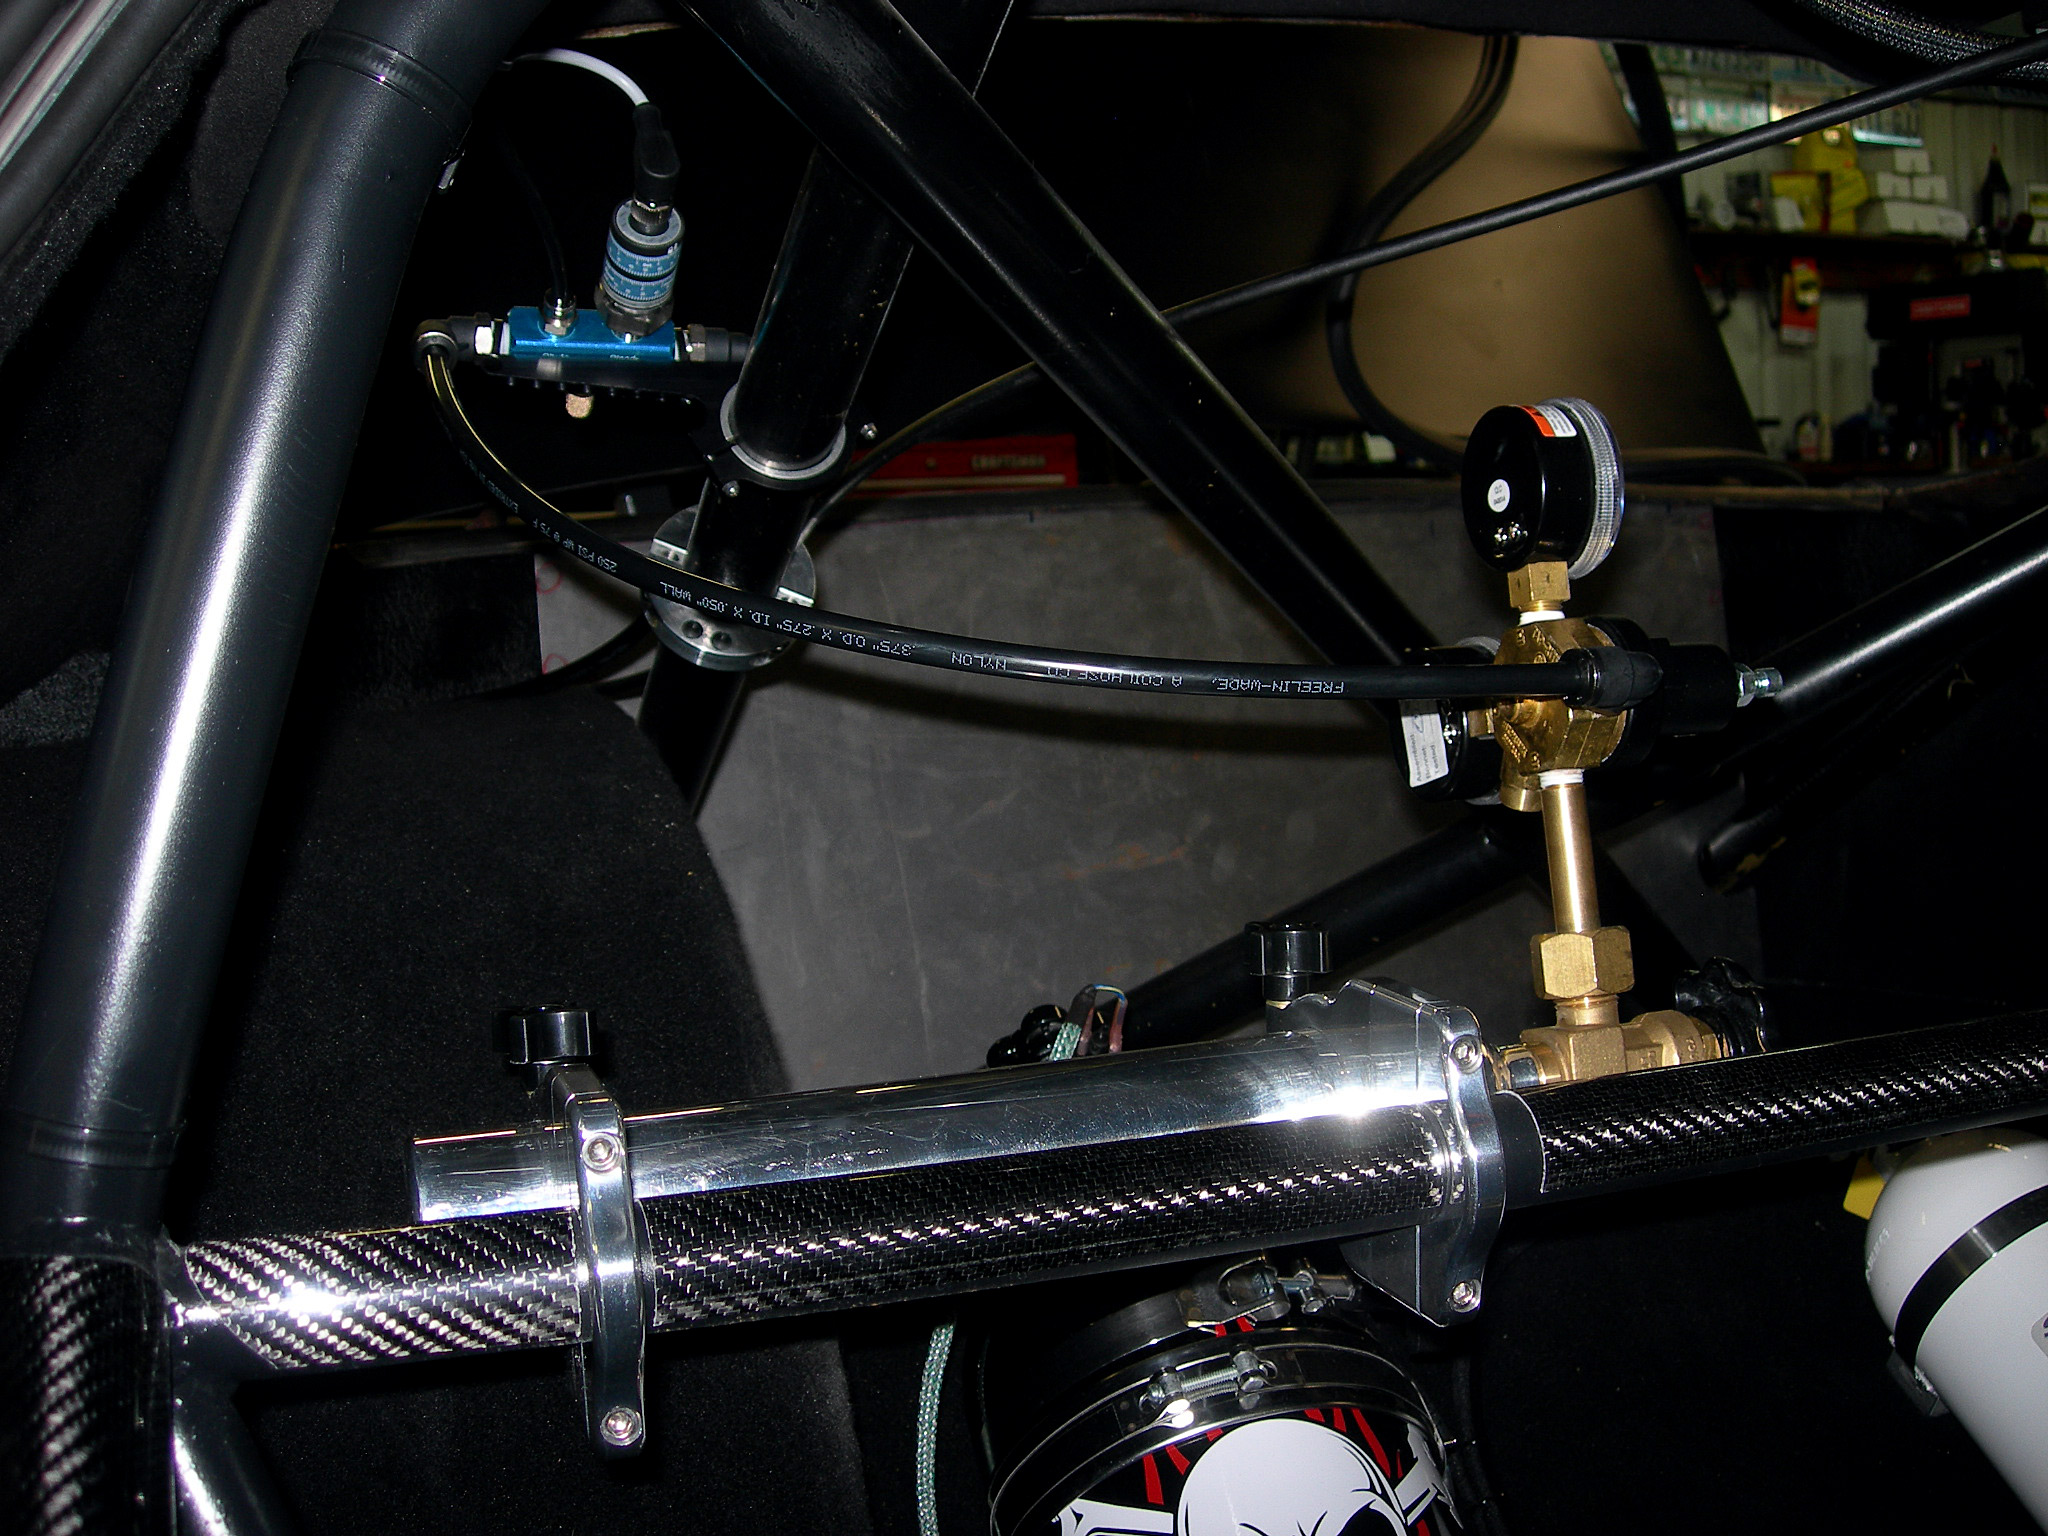
CO2 tank and lines - behind passenger seat area.
|
CC3 Command and delay box
|
|
View from back window
|
Passenger side view - topside
|
Rear view downward
|
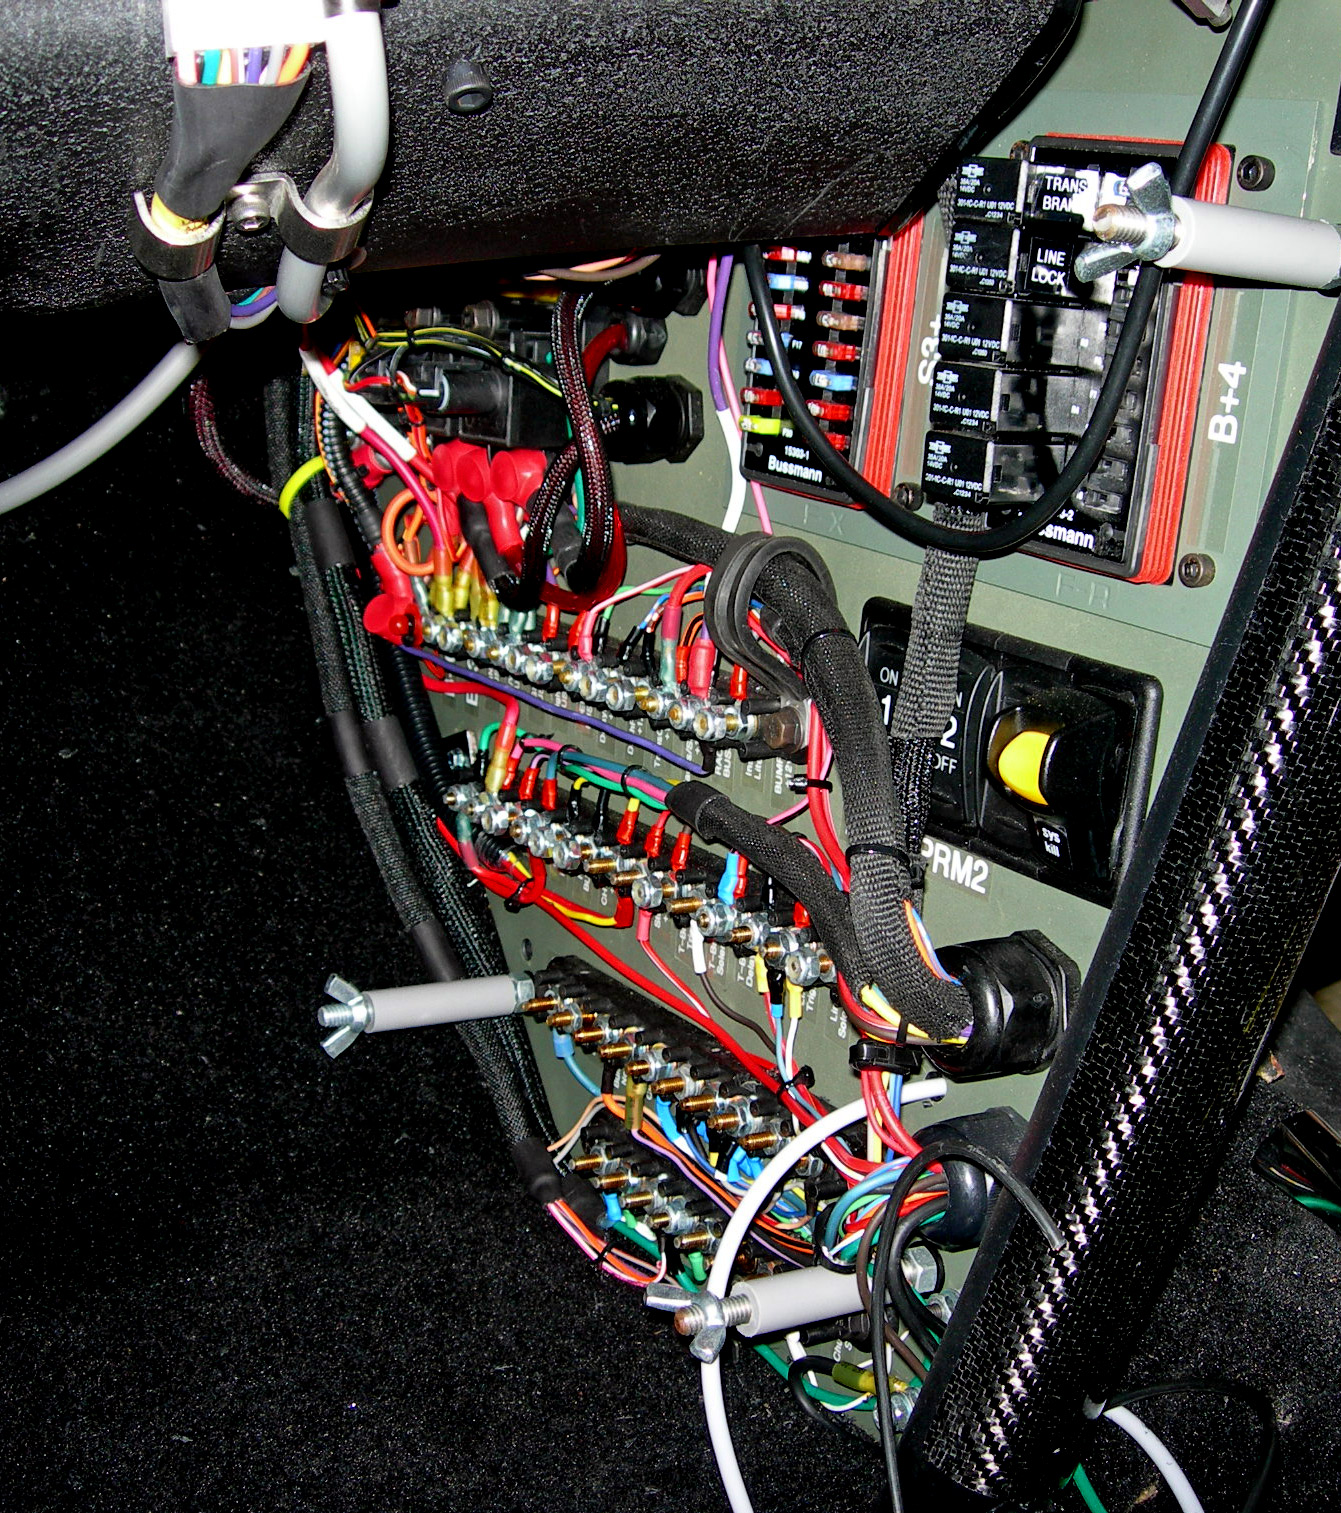
Main Electrical panel getting finished up.
|
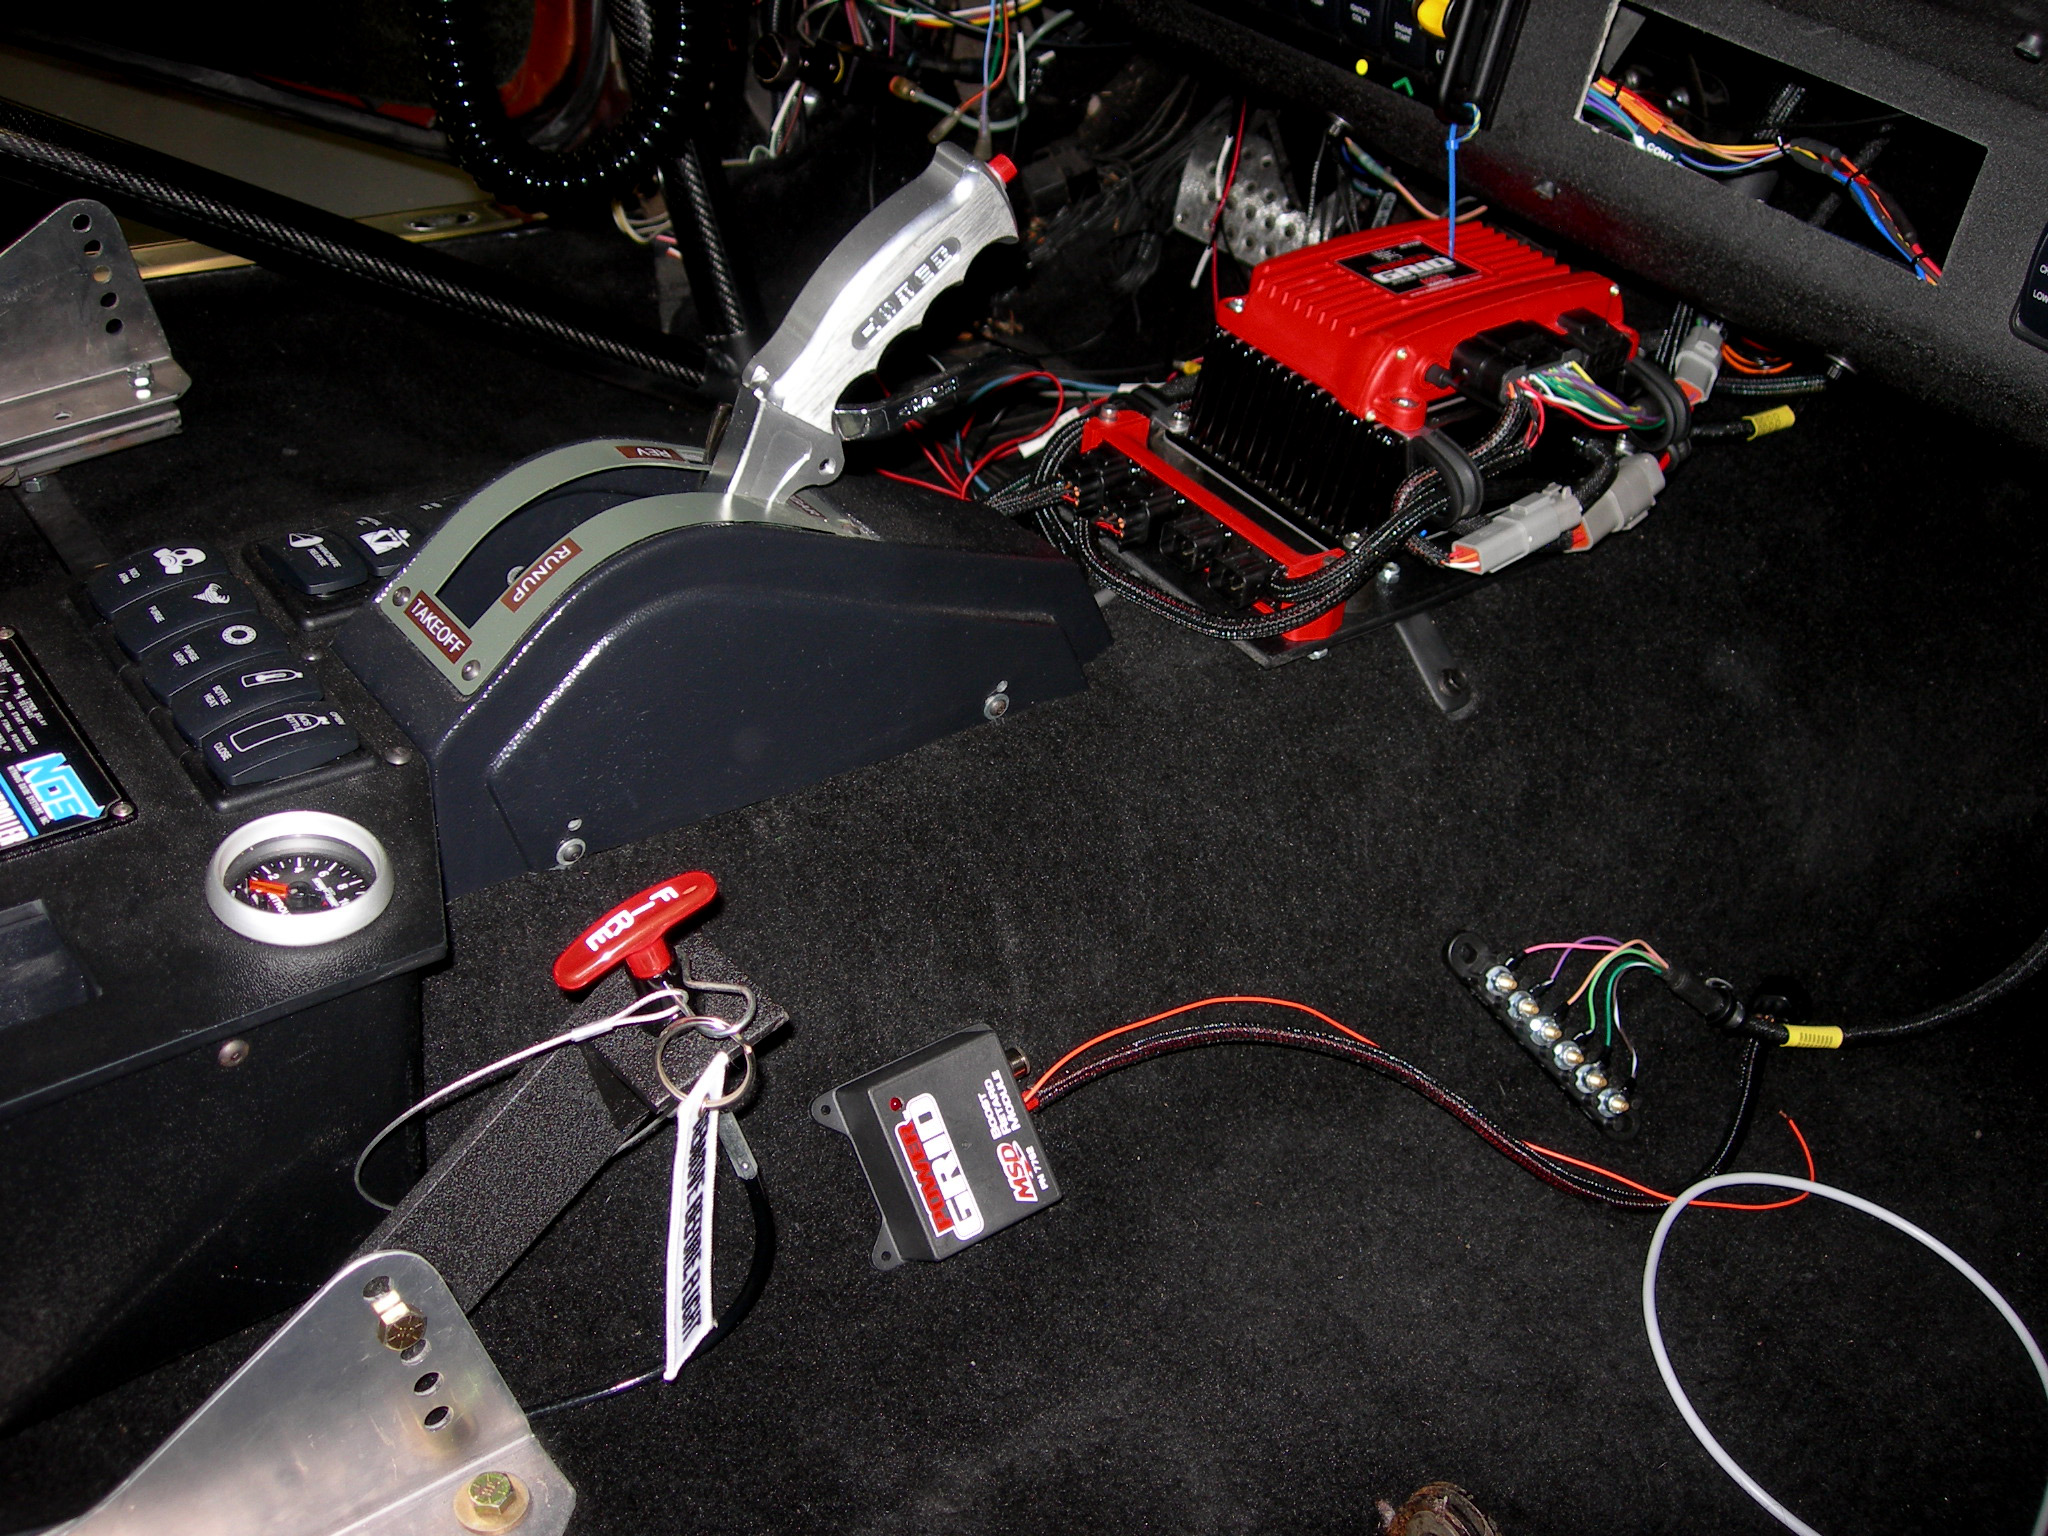
Passenger side, MSD installed, finishing up a few things.
|
View from outside front windshield
|
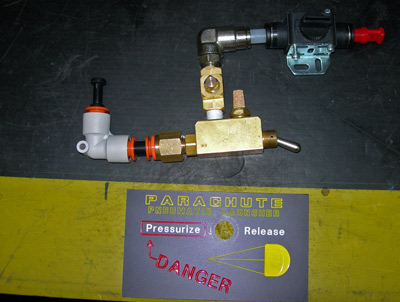
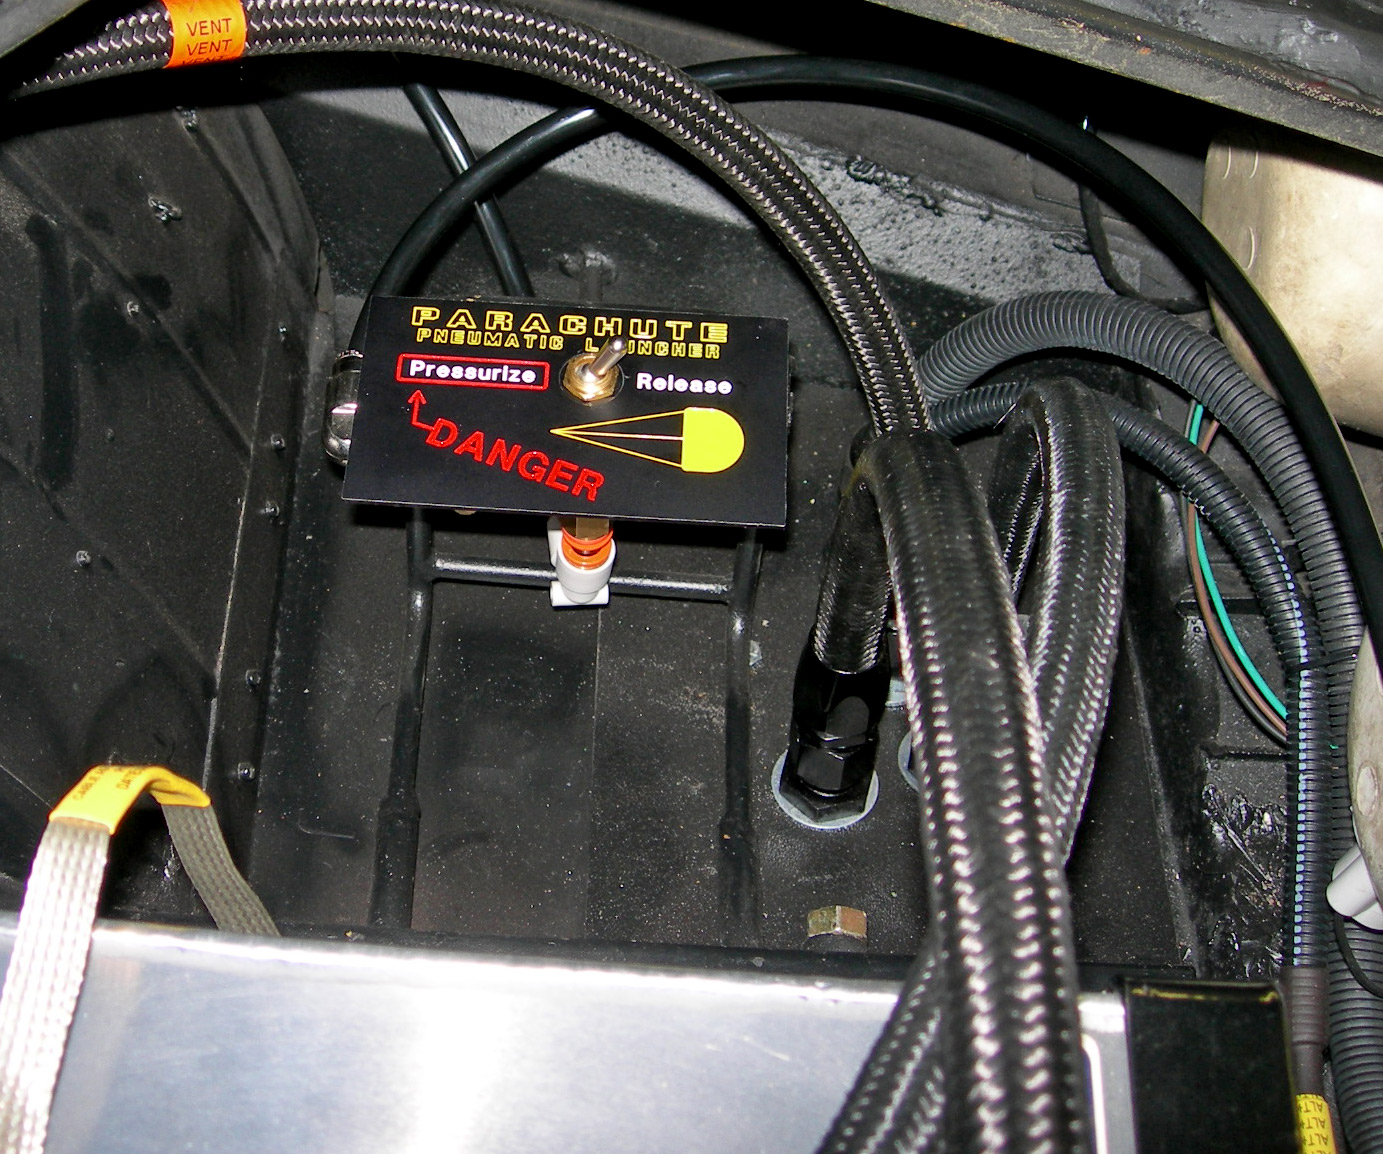
Parachute CO2 launch safety switch assembly
|
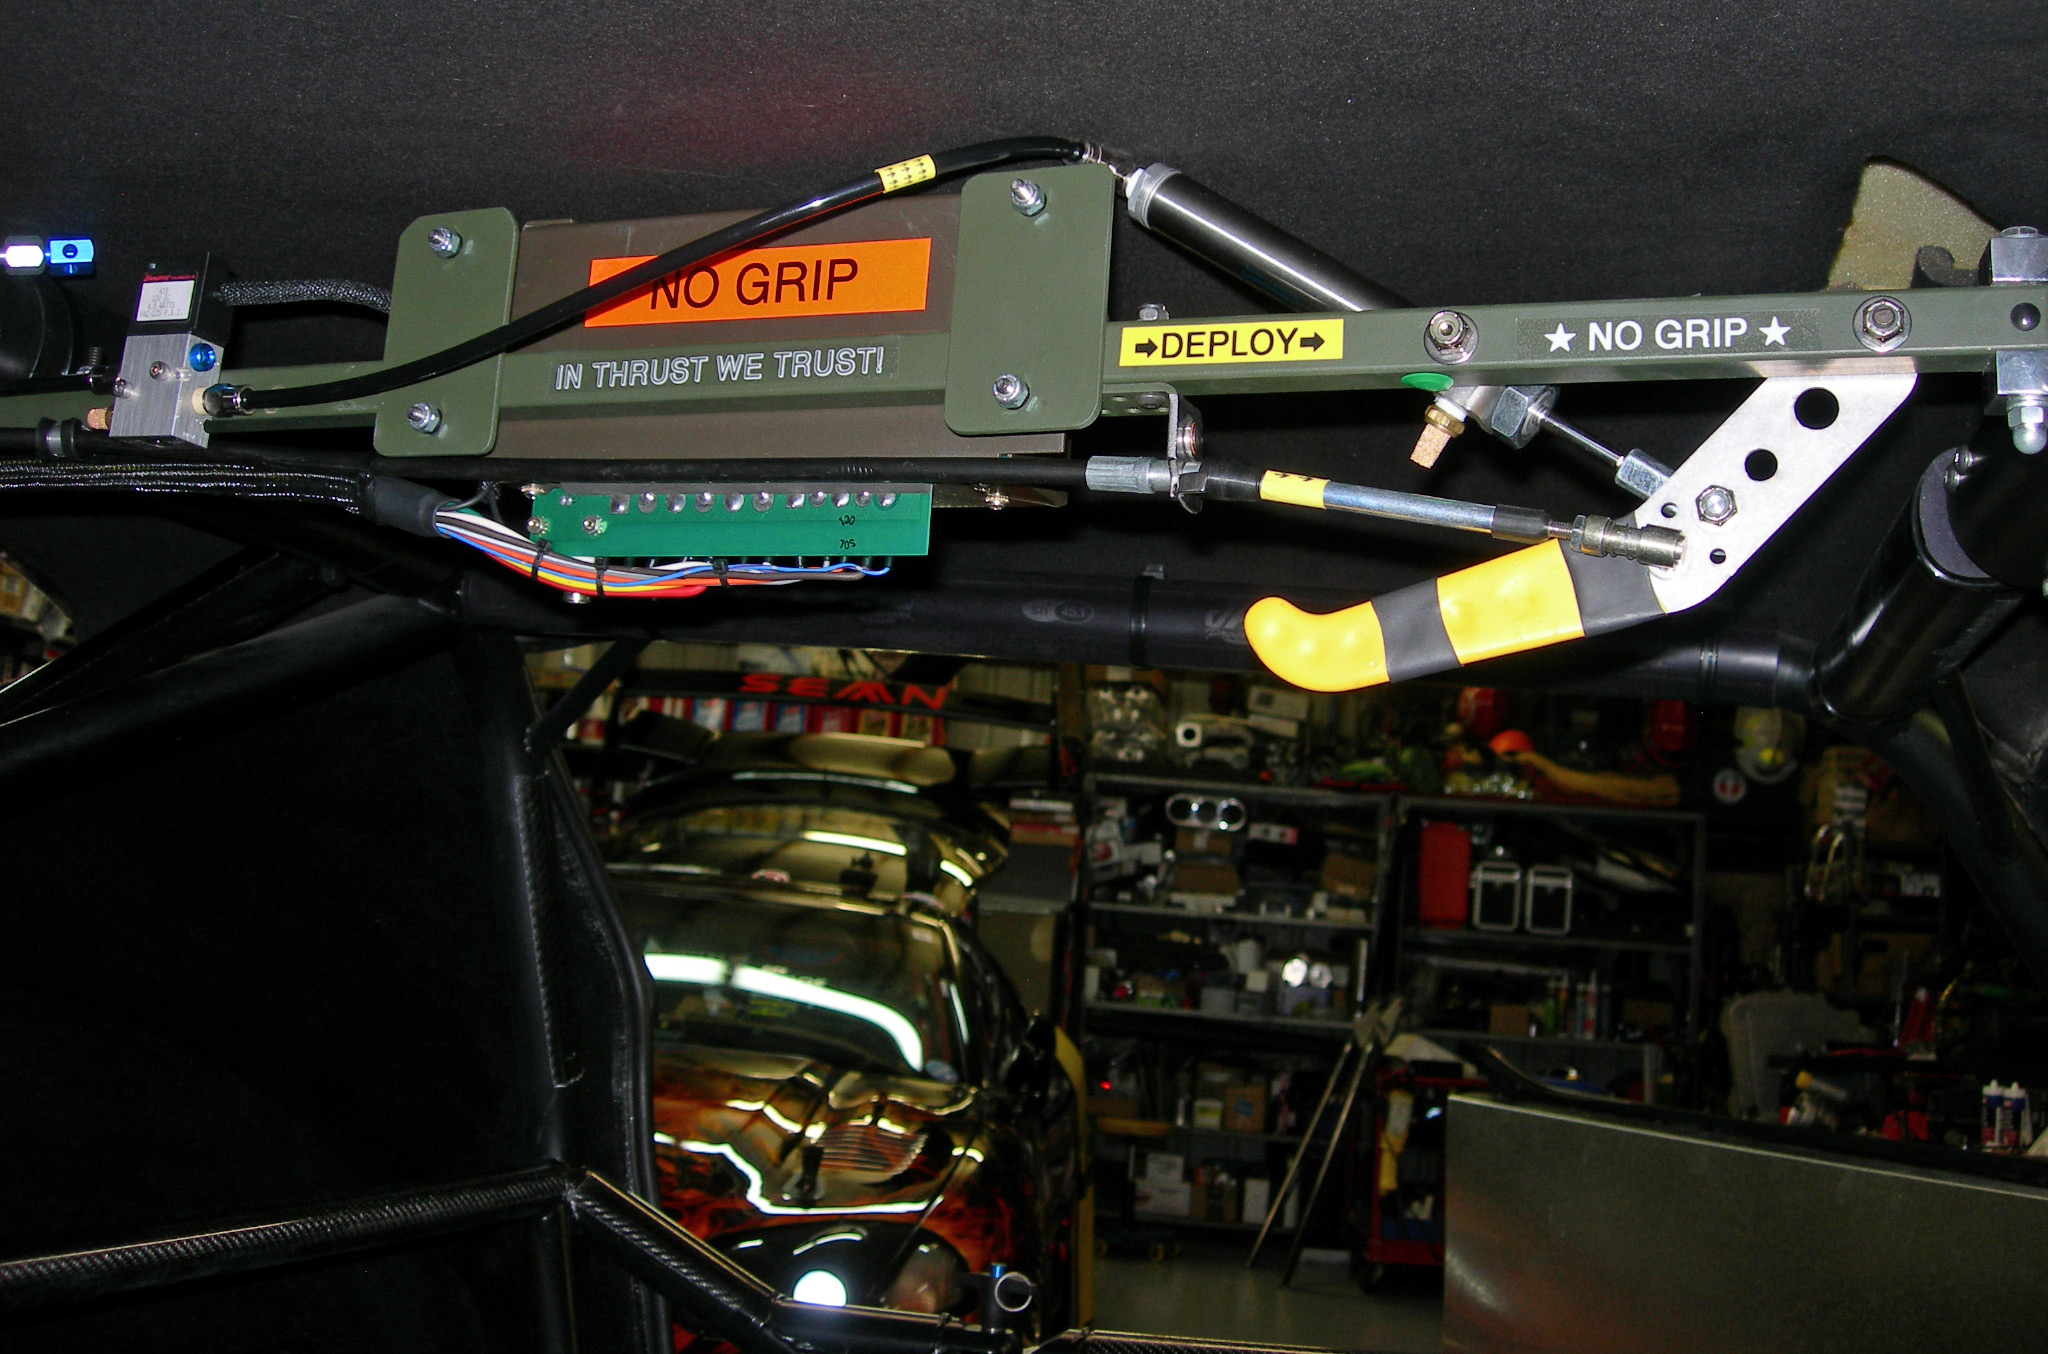
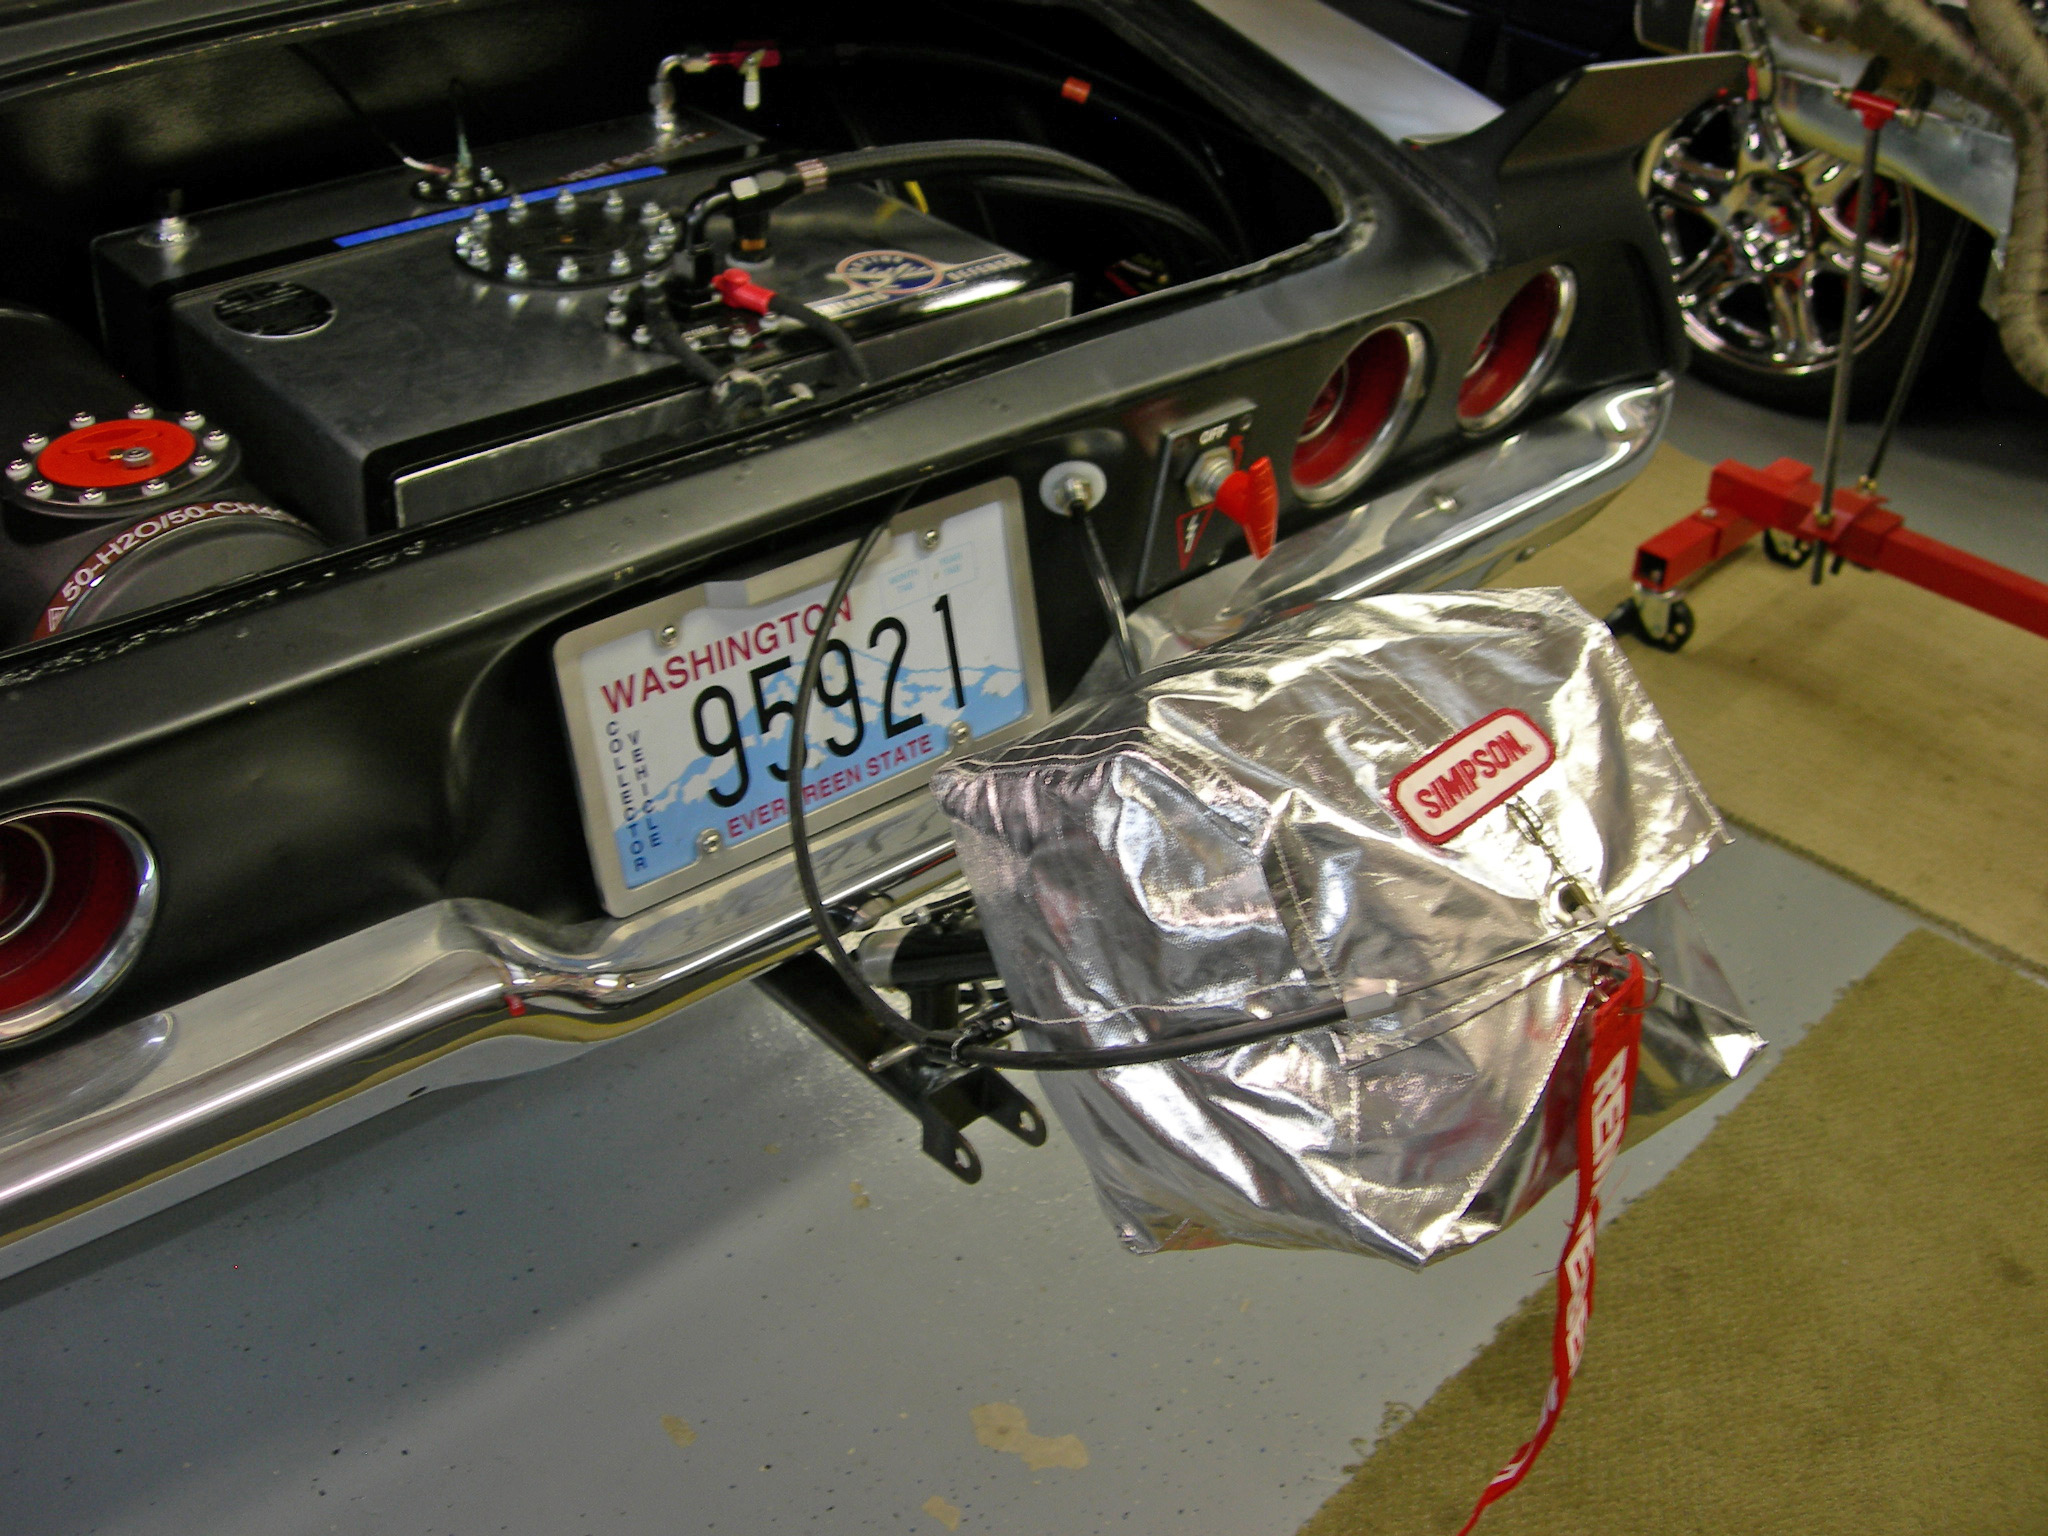
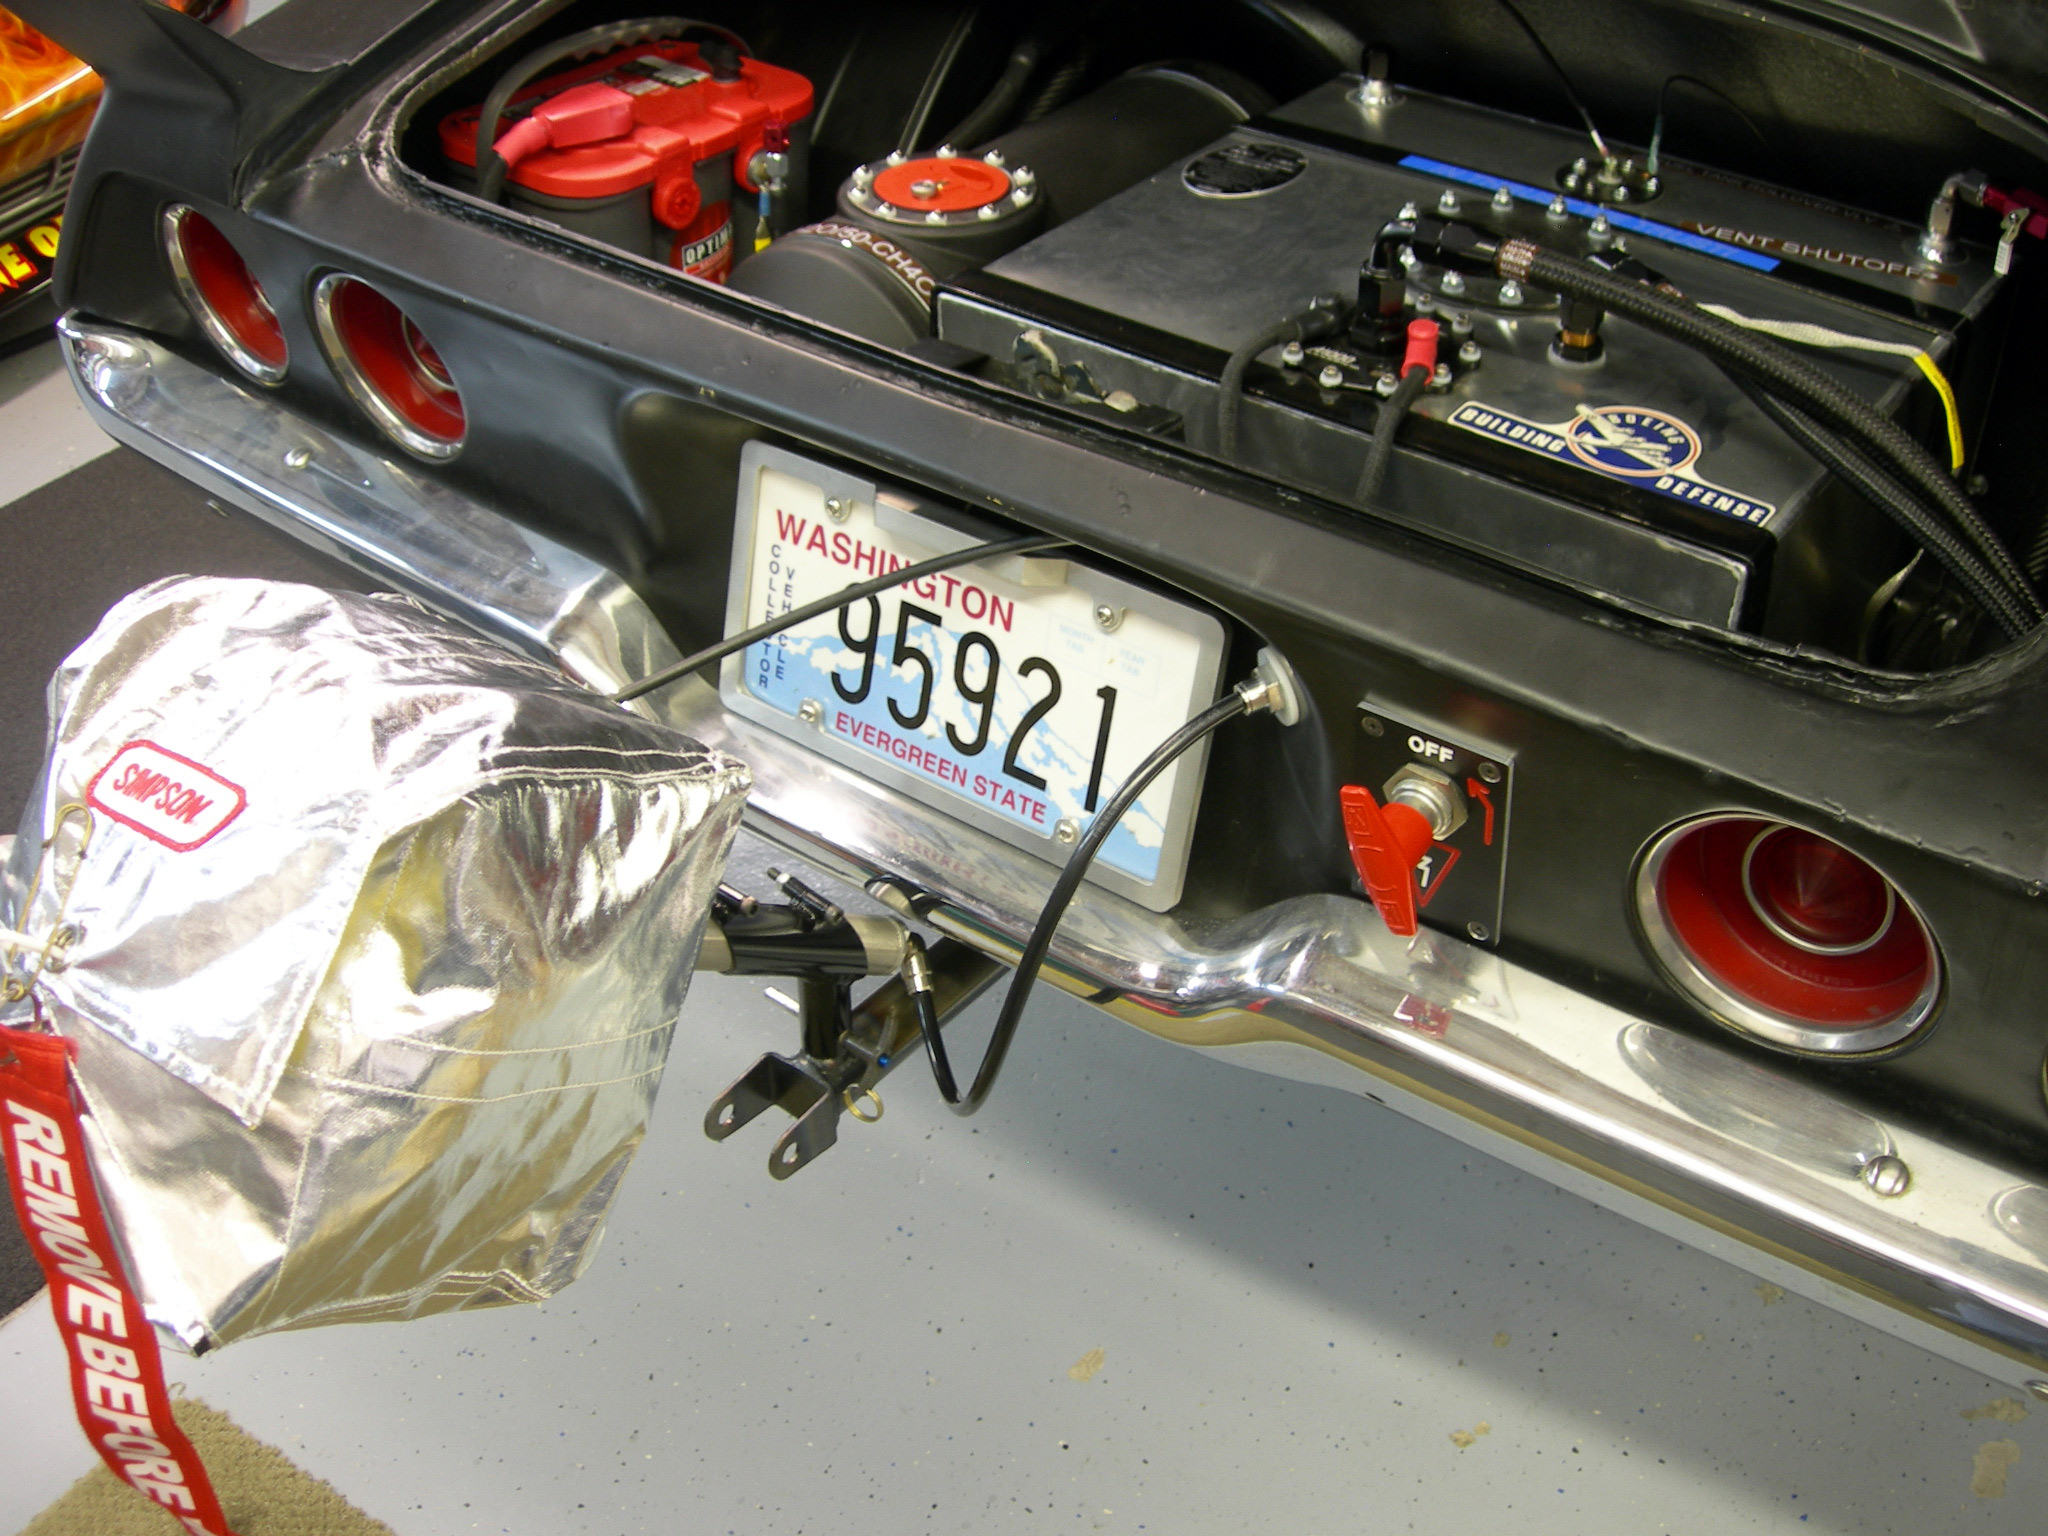
Parachute mount finished, launch lines all finished, release cable finished.
|
|
Parachute CO2 switch installed in trunk
|
Parachute CO2 launcher control
|
|
CLICK HERE TO GO TO NEXT PAGE |
|