|
||||||||||
|
Photos as we have available here and there and while working on the remake of the 1972 Camaro. You can click the image for larger view
|
|
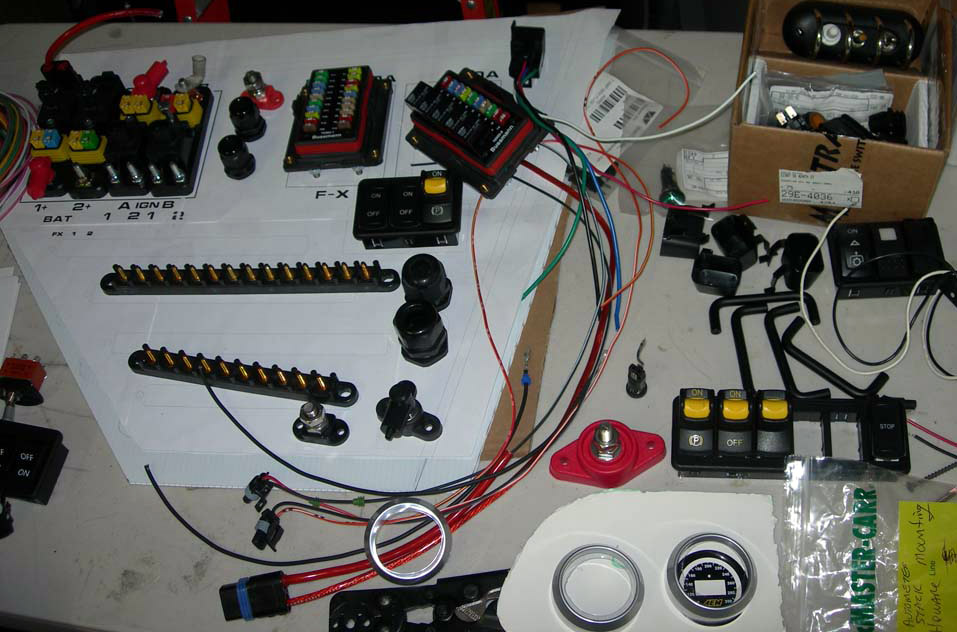
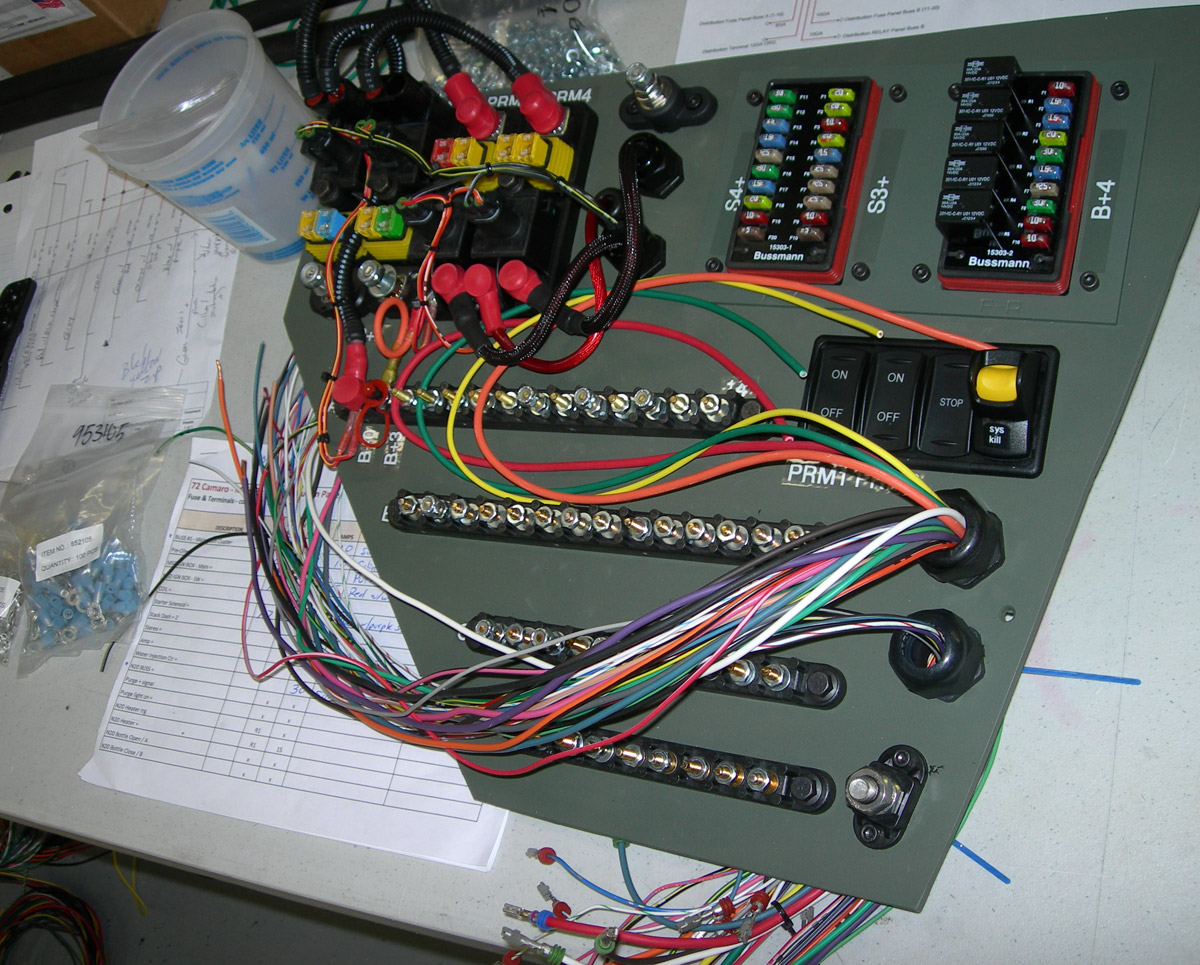
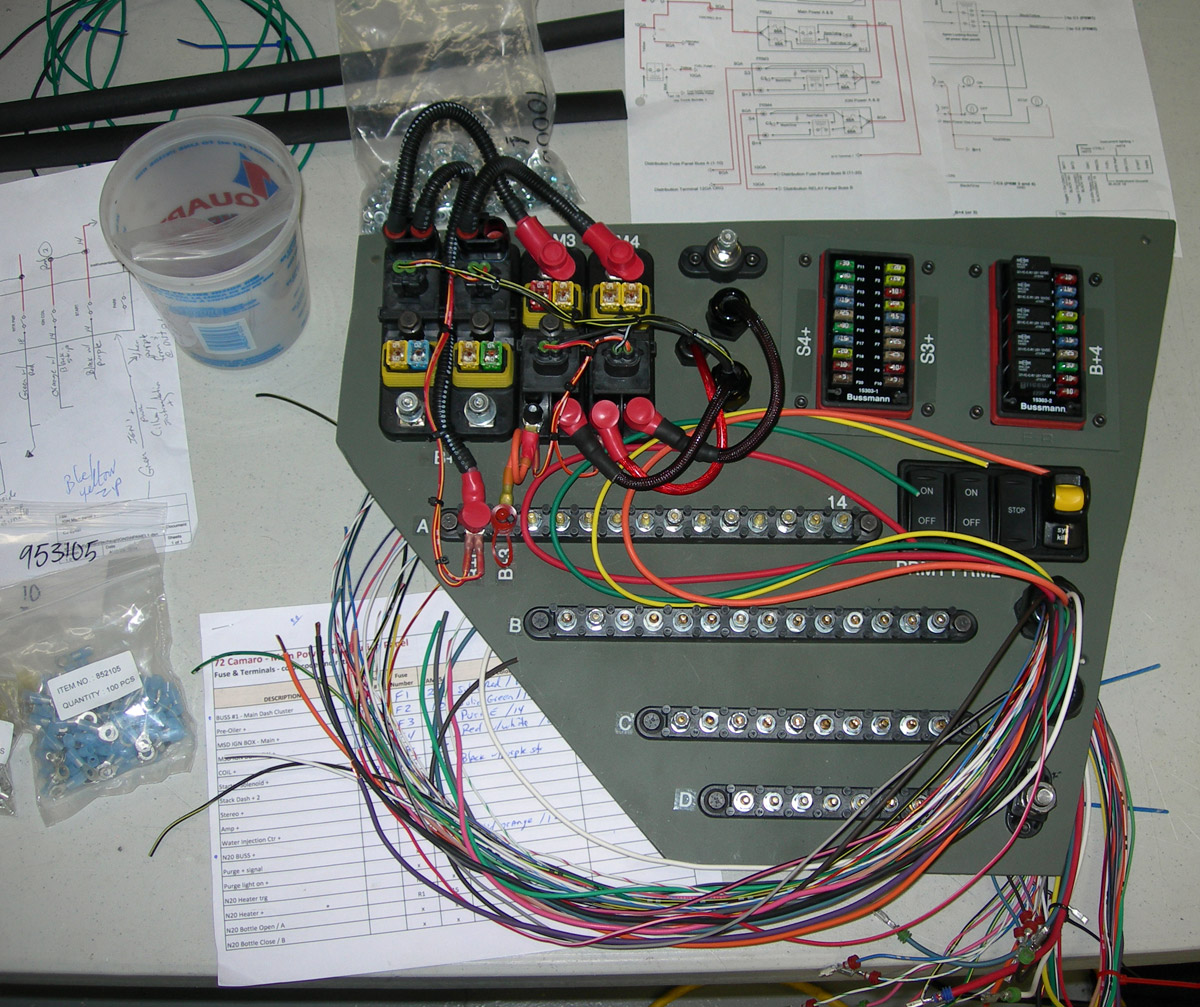
Laying out for designing the Main Power Panel |
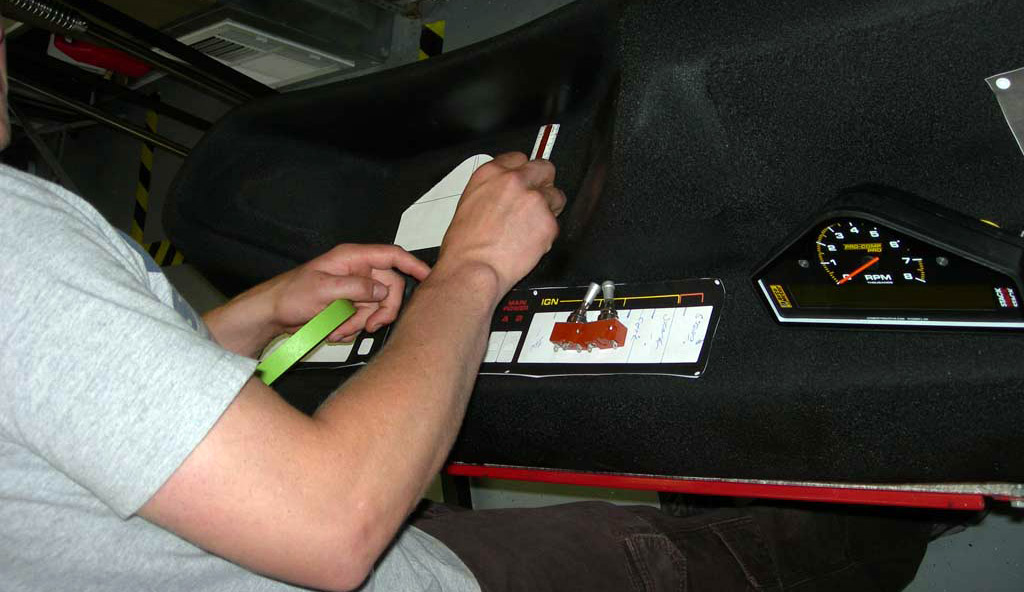
Cutting holes in fiberglas dash for panels |
Getting headers wrapped with DEI titanium heat wrap
|
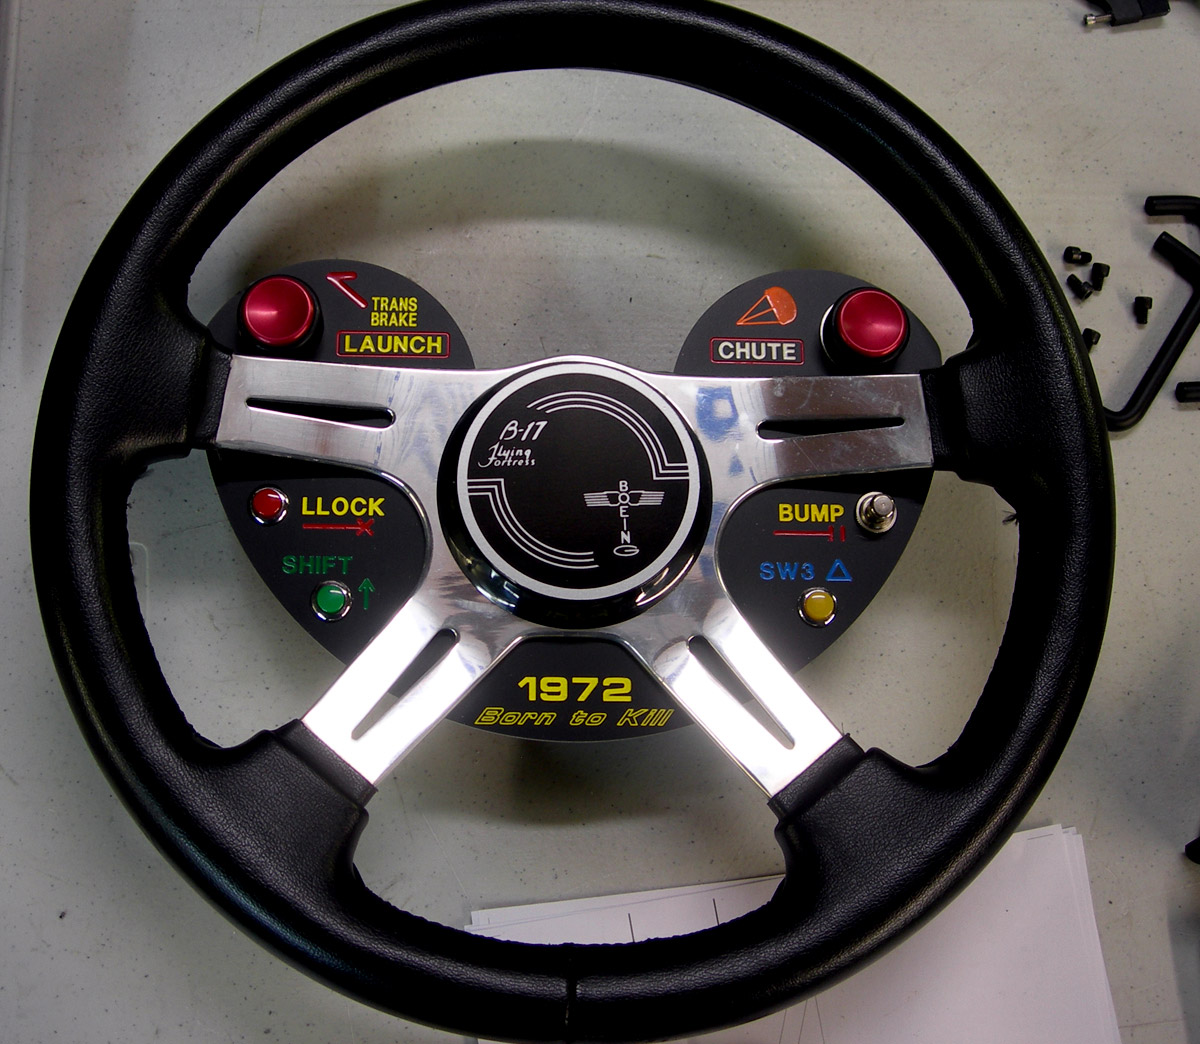
Steering wheel design and place complete
Remember - you can click the image to see larger view in new window in order to see details and up close.
|
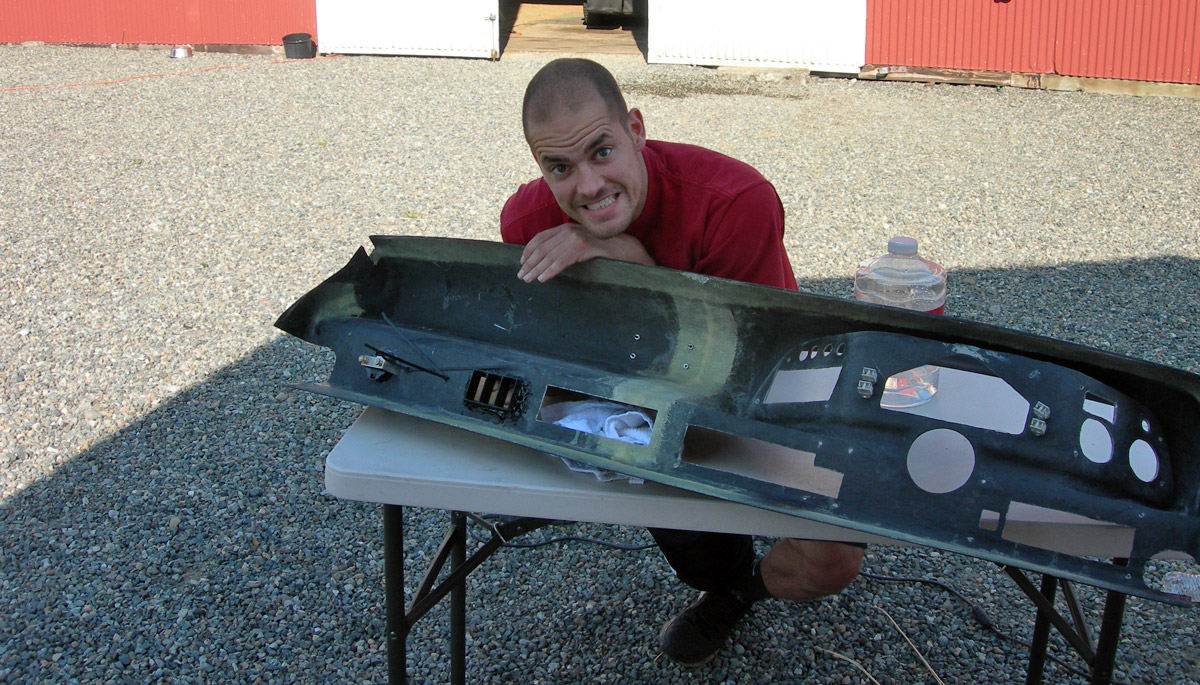
Test fitting for panels
|
Cutting for panel insertion
|
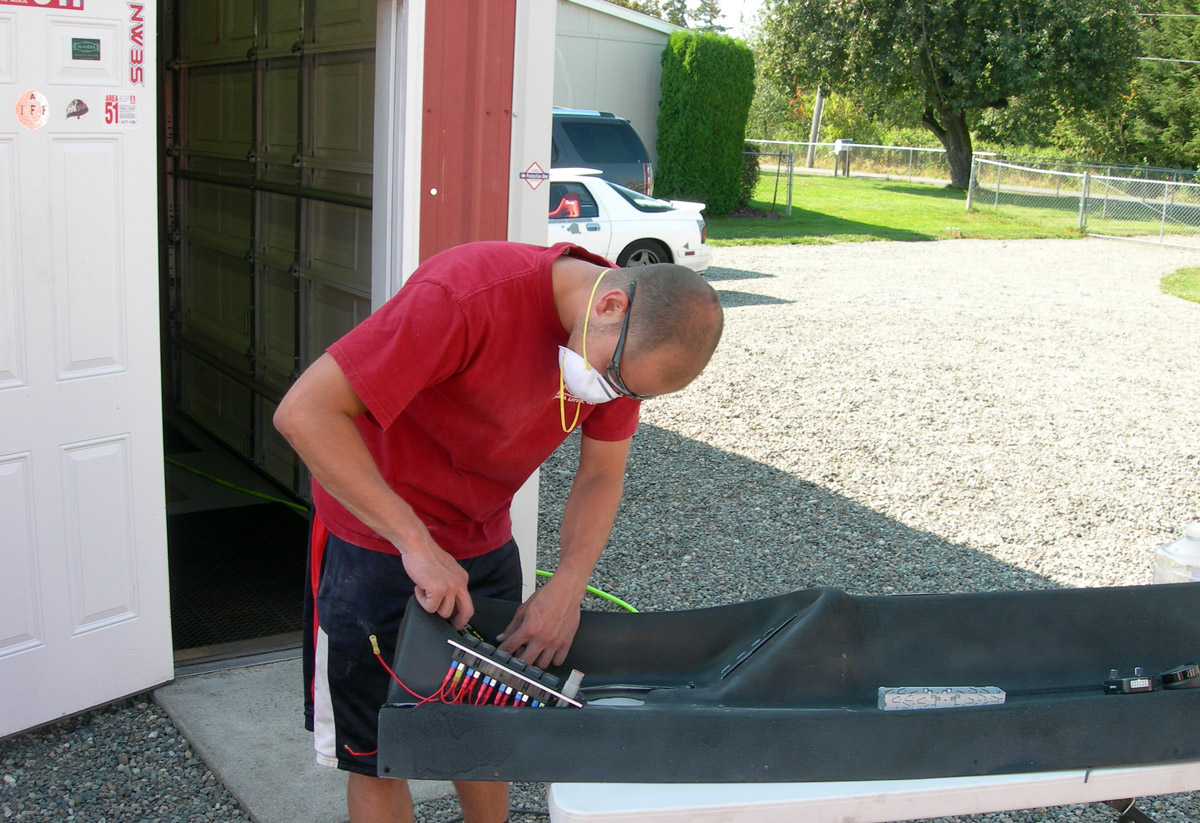
Mike working on dash cleanup
|
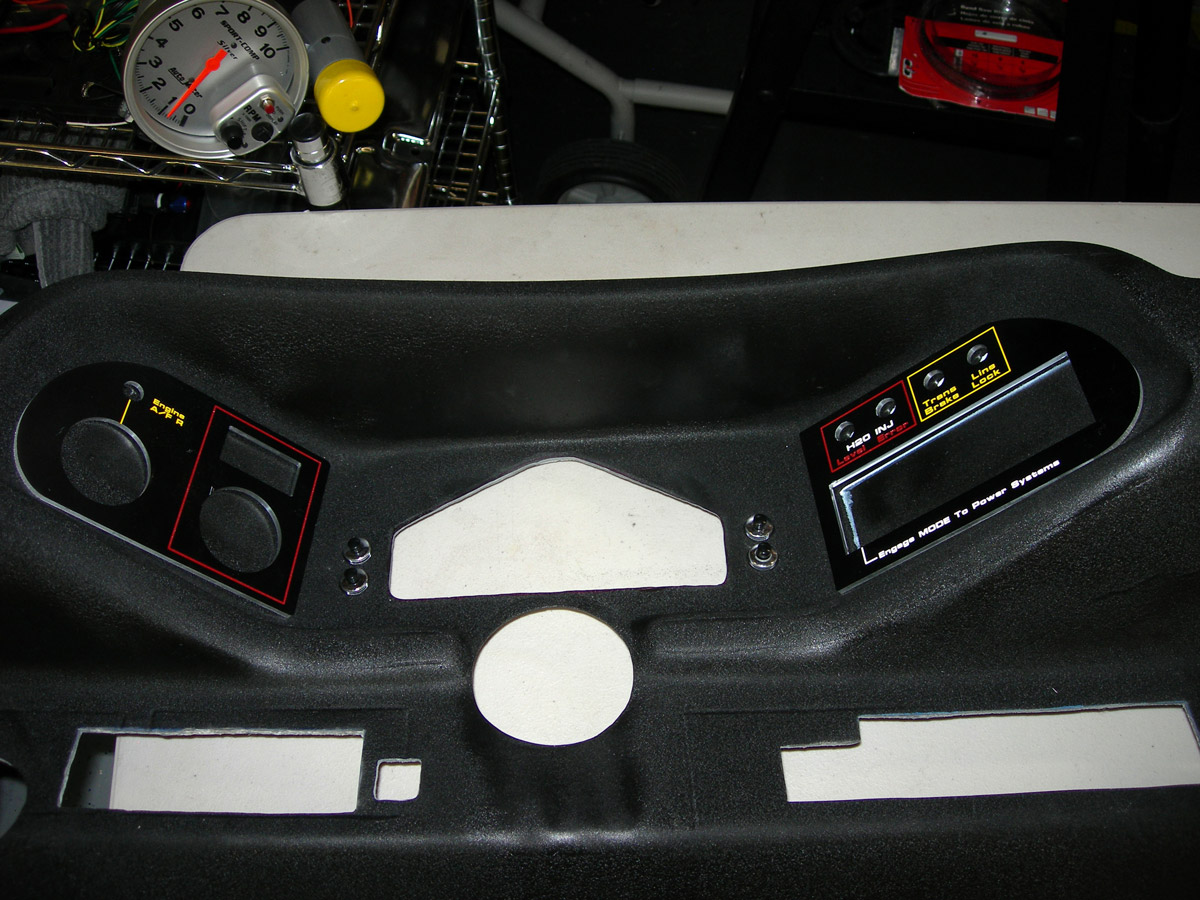
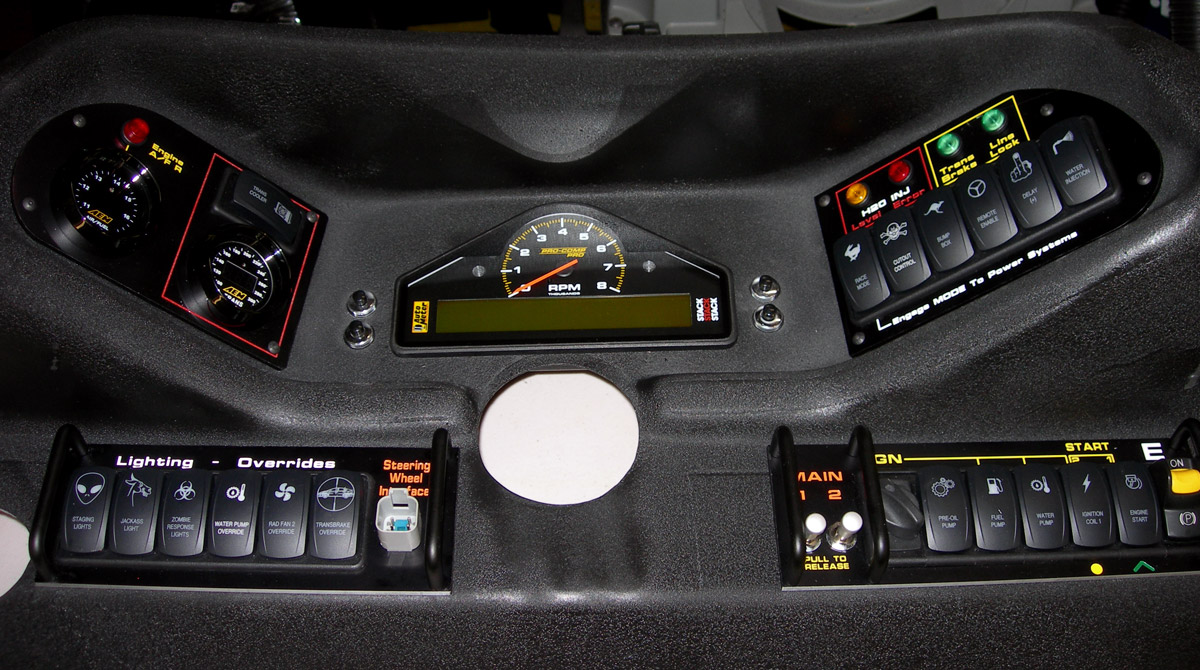
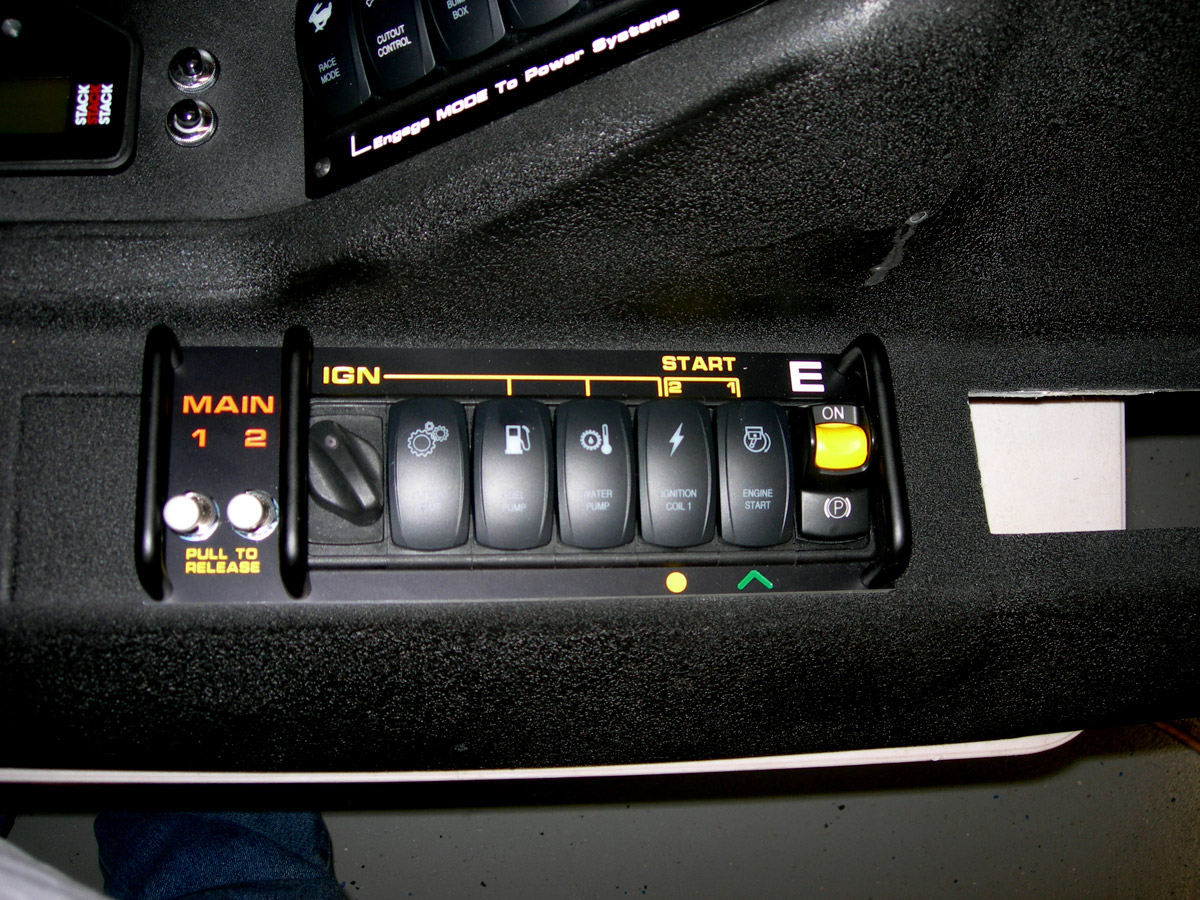
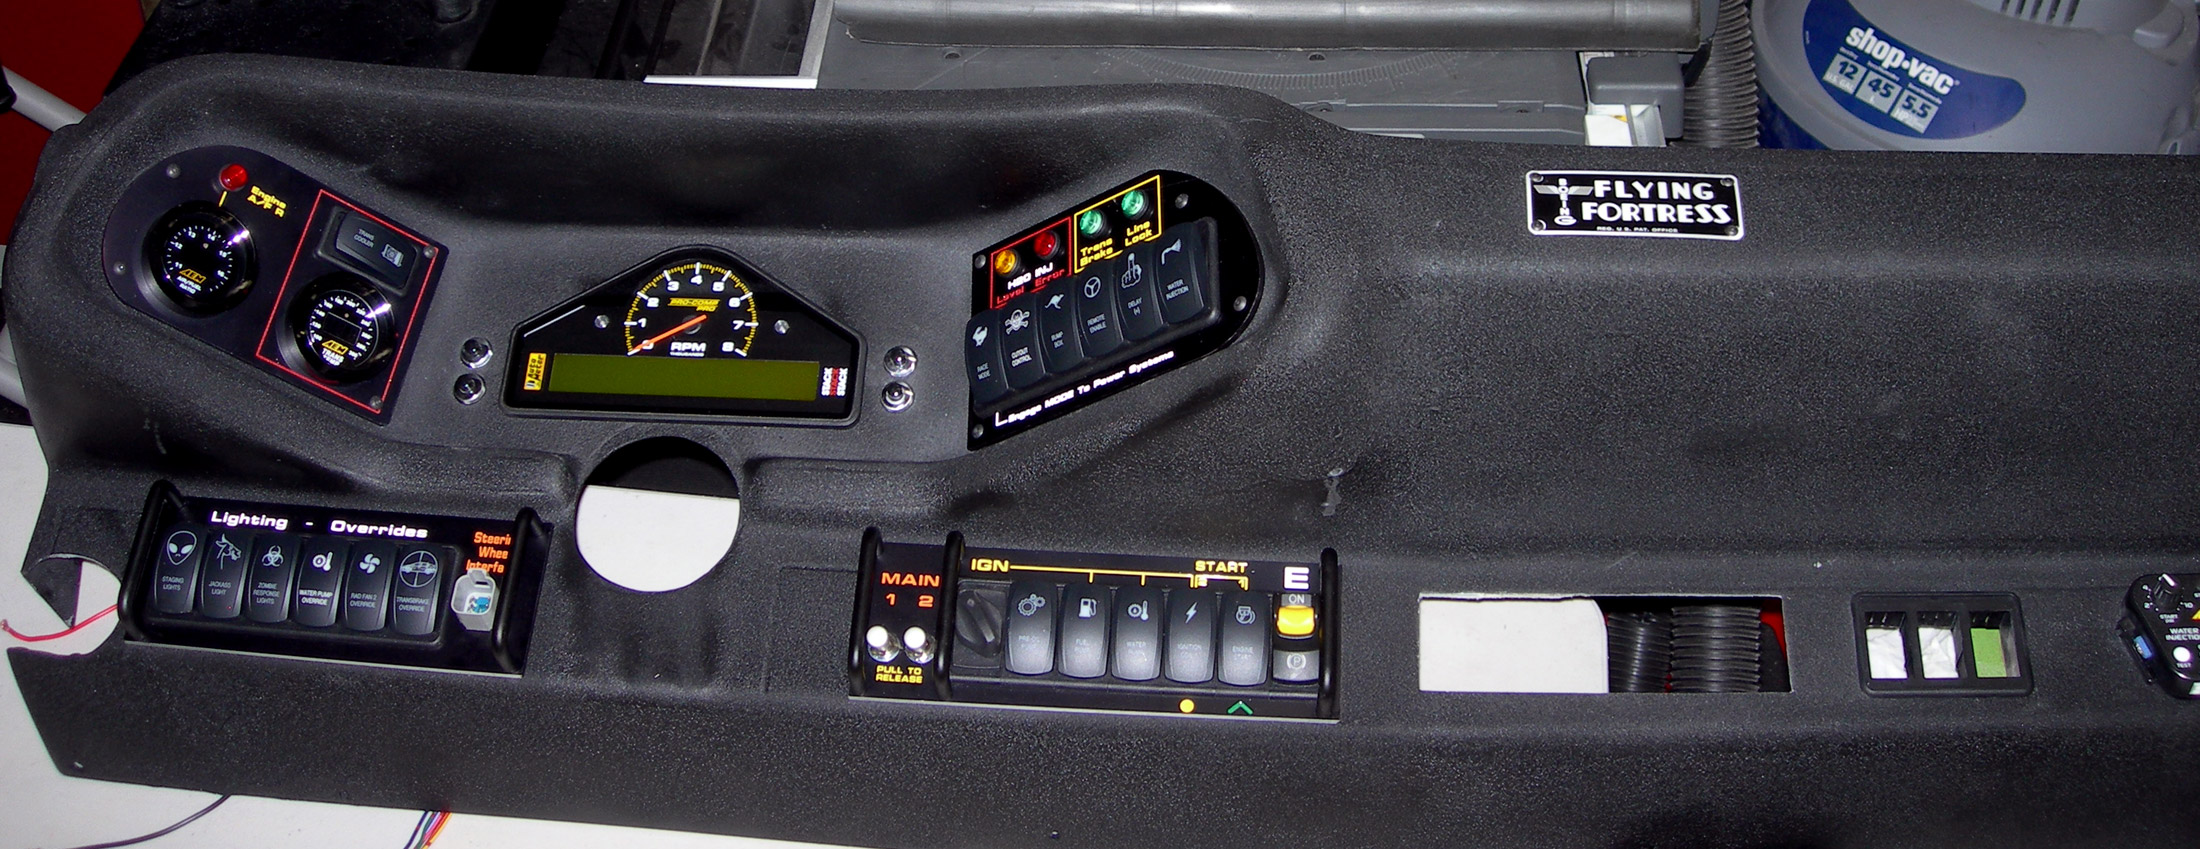
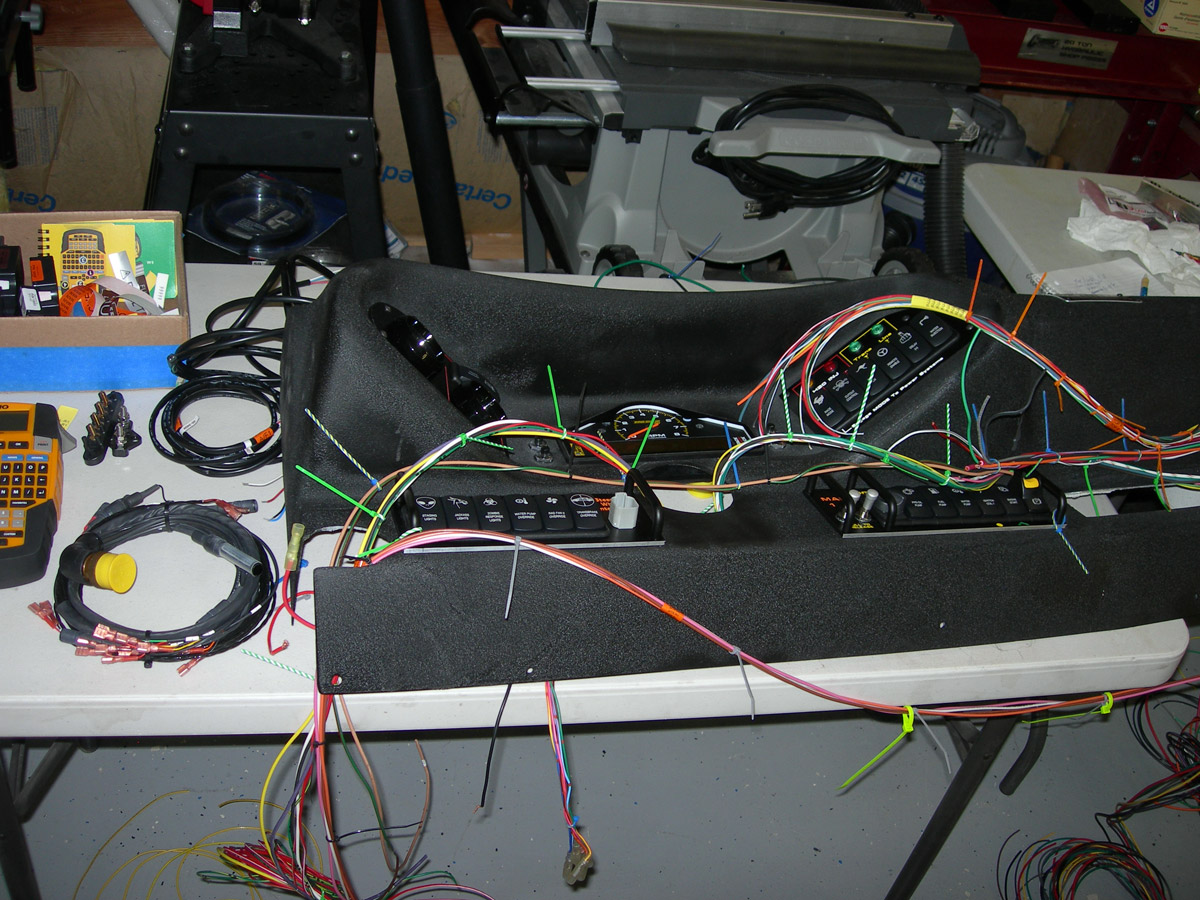
Center Dash with electronics installed
|
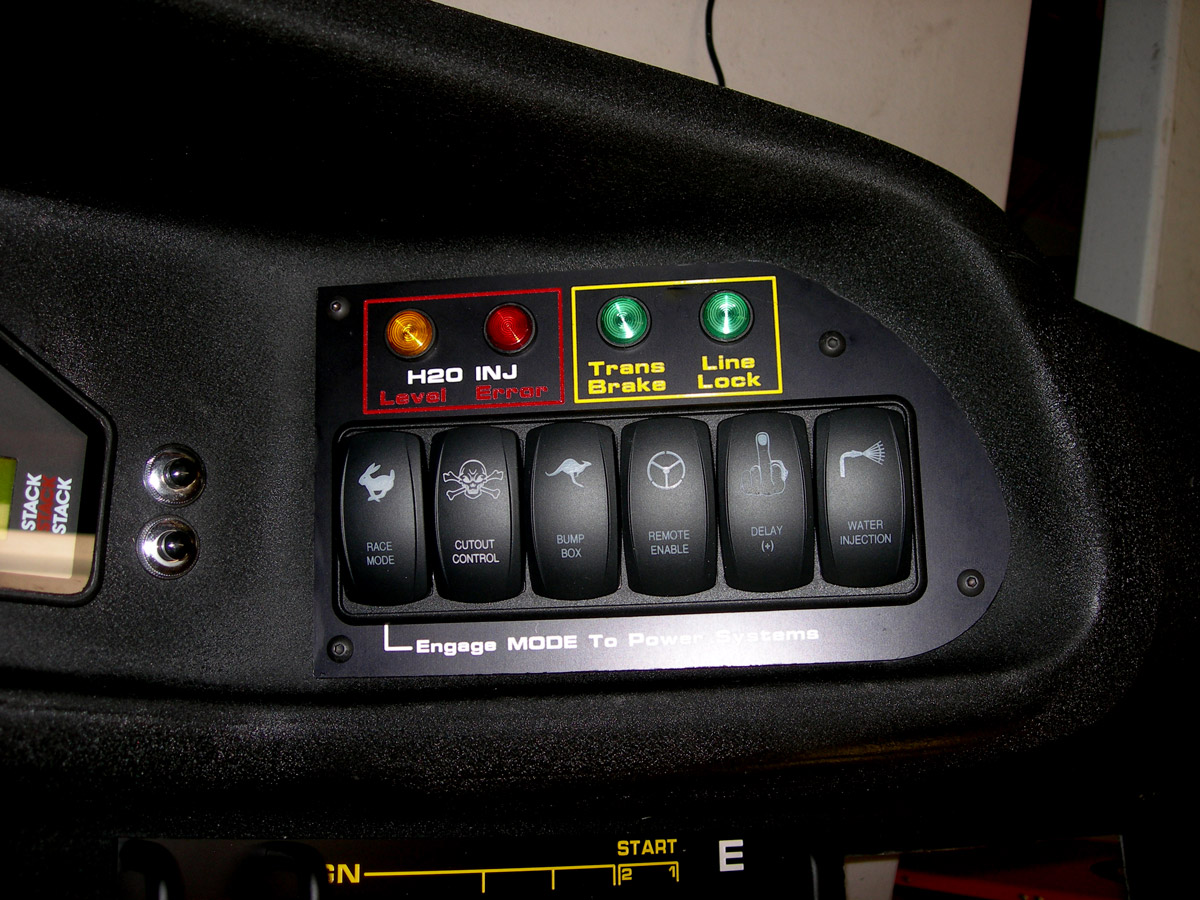
Right upper controls
|
Right lower controls
|
Left side with Air Fuel, Tranny temp and controls,
|
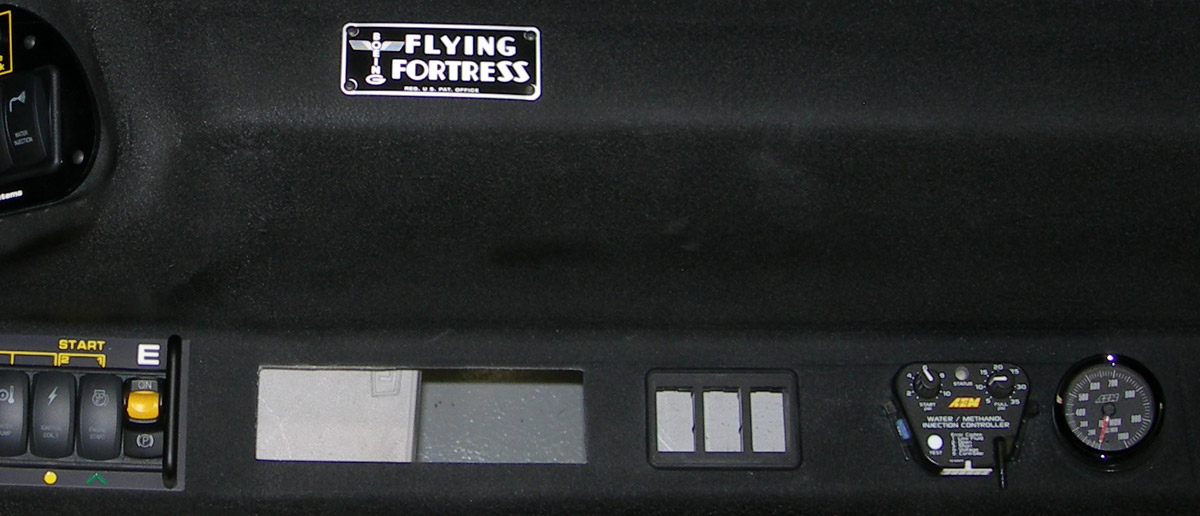
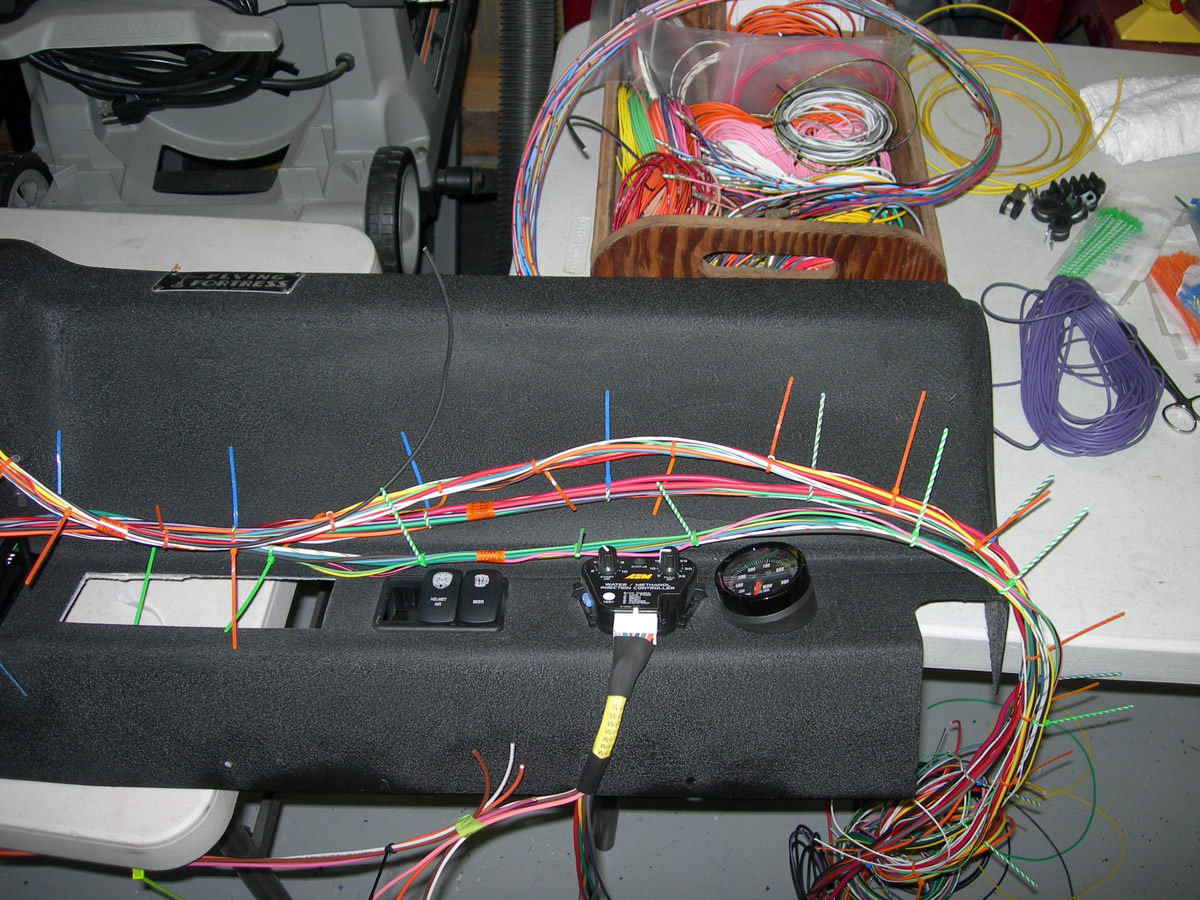
Right side of dash, Water injection setting and monitoring on the right.
|
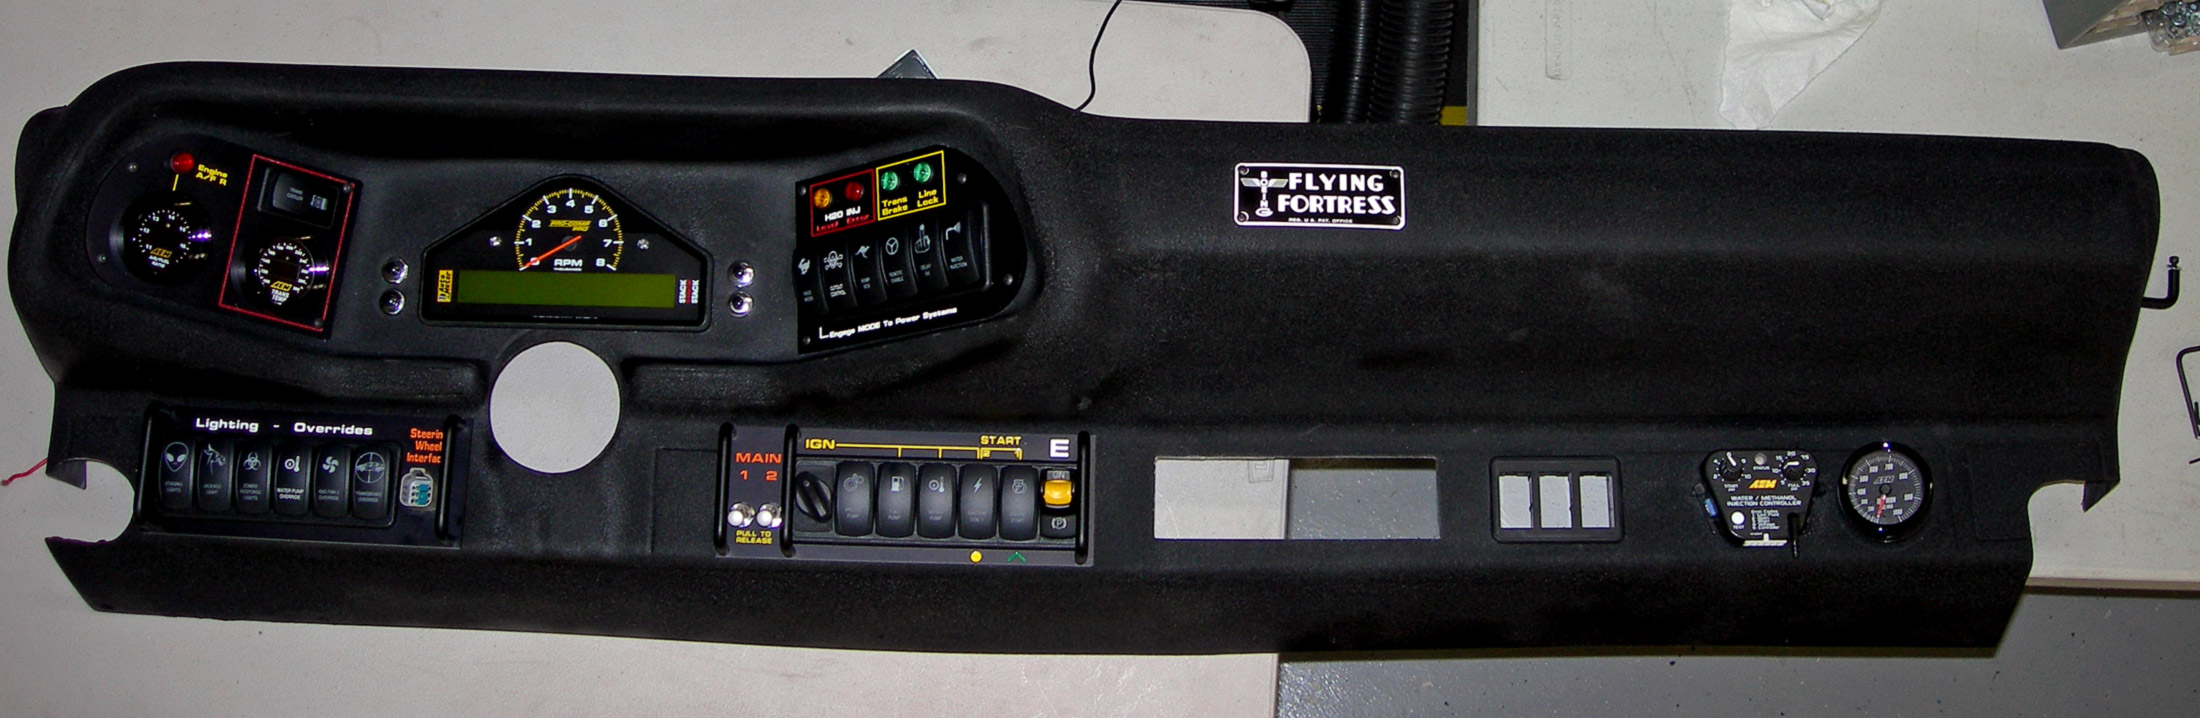
DASH FULL VIEW
|
|
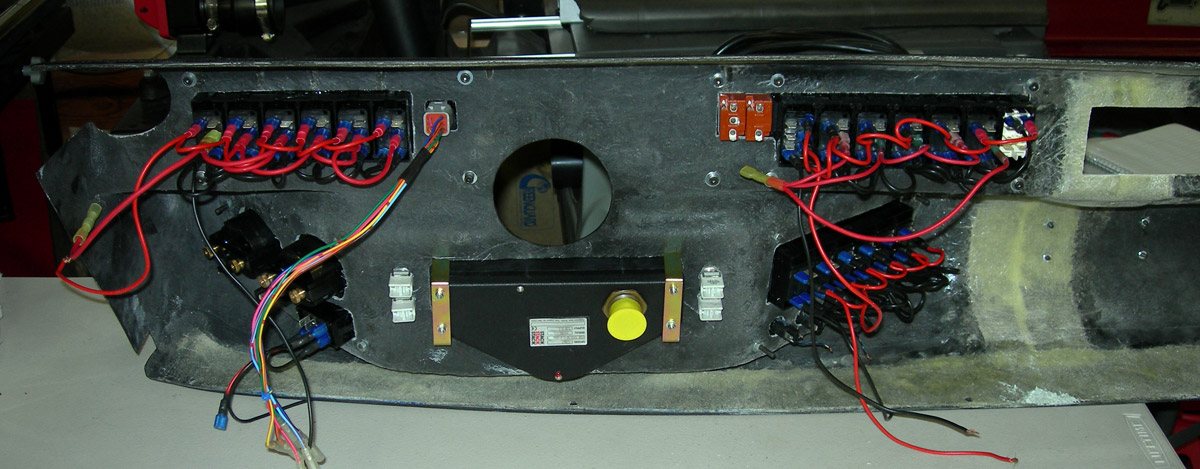
Back of dash prior to installing wiring harnesses
|
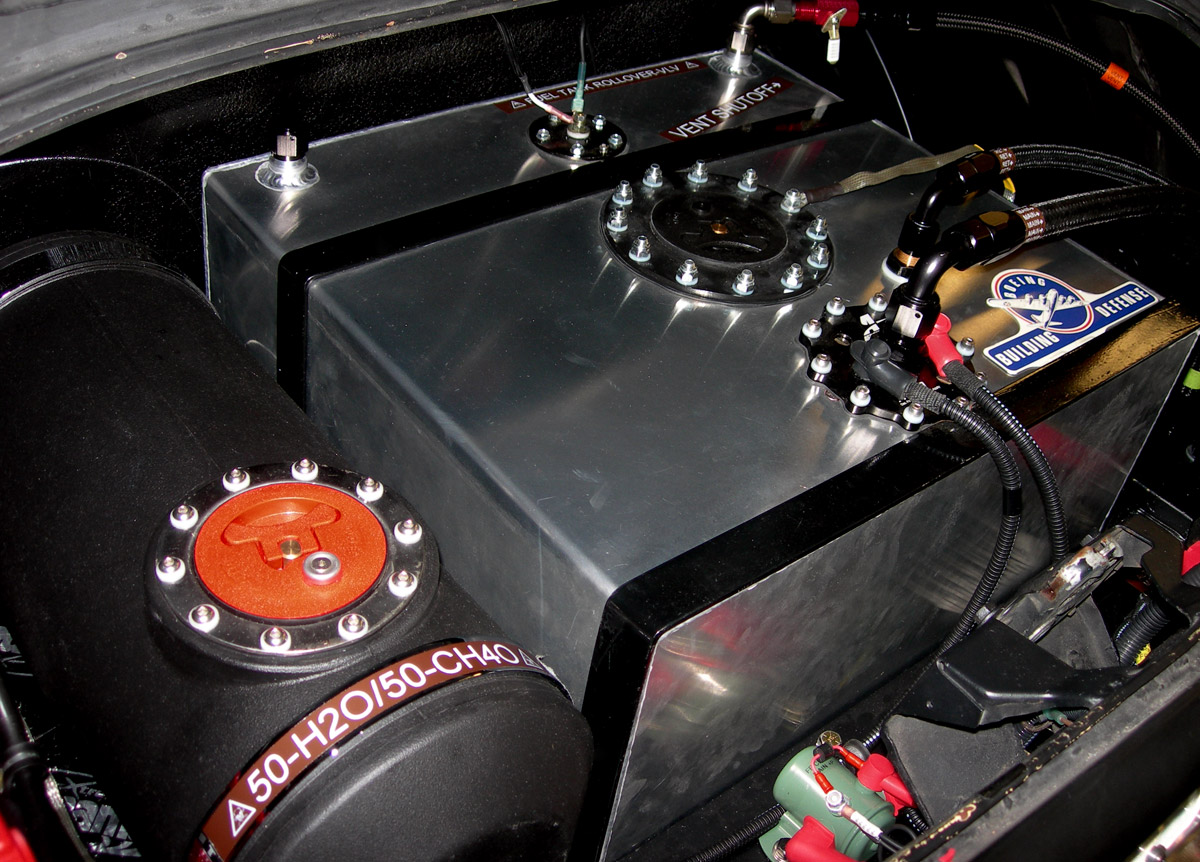
Trunk update with some new changes
|
TRUNK 2
|
Trunk top view
|
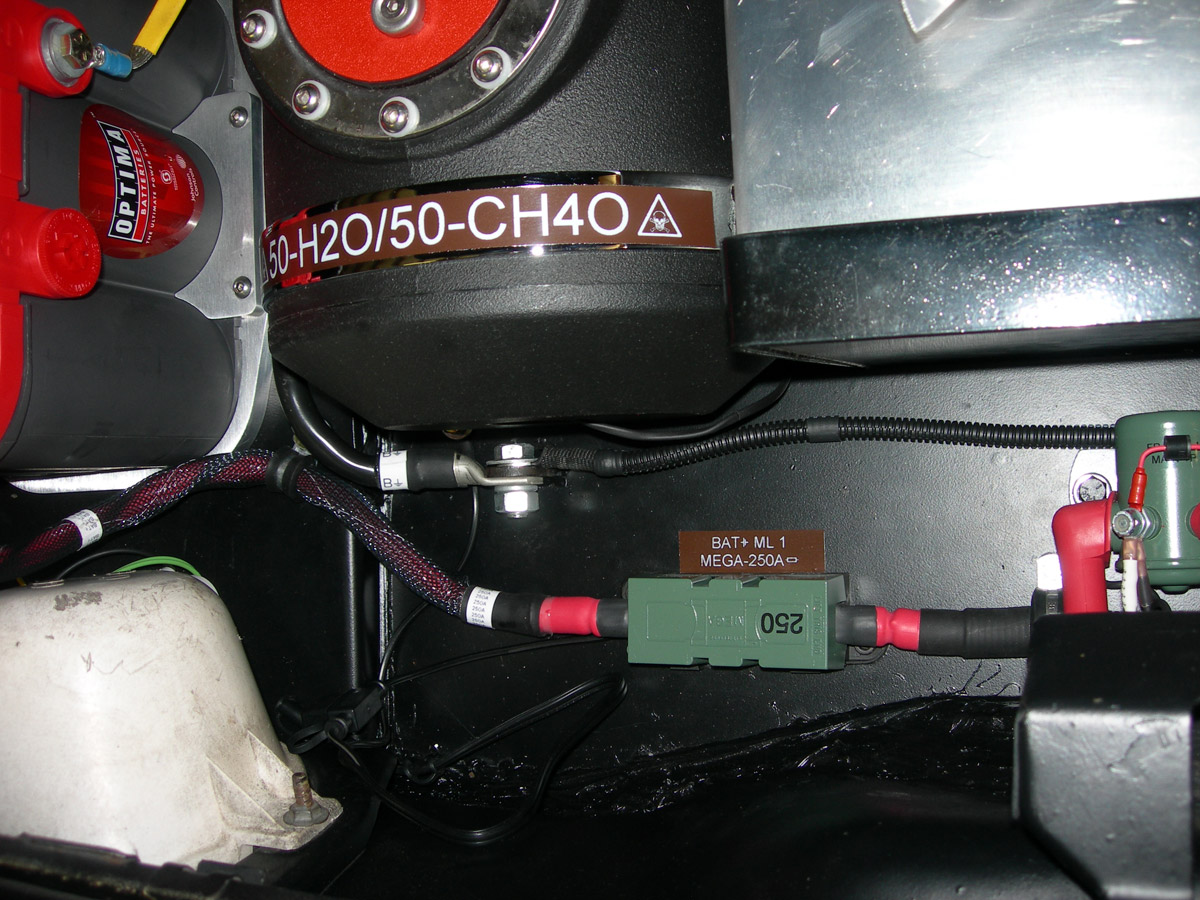
A few changes made in the trunk with new colors (OD) and wiring covers
|
Apother trunk shot
|
Laying out the wiring for each run and color coding
|
 |
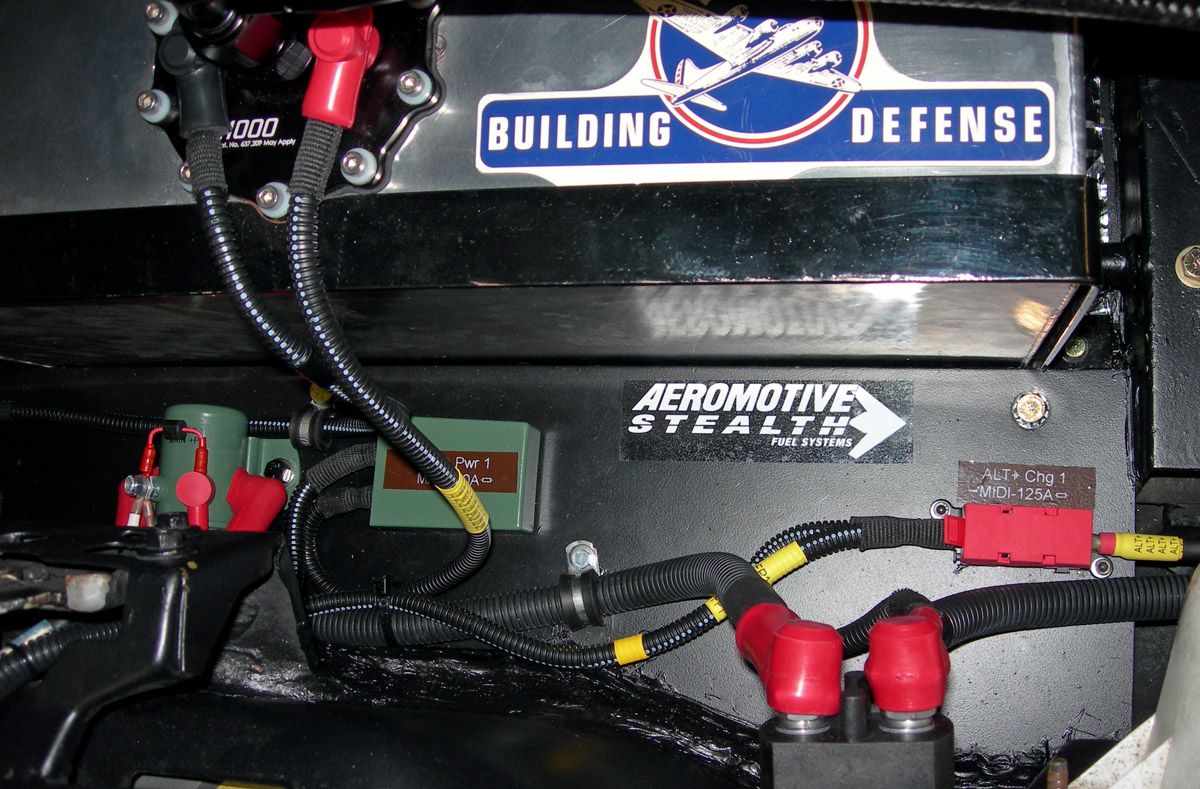
Main power distribution and fuse/relay panel -
|
|
|
|