Photos as we have available here and there and while working on the remake of the 1972 Camaro.
PAGE 3
You can click the image for larger view
|
So we got the dash refitted (had to cut, shorten, rejoin, re-fiberglas due to roll cage), side and center bracing and install brackets. Then a coat of wrinkle paint. Still waiting for full cure but it looks like it'll work out pretty well.
|
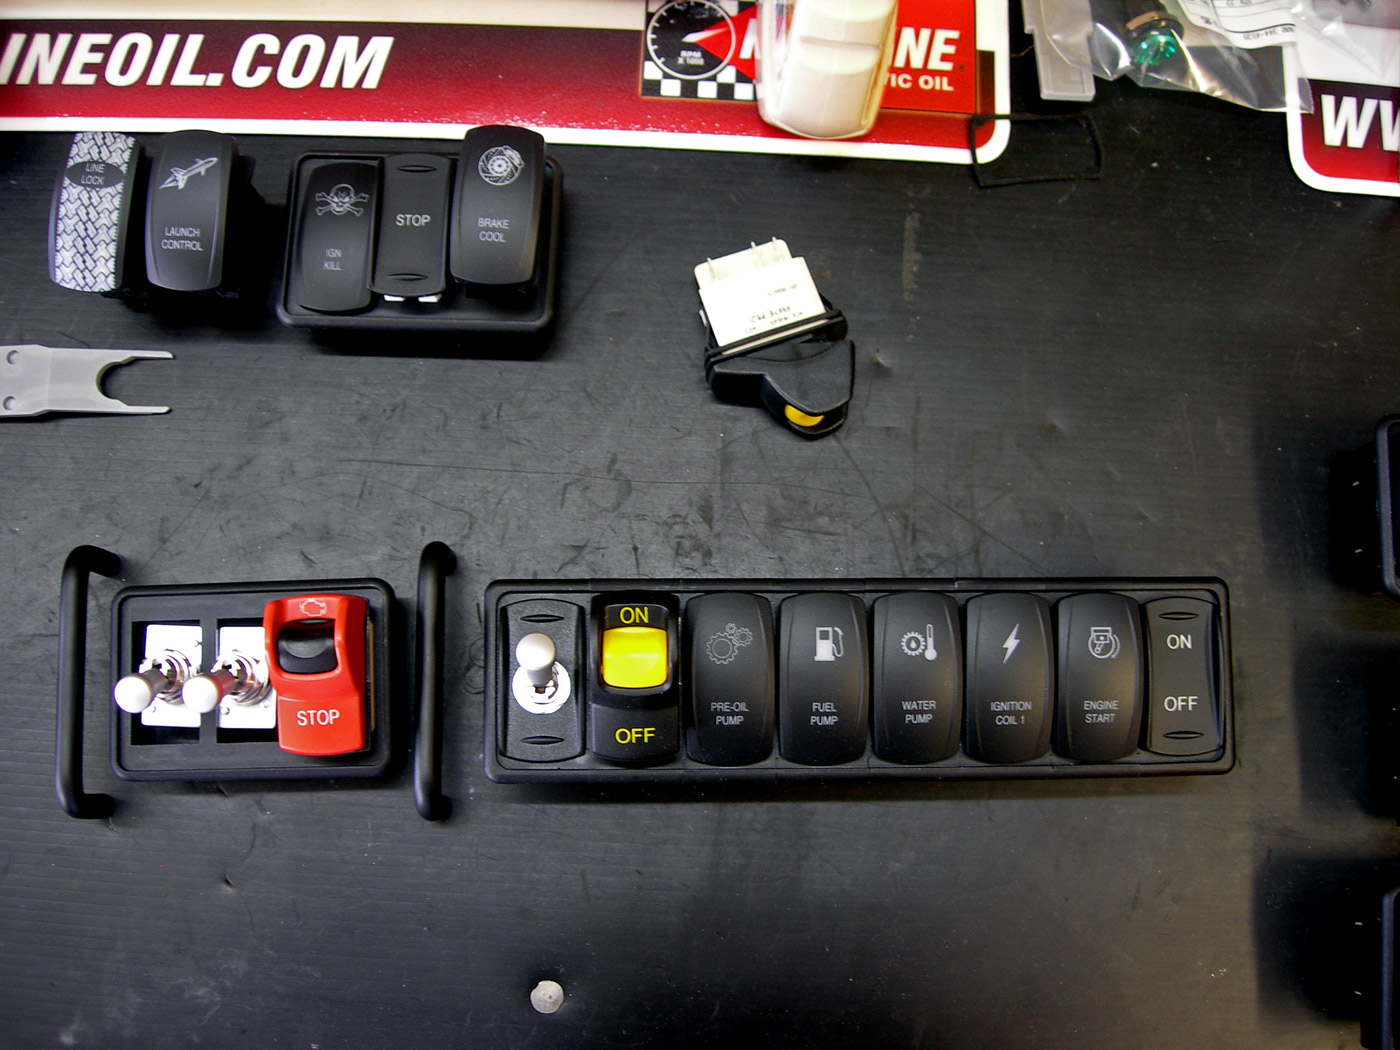
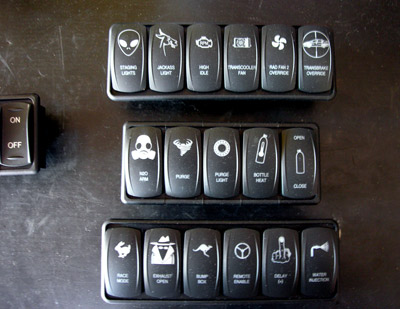
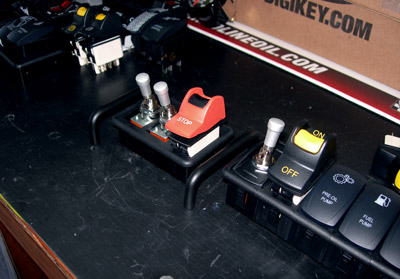
Now that the dash is fitted we will be laying out the dash controls. We use CNC'd aluminum plates for a module type design. It also allows for custom engraving/CNCing into the aluminum plates.
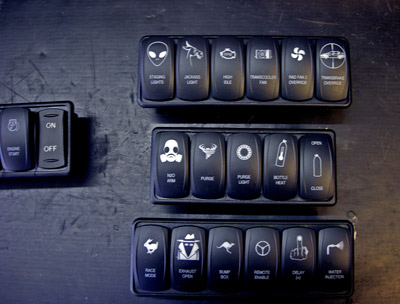
Right now just laying out some switch panel ideas. These are custom laser etched, dual LED, Carling rockers. The locking rockers are the new APEM systems and the toggles are some aeronautical locking style (lift up to engage toggle action)
|
Hard to get super good photo but you get the idea. Some are for fun.
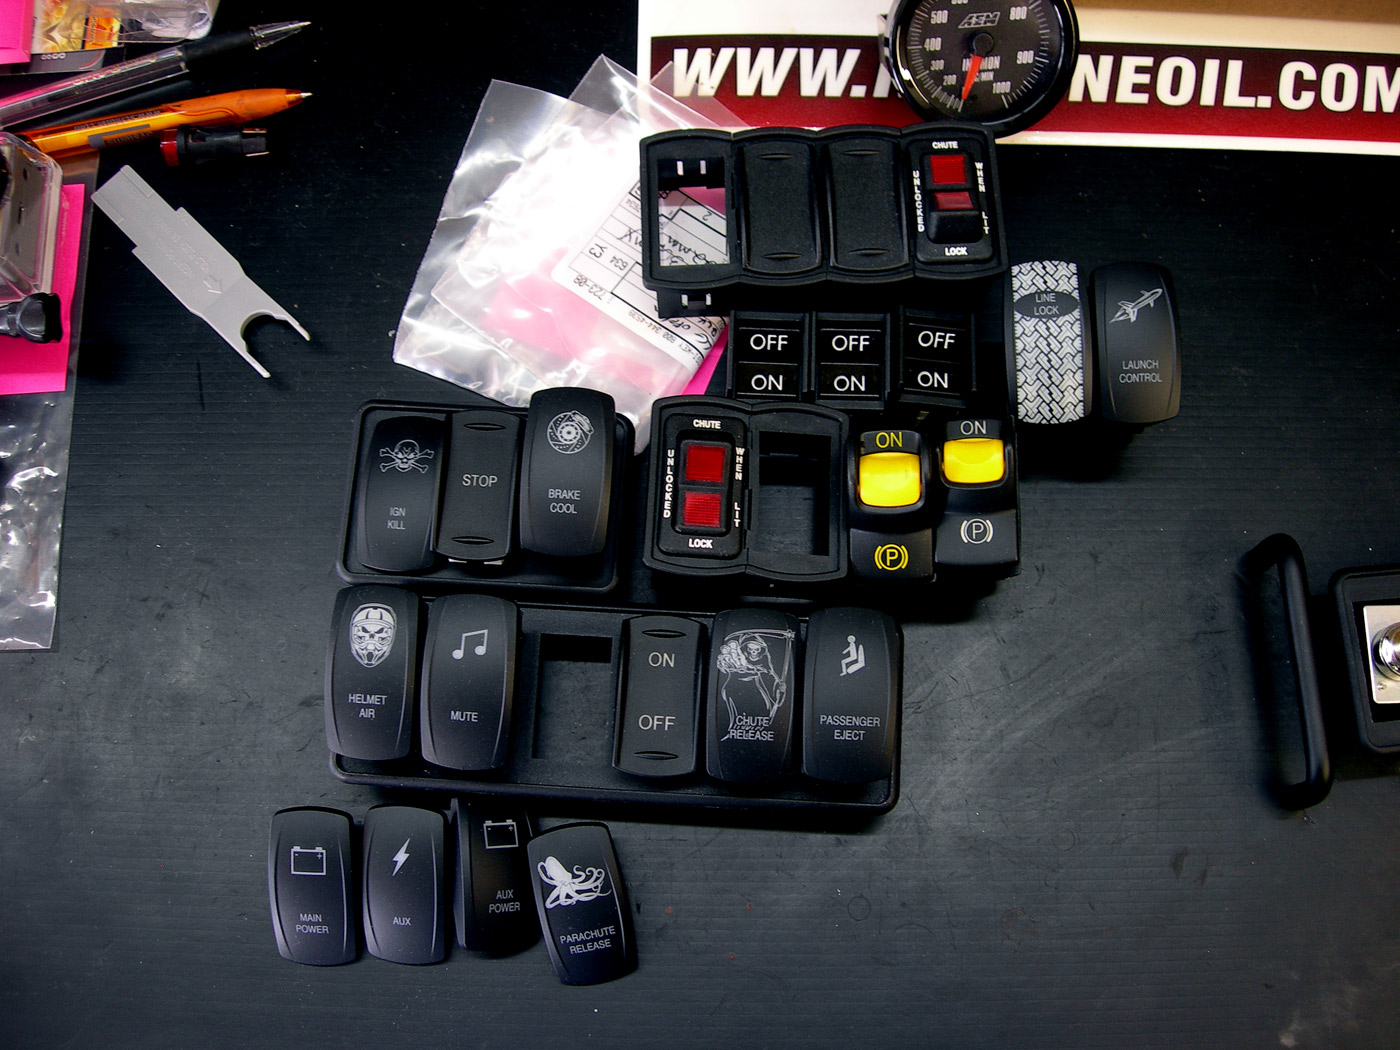
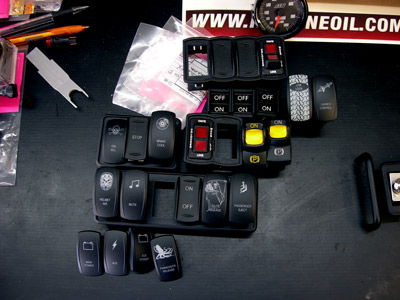
Just paying out some prelim ideas and measurements. These are the Nitrous stack, race controls, and basic other things.
Click image to zoom closer in another window.
|
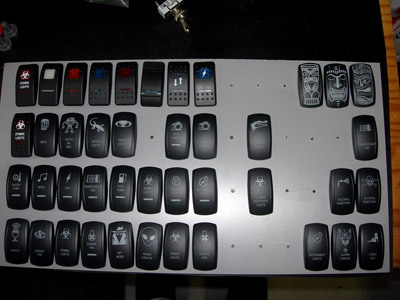
Main control stack test layout 1.

|
some other misc stacks and layouts being mixed in for the final stack pieces (many of these won't be used). Definately use the PASSENGER EJECT control though :) haha.
|
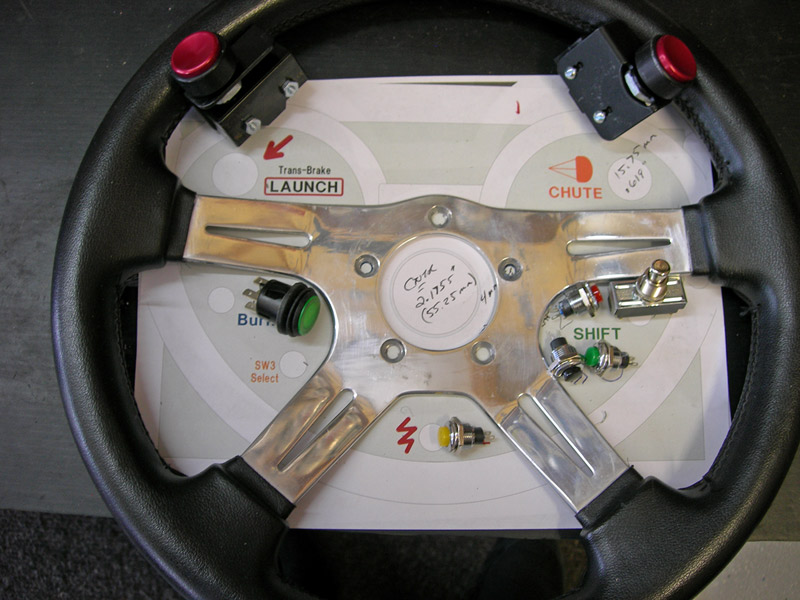
layout for the steering wheel CNC'd switch plate layout. test fitting and prep'ing for the CNC drawing to send to machining. Still deciding on either polished AL or black anodized.

|
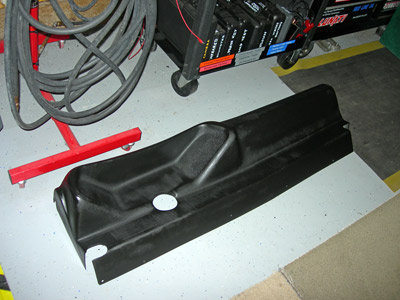
Misc rocker cover selections from the shelf.
Some for humor also.
|
Shows the main locking toggles. These control the dual 75A relays for the system and then the IGN active.
The locking toggles and the lock-out rocker is good to have for the main and aux power on/off. Also good for certain race mode controls like trans-brake override, etc.
|
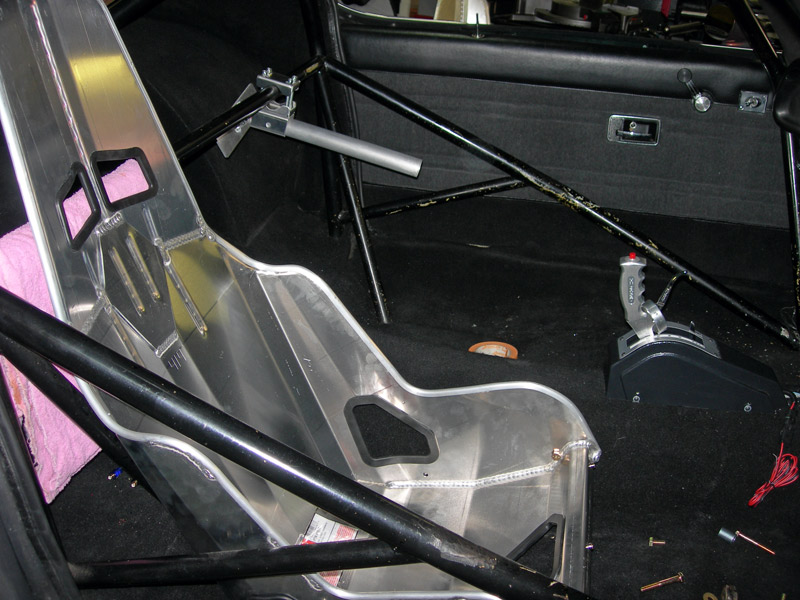
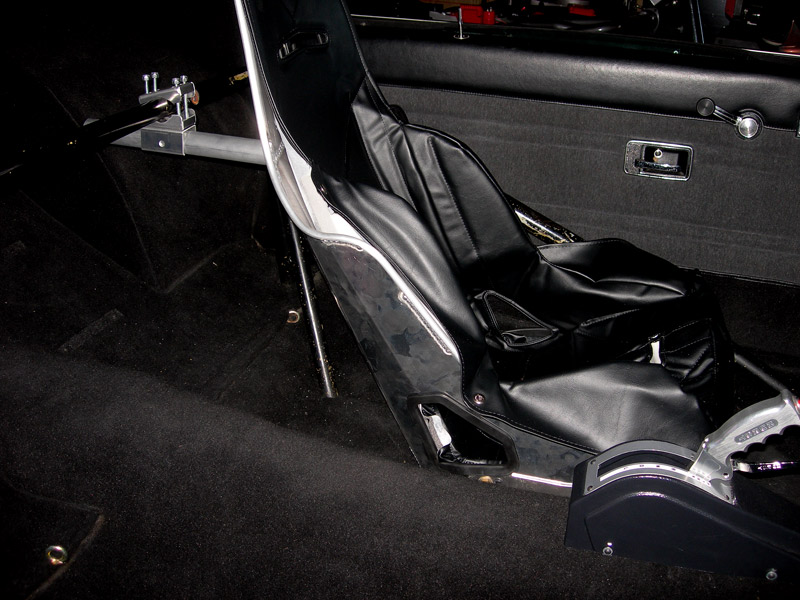
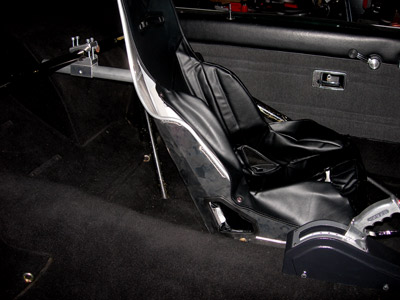
Got the passenger and driver seats installed. Driver side was made into slider style which added some extra engineering to keep strong and function plus meeting drag racing rules. It finally went together and setup just right.

|
Driver side install complete, seat cover going on.
Went with the kirkey drag pro and the vinyl covers.
Due to slider had to also incorporate adjustable rear brace.
|
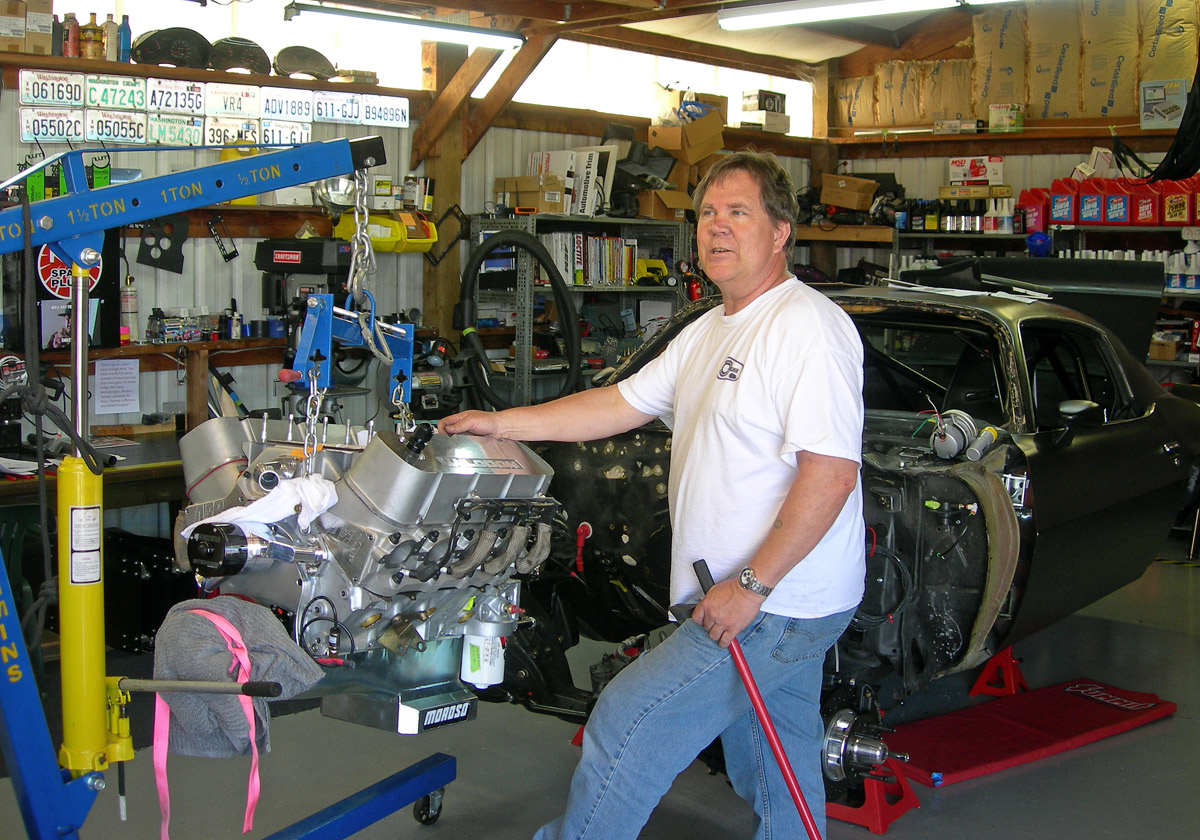
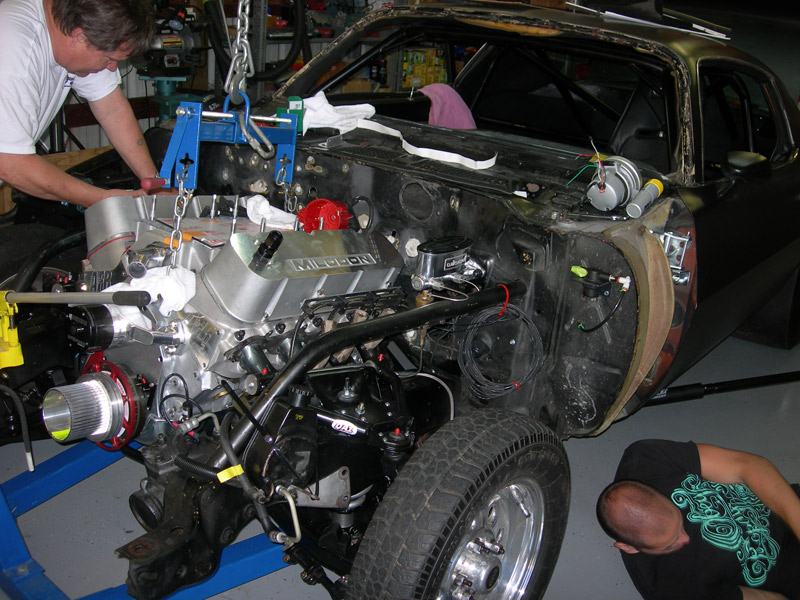
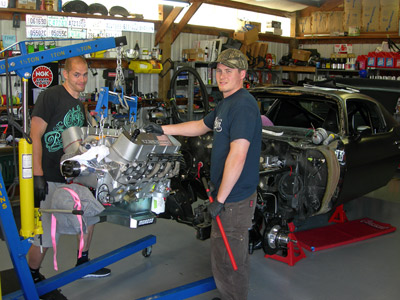
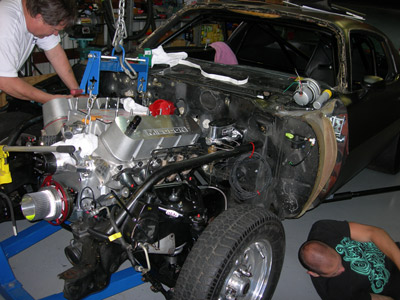
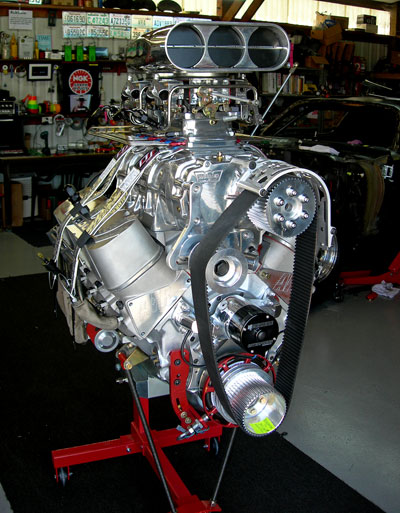
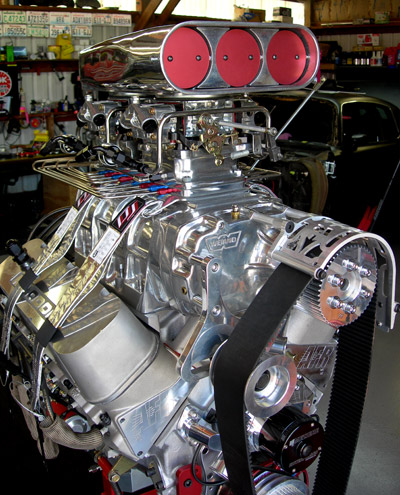
Test fitting engine for clearance and other checks before making other adjustments.

|
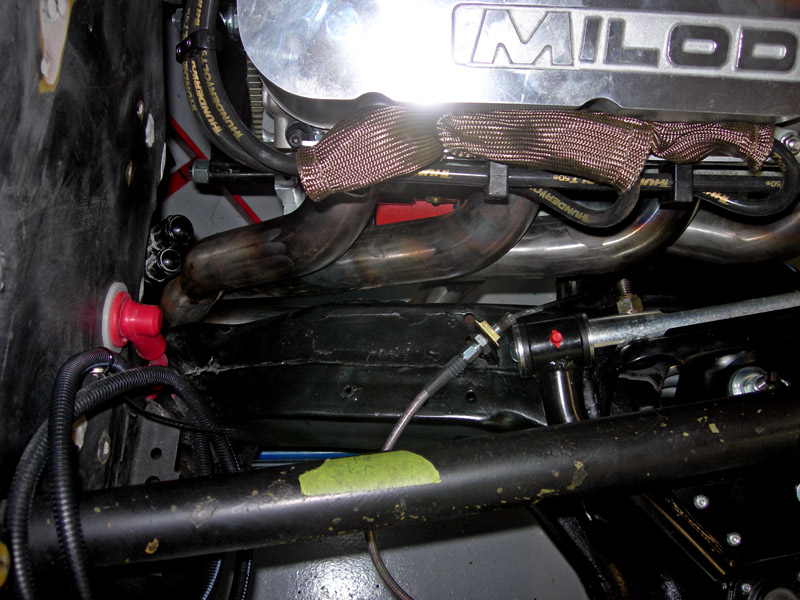
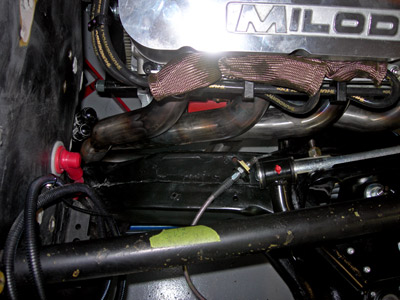
Making sure headers will all fit properly before sending out for ceramic coating.
|
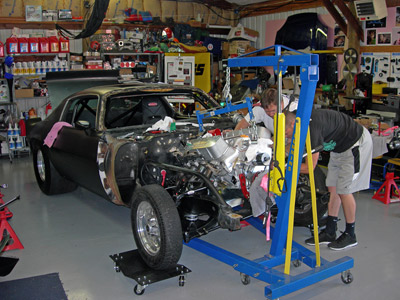
getting installed and test fitted.
|
Yep, headers fit. Got an inch to spare (almost)!
Good enough. Pull engine back out, headers to the coating shop.
|
Headers all fit okay, everything else okay, no issues. Pull it back out.
|
Along with this we also had rear wheel stud issues and had to pull the rear axles again and change all the studs. A threading issue caused us to have to get three stuck lugnuts out (stuck as in had to break off grade 8 studs to get off). Ended up just replacing all with ARP wheel studs.
Also worked on getting all new poly frame mounts (bushings) installed. The body bushings were REALLY in there and certainly the original ones put in back in 72.
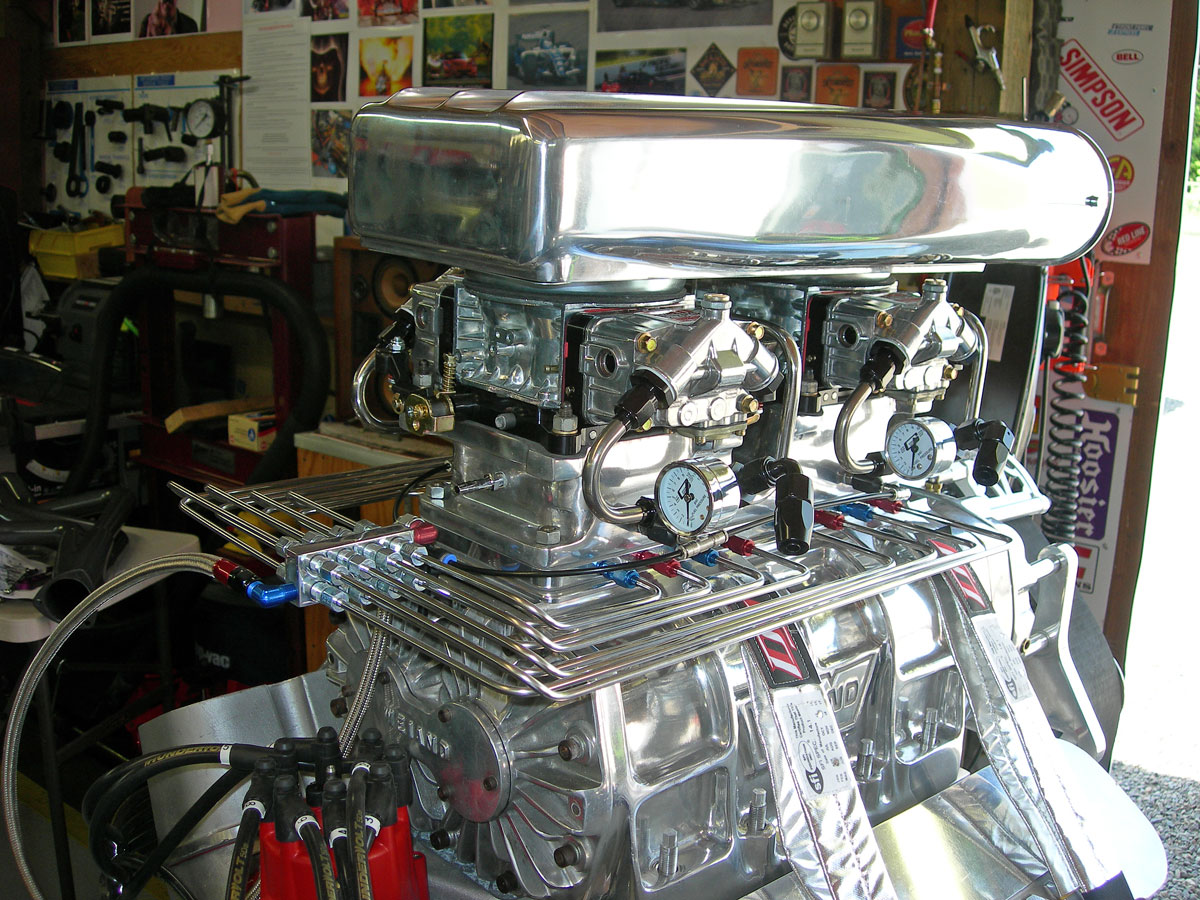
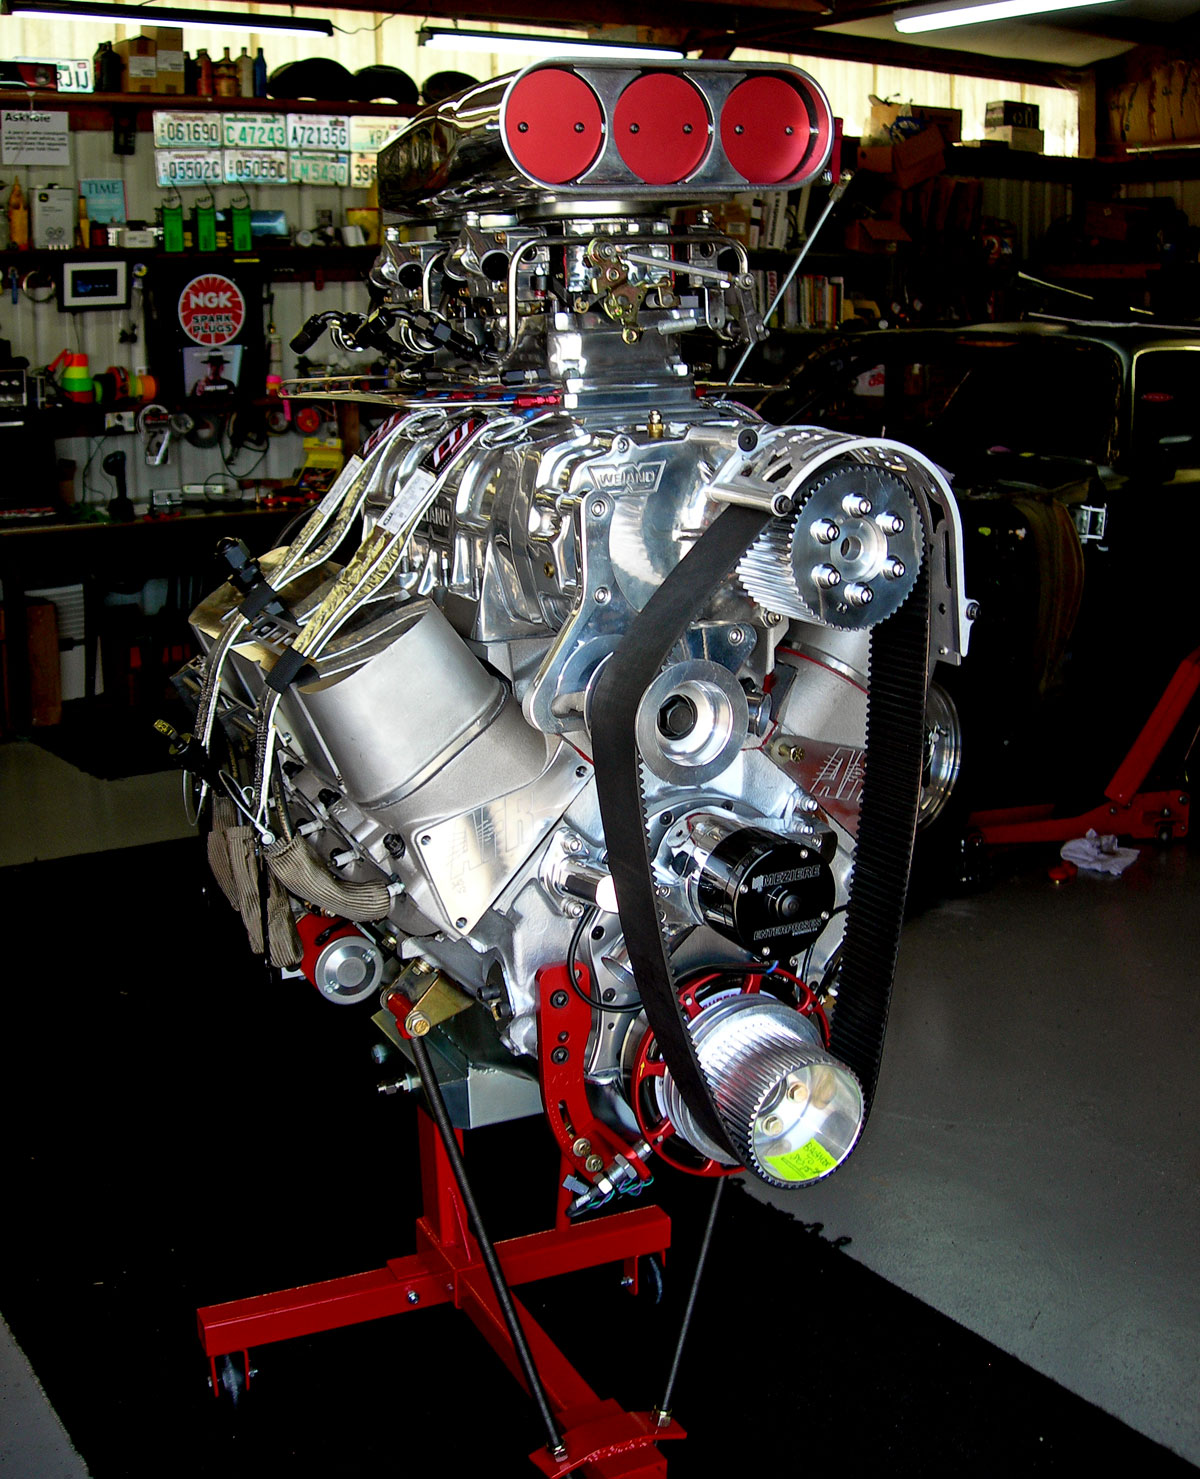
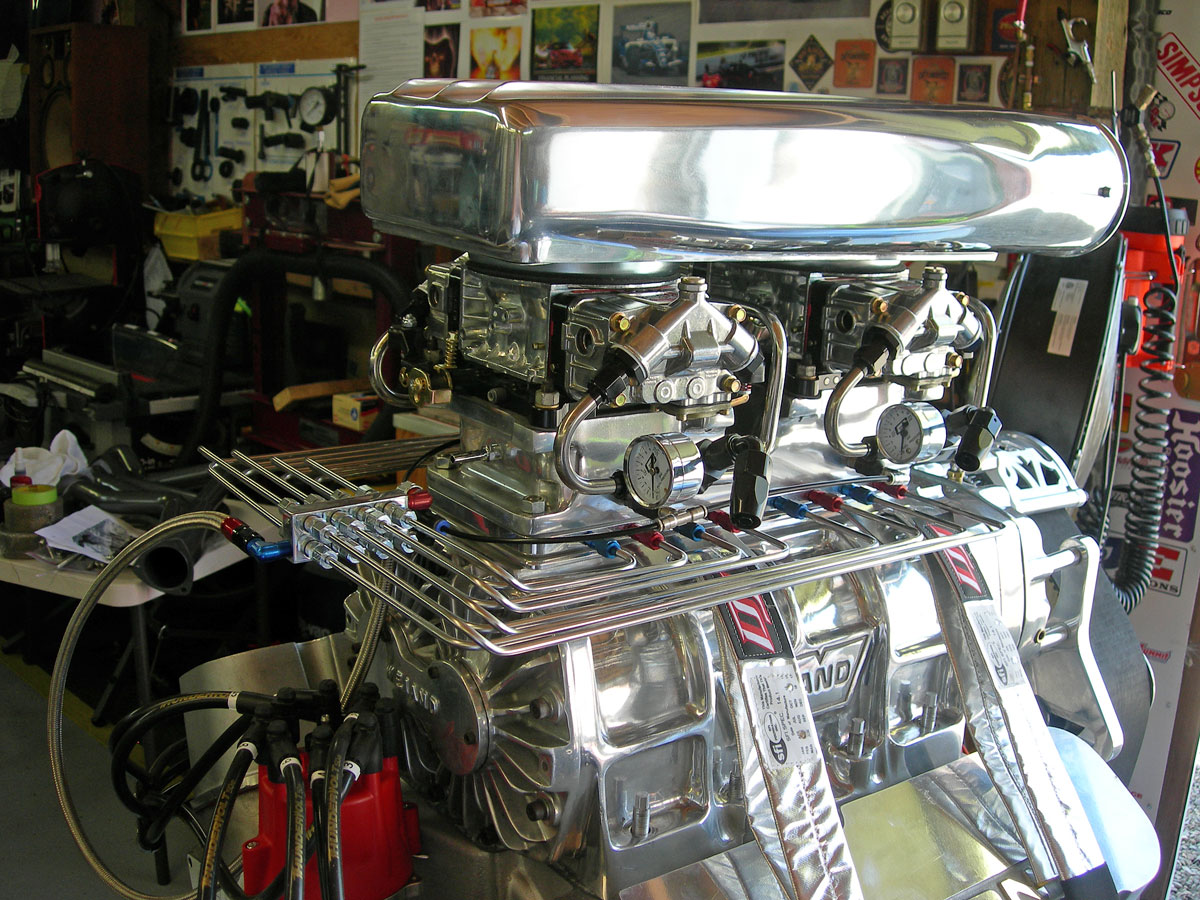
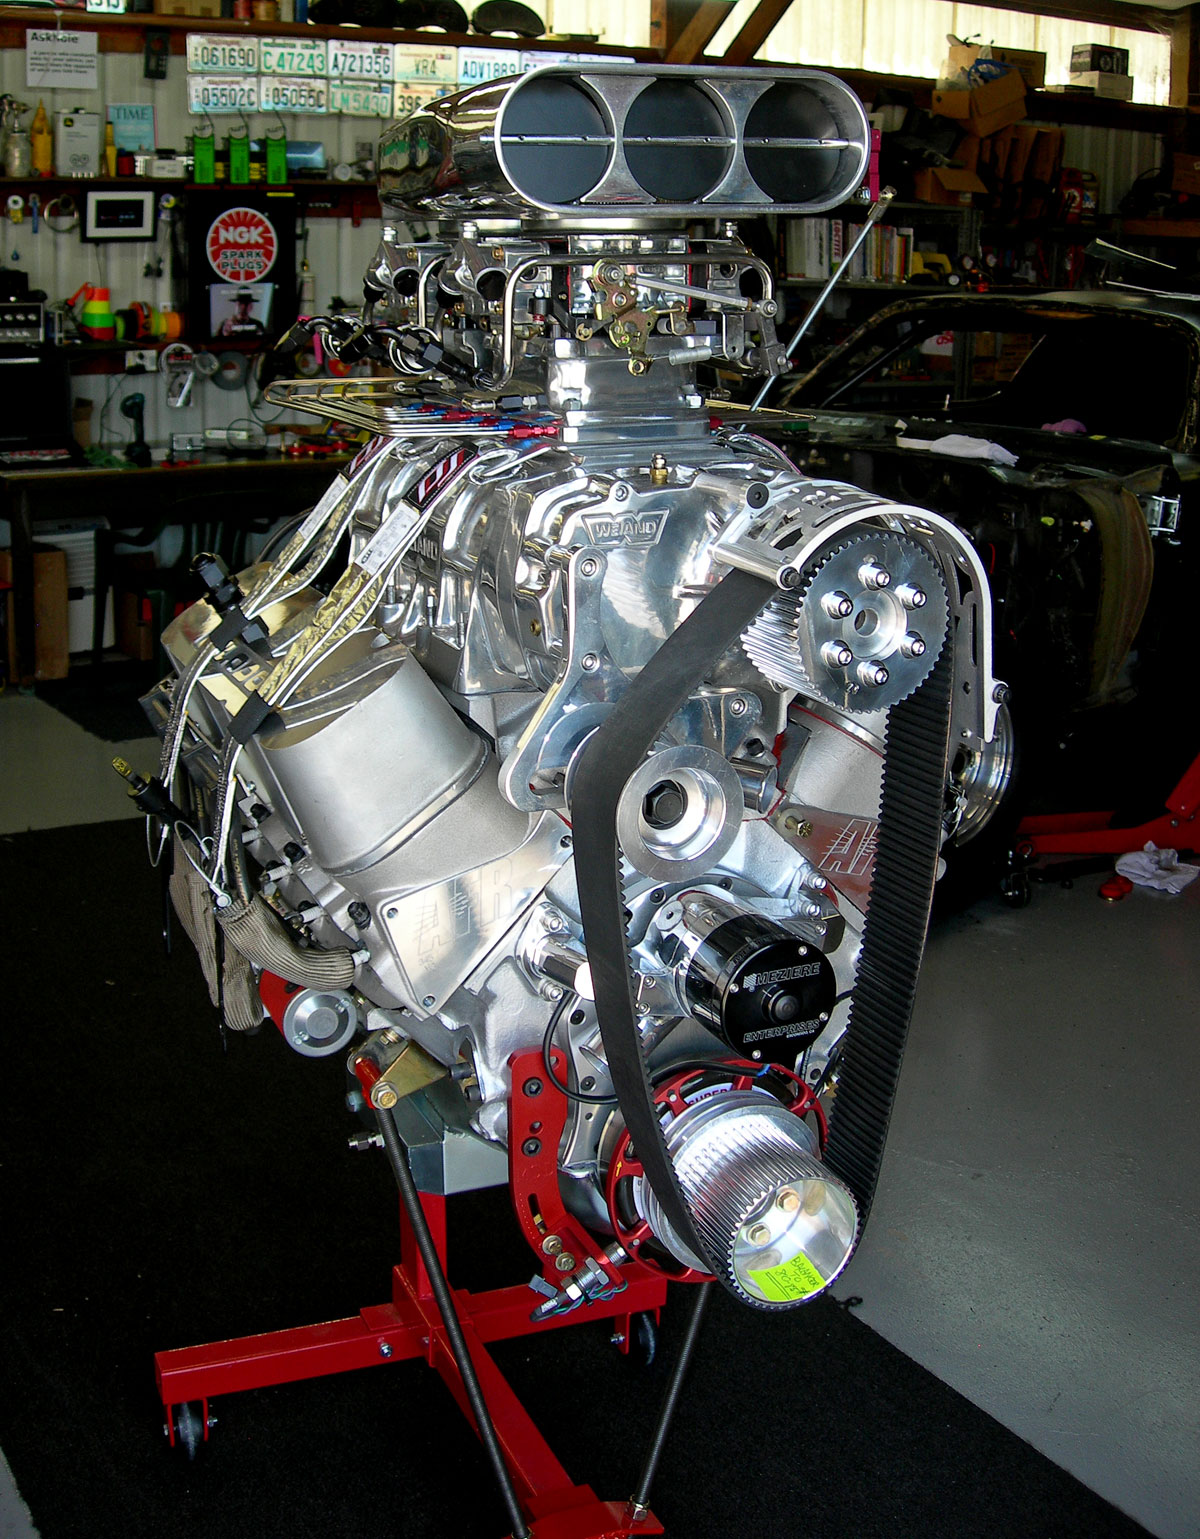
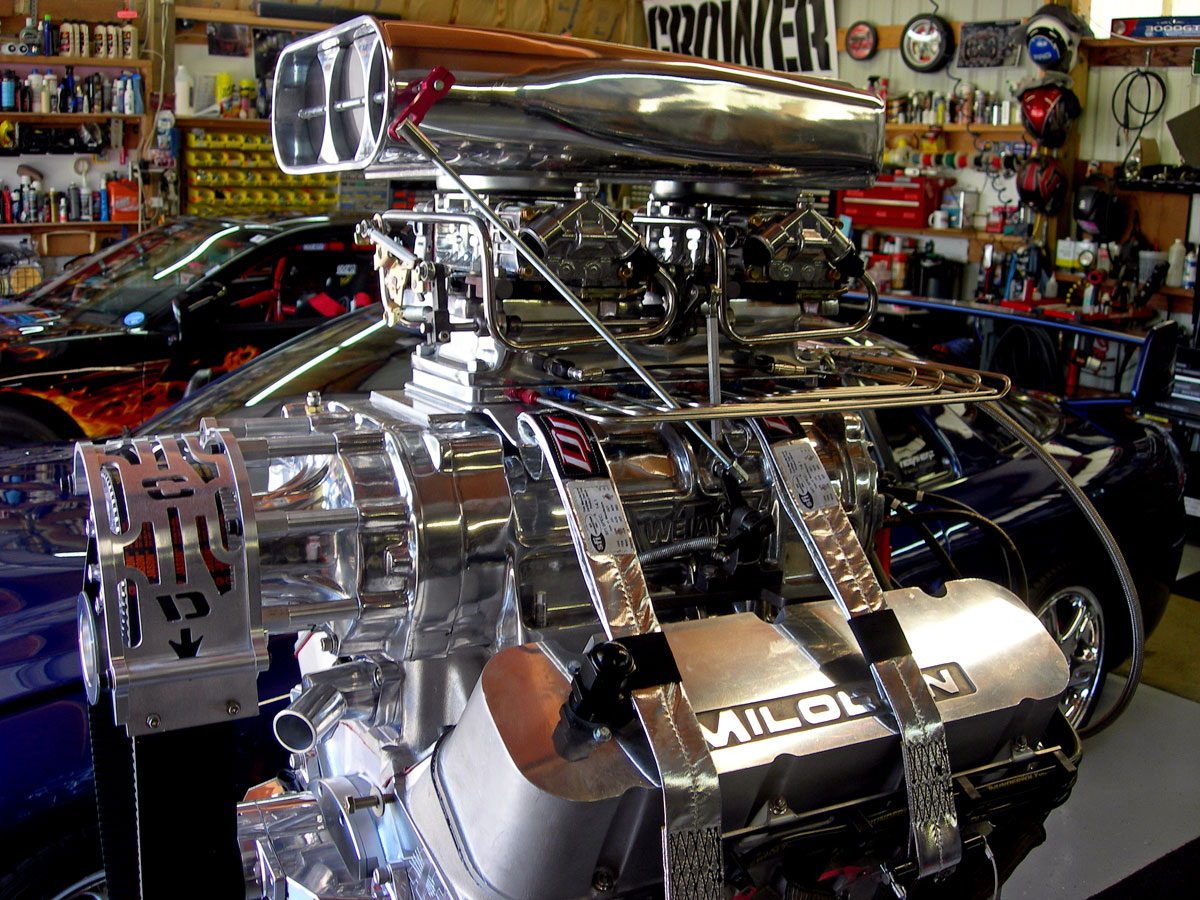
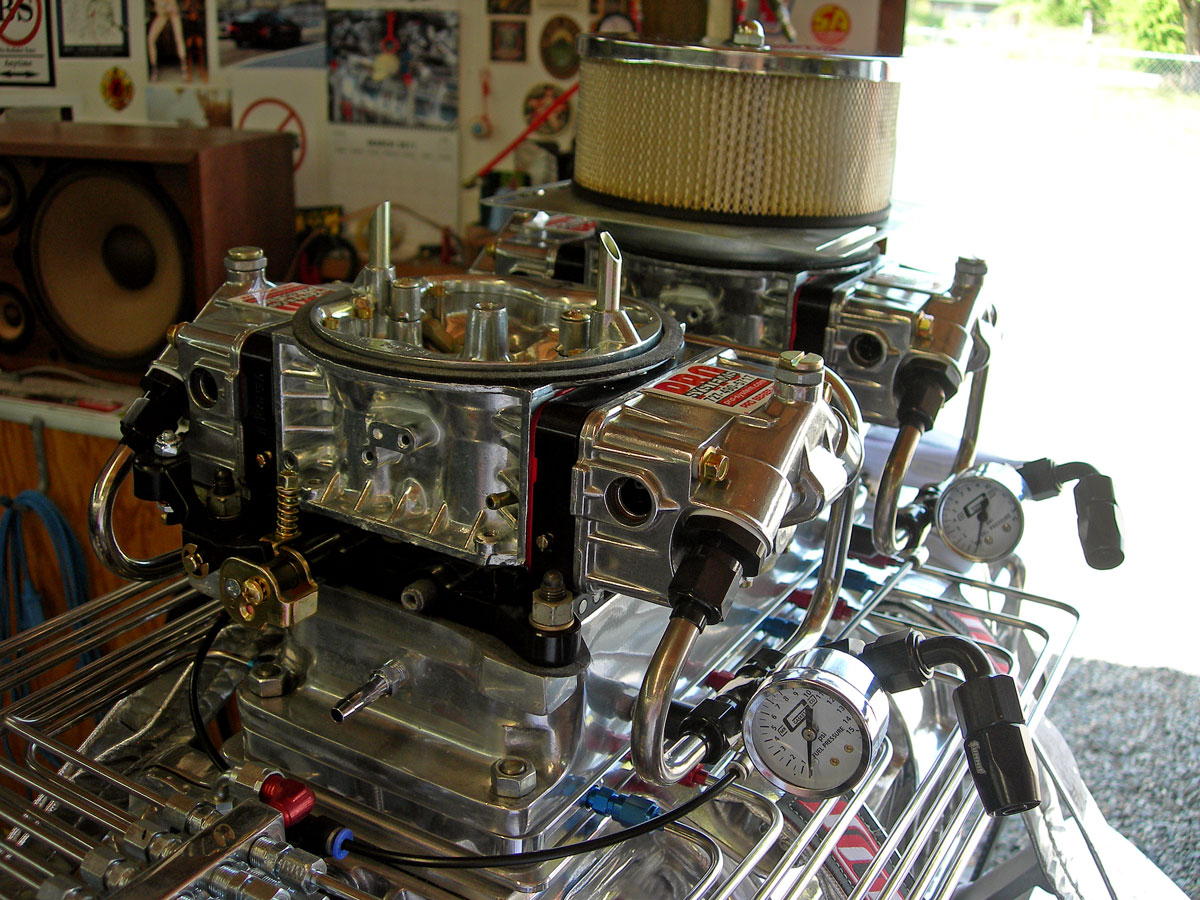
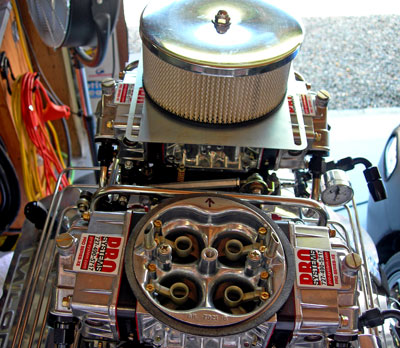
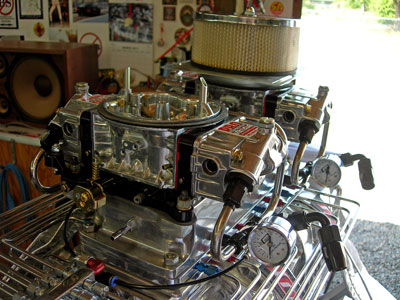
Now getting ready for engine compartment paint prep, body work to prep for paint shop. New custom carburetors install next week. Those are the last big changout and the engine redesign is 100% finished.
Dash panels for controls, gauges and more to go forward. Install parachute mount and frame bracing, roll cage re-evaluation and swing out bar / clevis welding design.
|
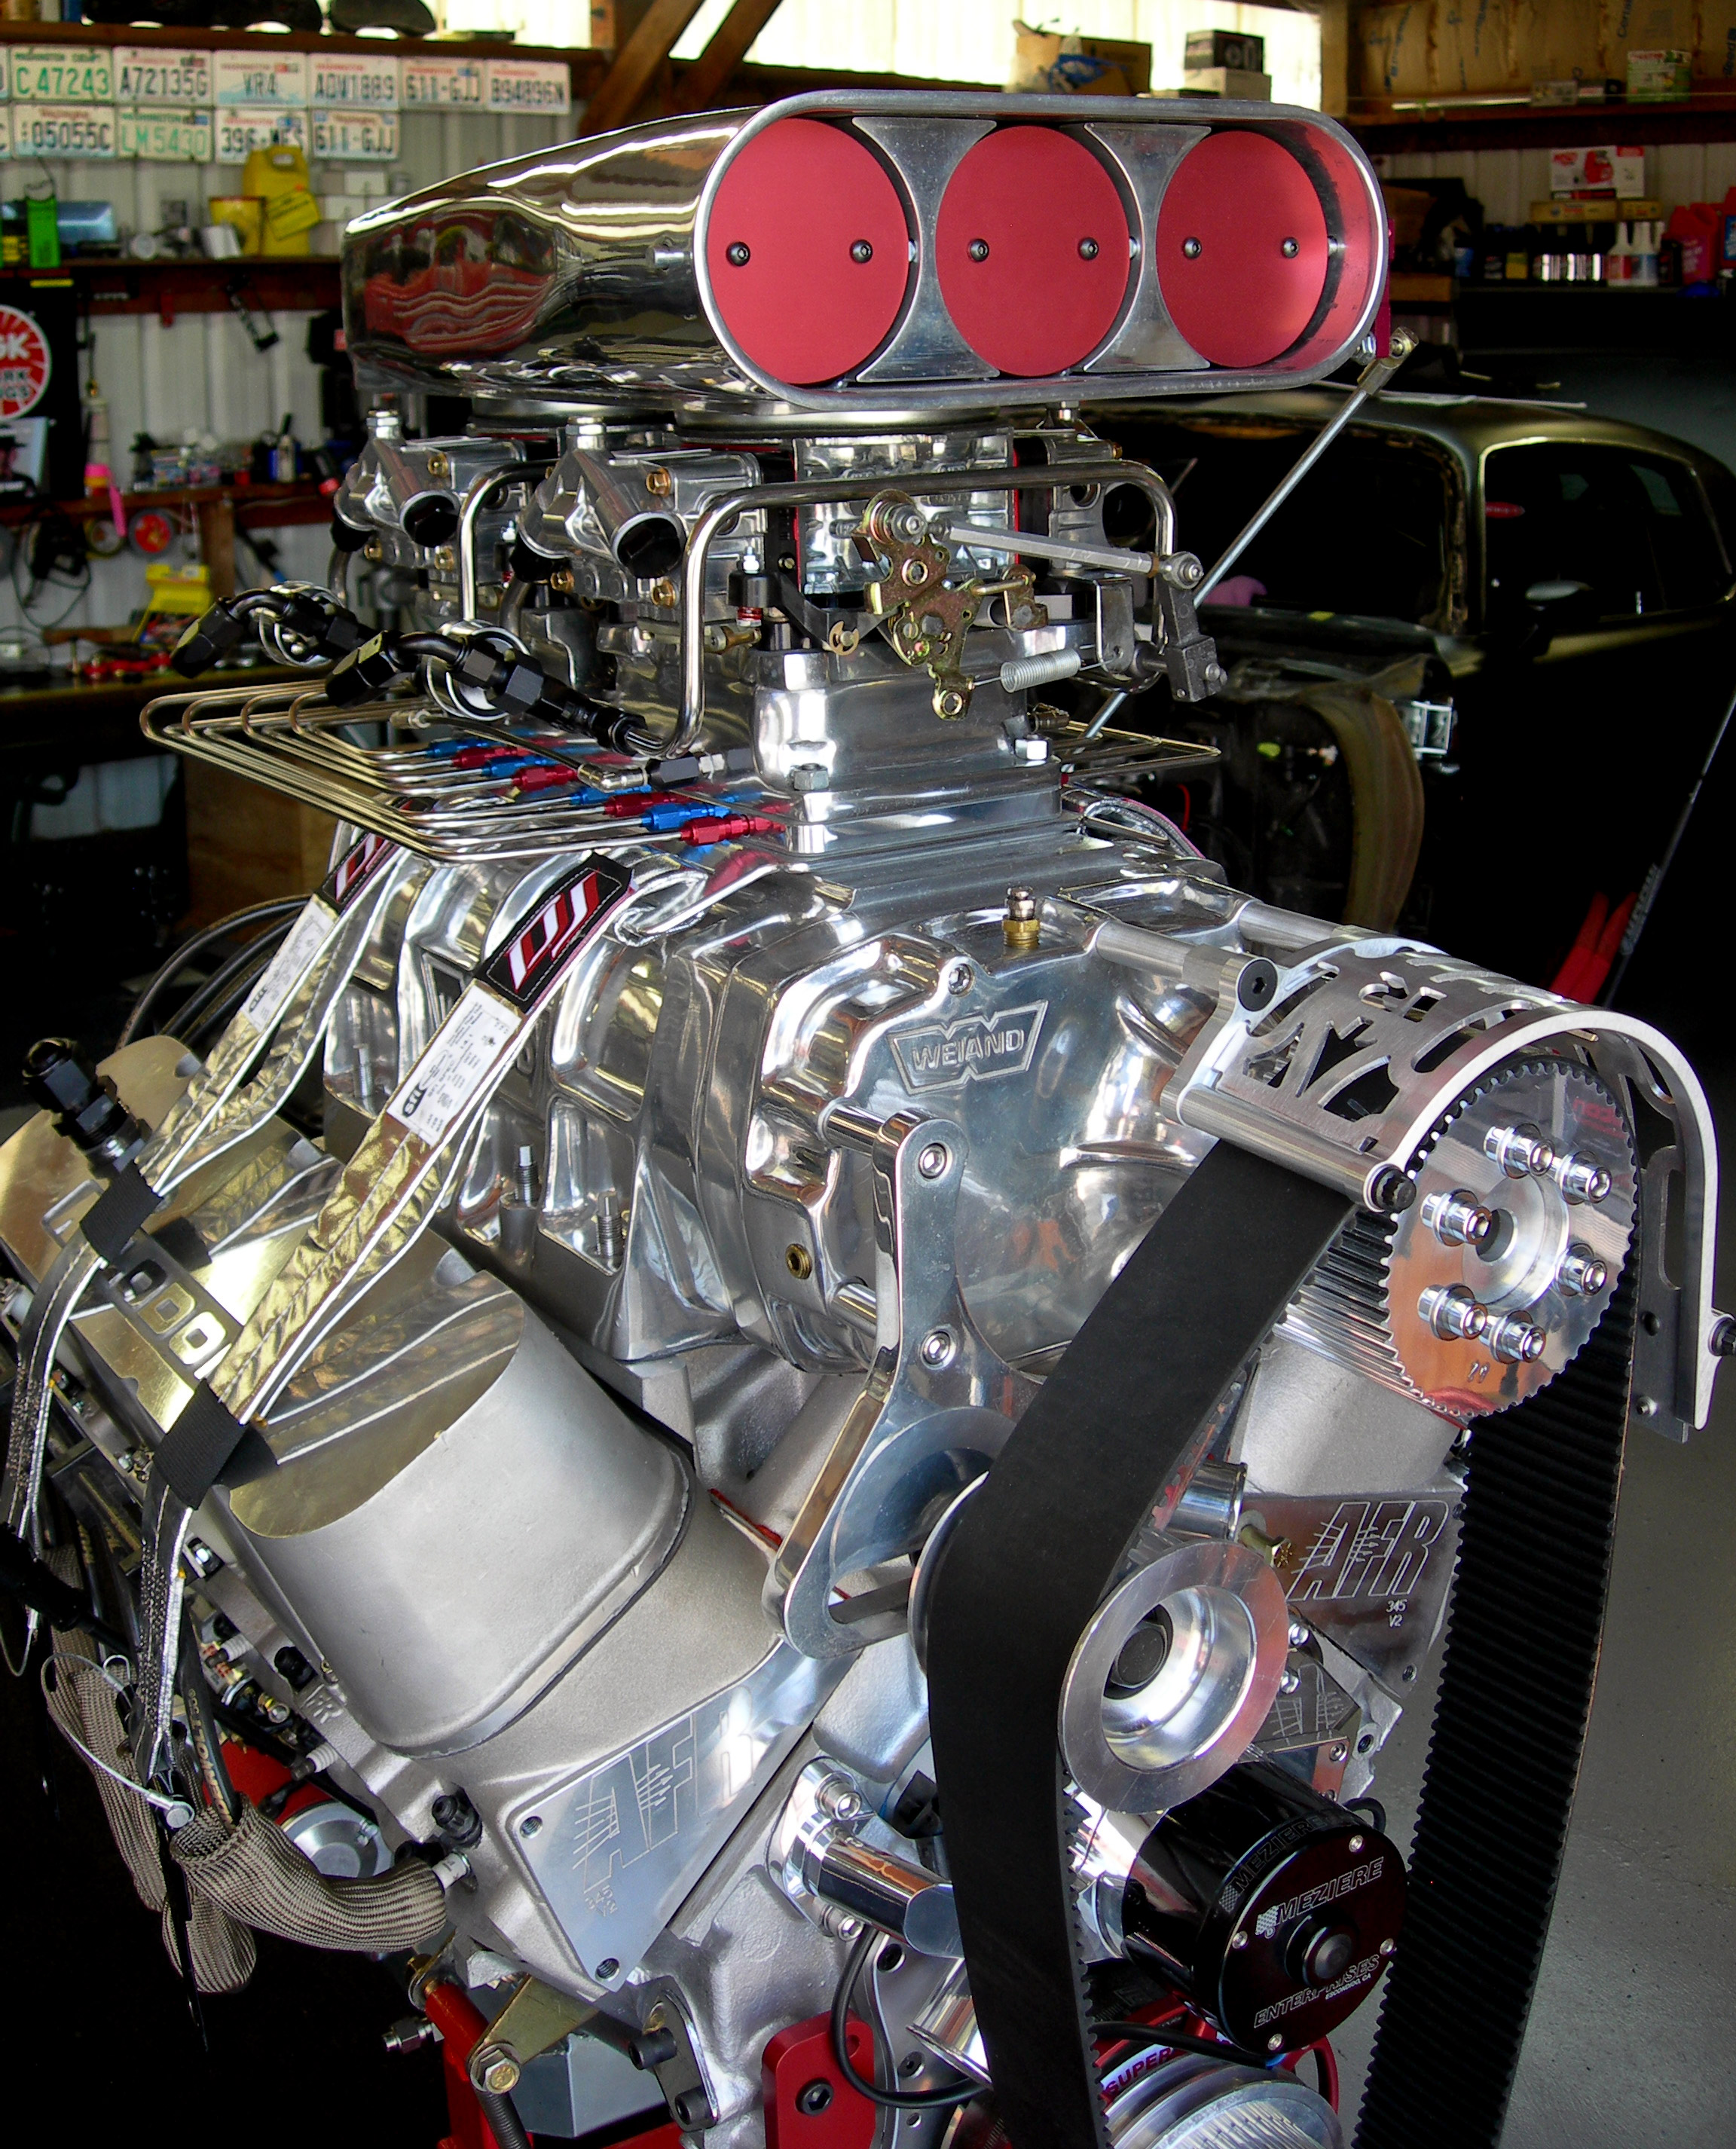
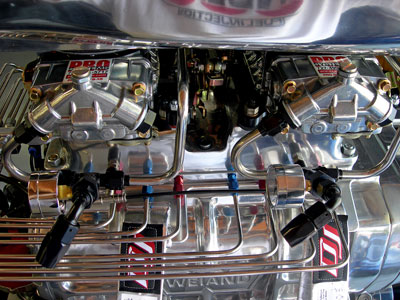
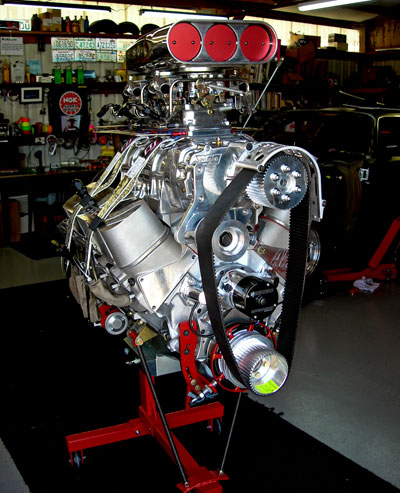
CARBS INSTALLED
|
 |
 |
 |
 |
 |
 |
 |
 |
WE DO NOT YET HAVE ANY OF THE "WWII" STYLE PHOTOS UP. THIS WILL BE UNVIELED AS SOON AS IT IS READY FOR VIEWING.
STAY TUNED FOR THE ALL NEW
B-17 DEDICATION!
CLICK HERE TO GO TO NEXT PAGE
(PAGE4)
|