|
||||||||||
|
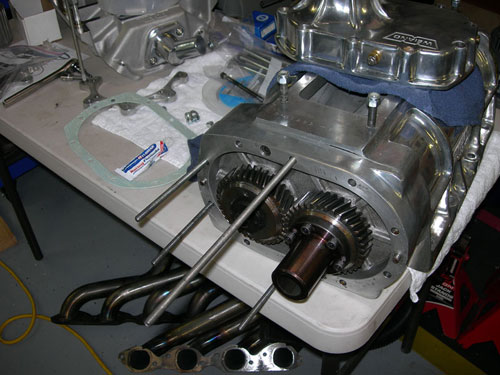
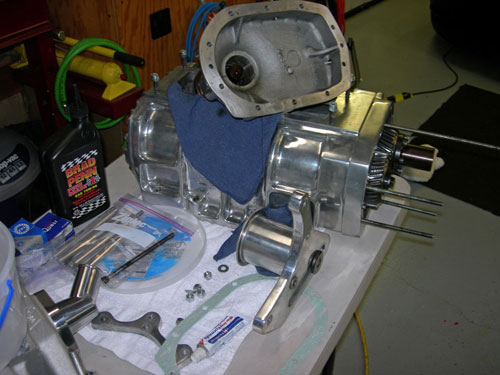
Rebuilding the blower (new bearings and seals) |
 |
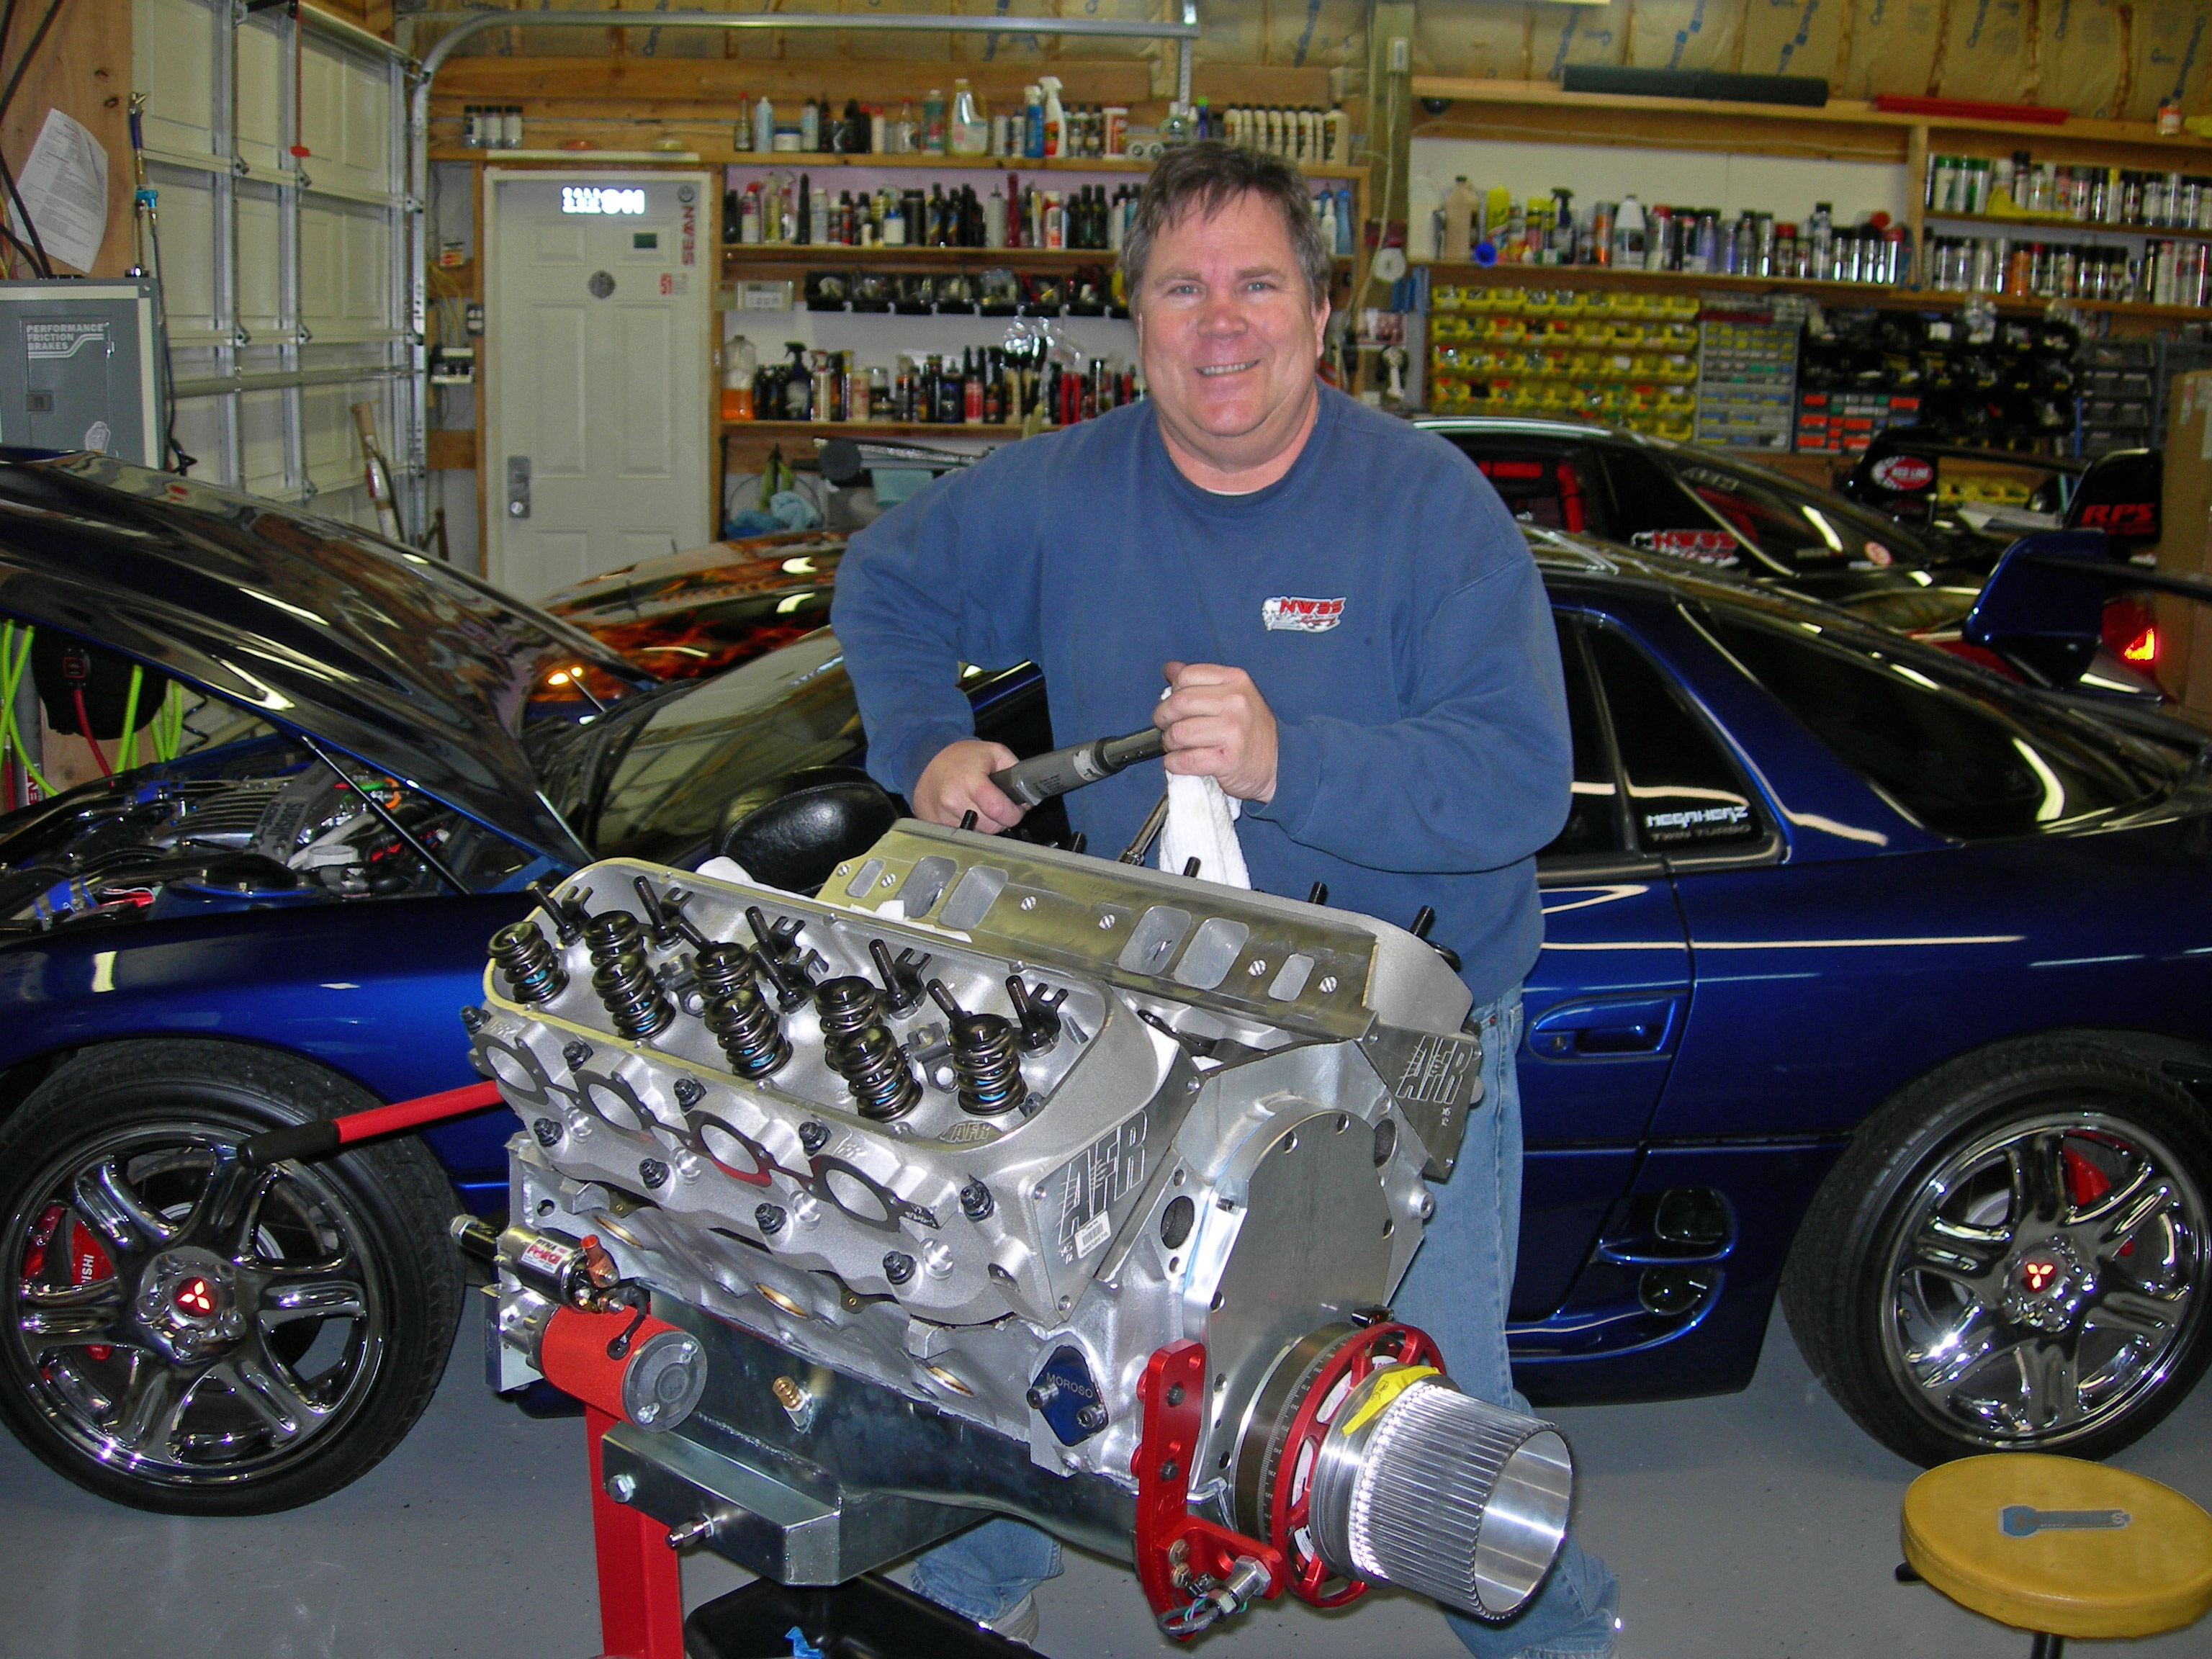
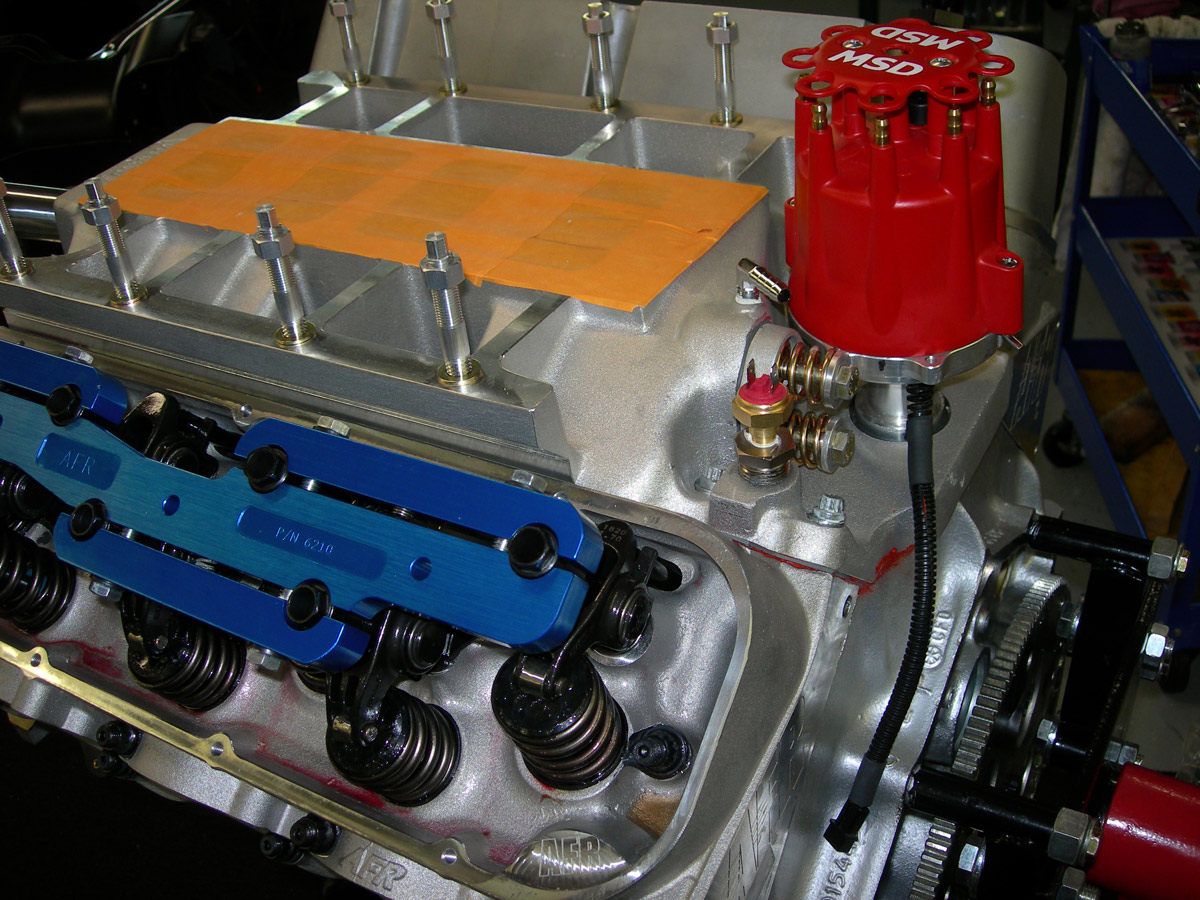
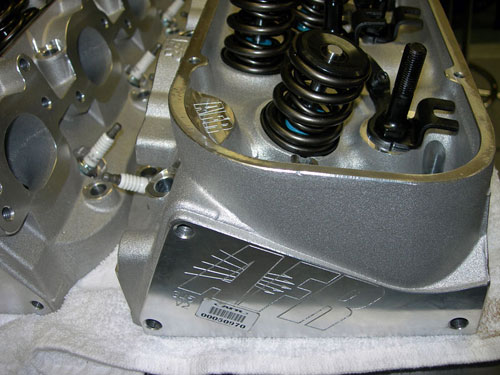
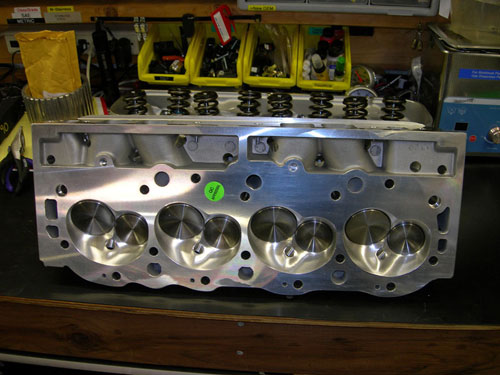
AFR 345 Aluminum racing heads |
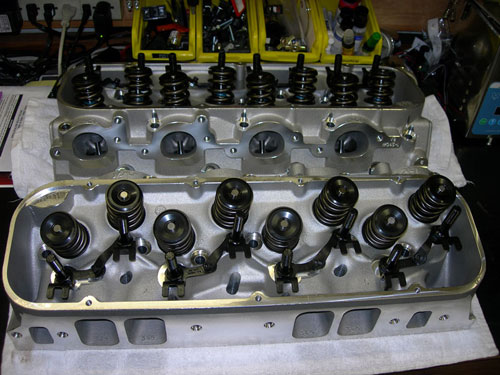 |
oversized stainless steel valves in the new heads |
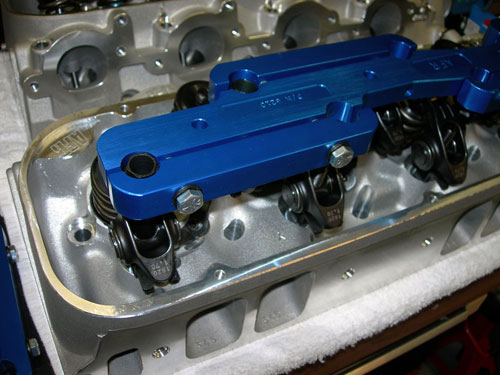
AFR stud girdle system |
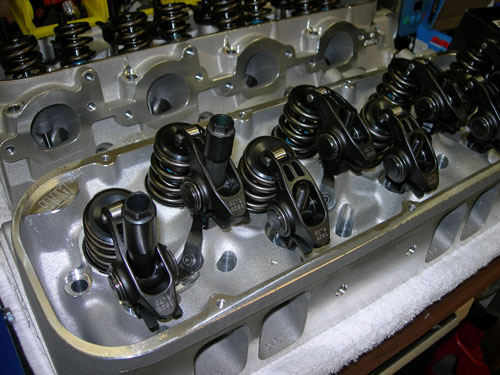
chrome-moly rockers |
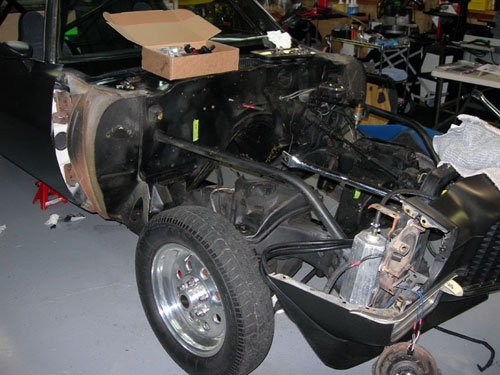
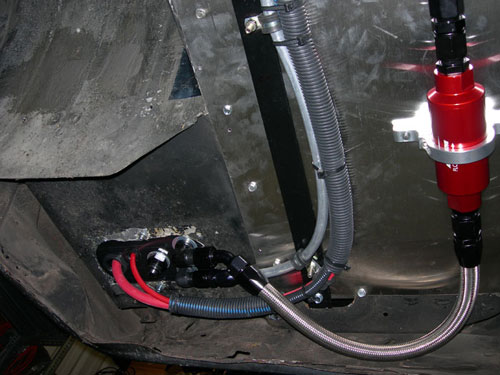
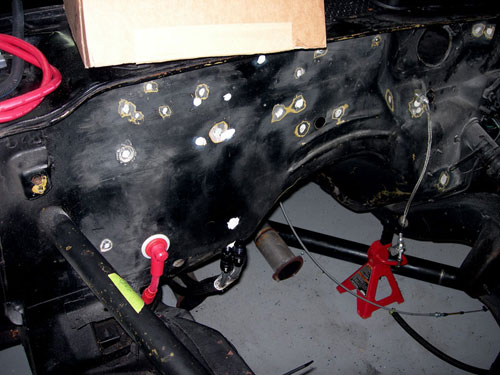
pulling apart the front end to run all new lines and electrical |
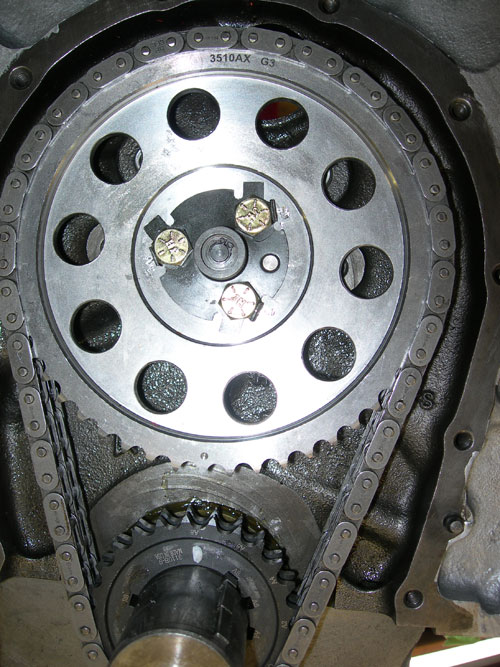
timing chain and cam all degree'd in. |
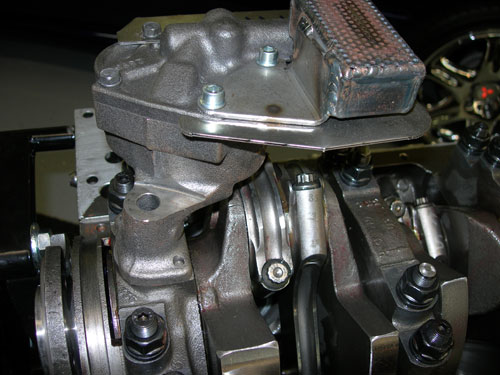
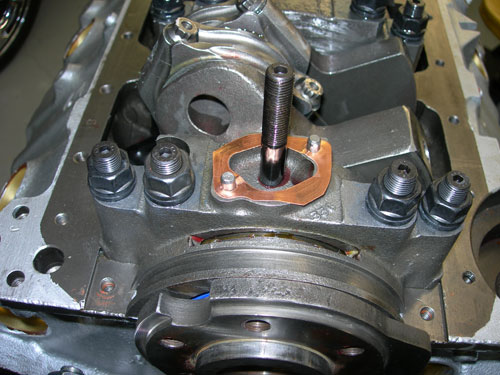
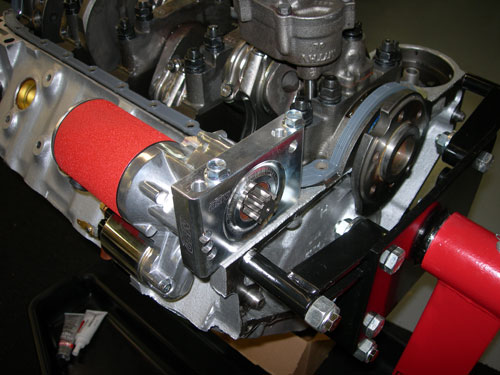
oil pump setting up |
setting up oil pump install |
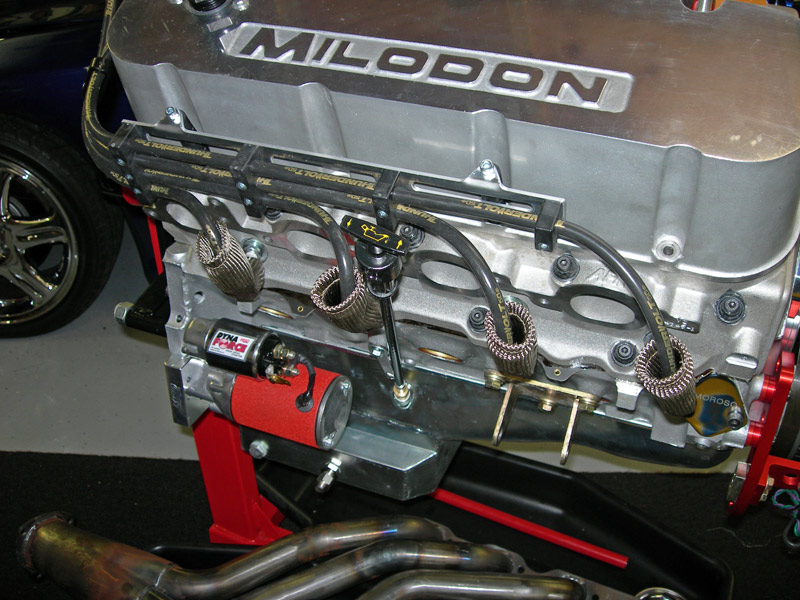
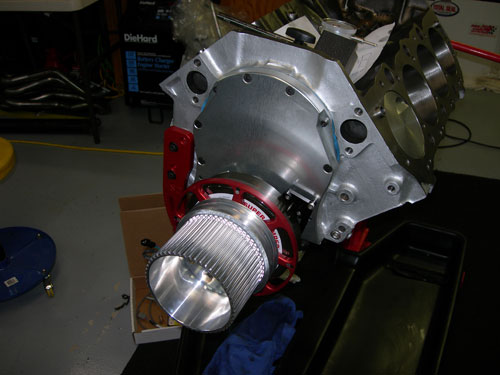
3hp MSD starter install |
shimming and getting all gear teeth aligned on starter |
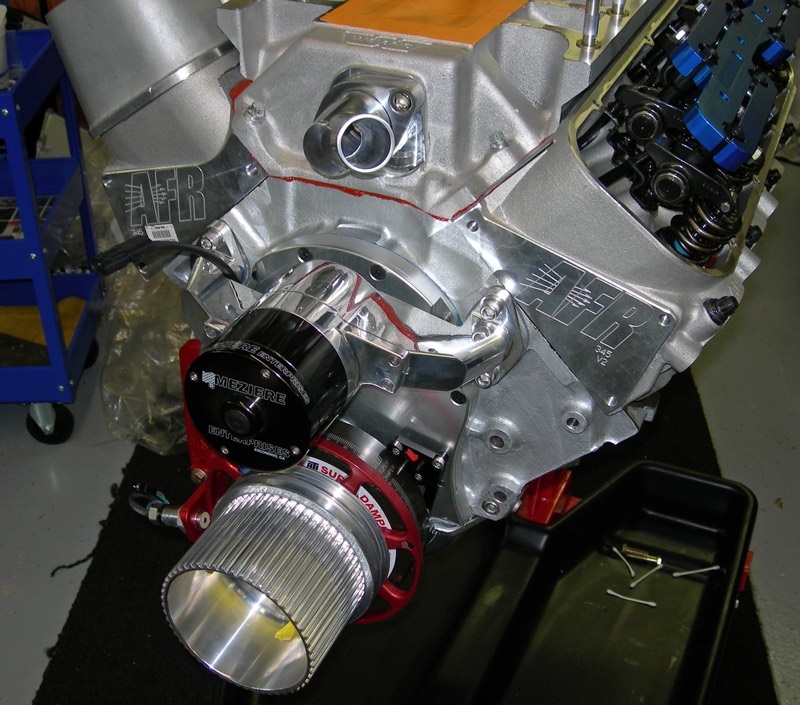
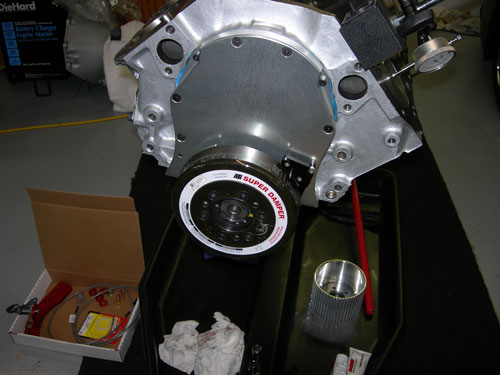
ice on the crank to prep to install the balancer |
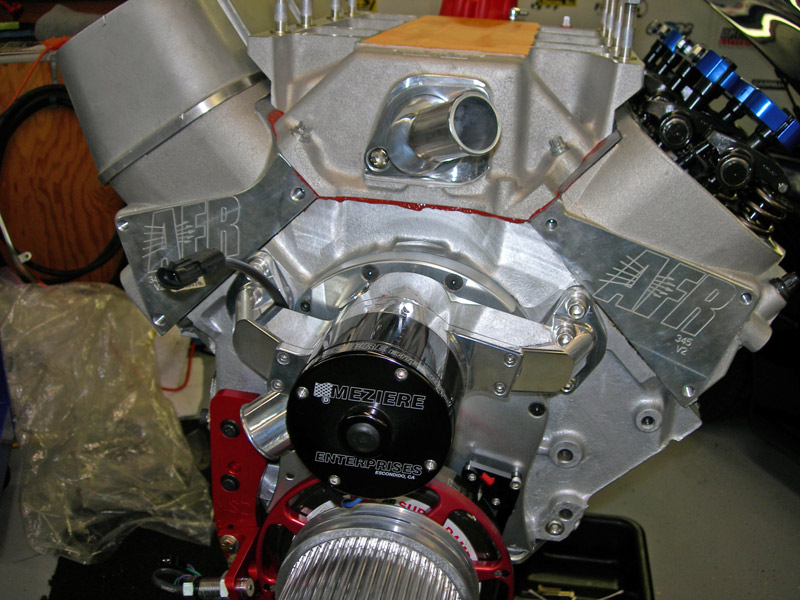
balancer installed |
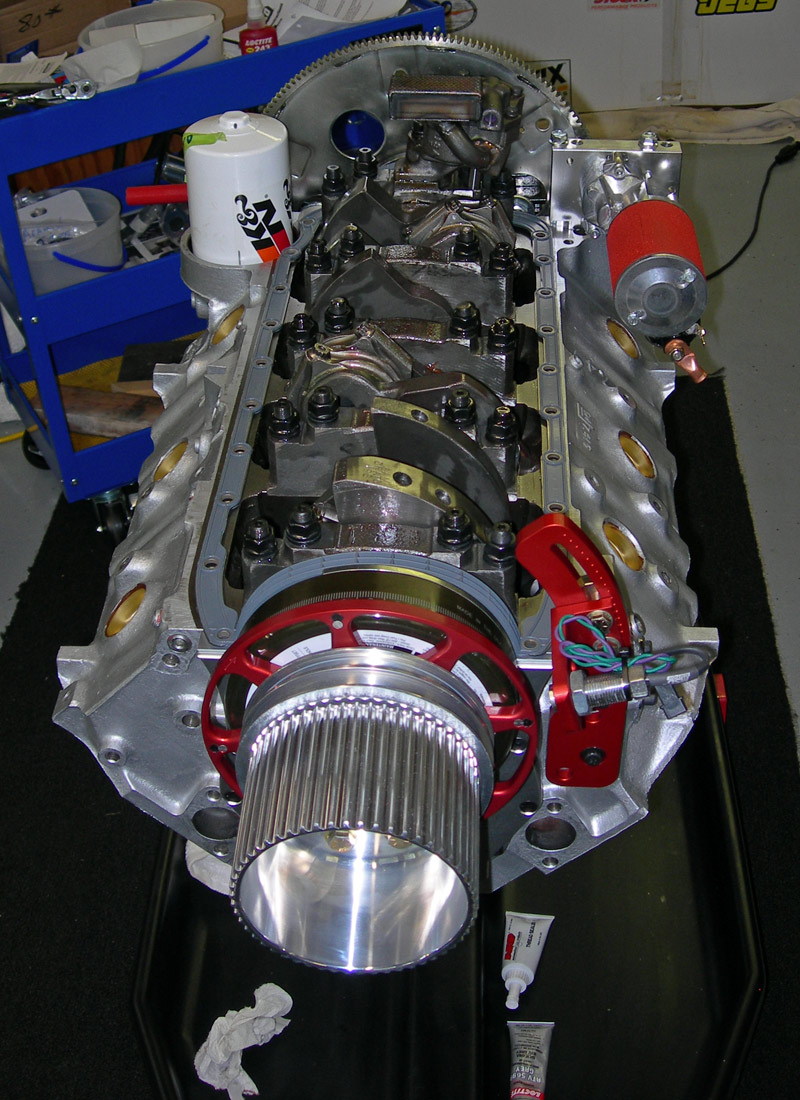
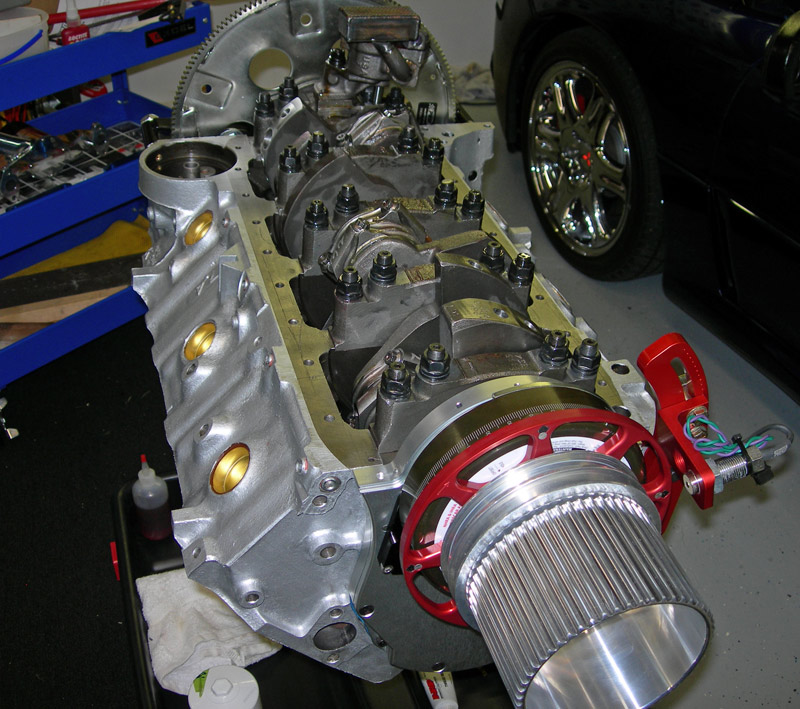
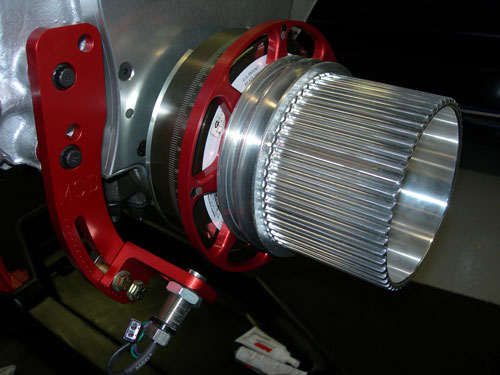
crank trigger system, accessory pully and 8mm blower pulley installed |
front parts test fitted all okay and within specs |
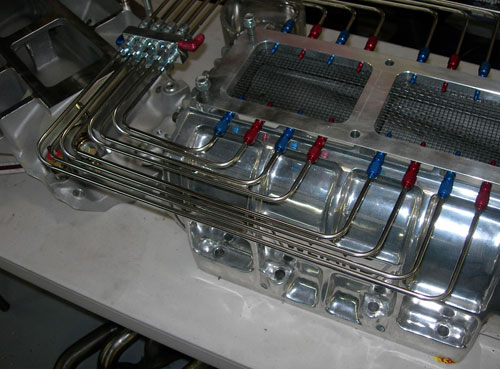
new fuel lines (5/8" feeds) |
prep'ing firewall for paint |
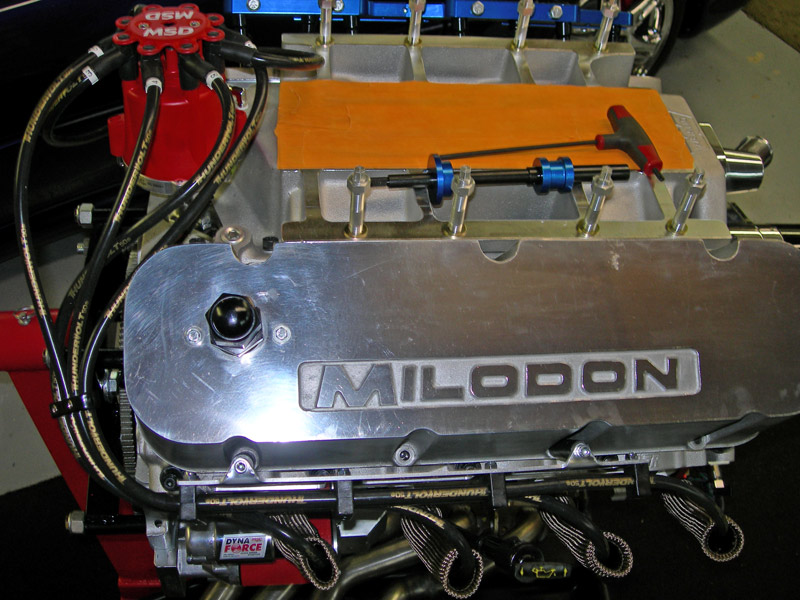
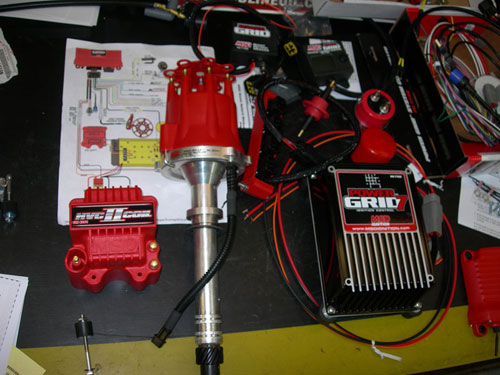
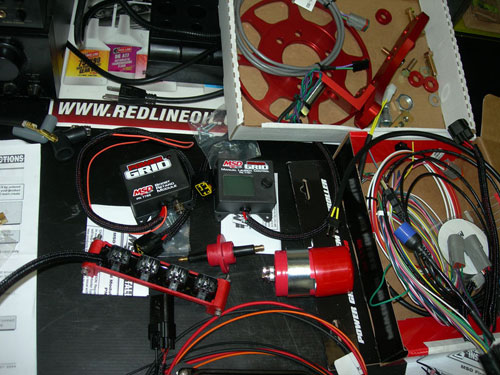
new MSD powergrid ignition system |
new ignition parts and controllers |
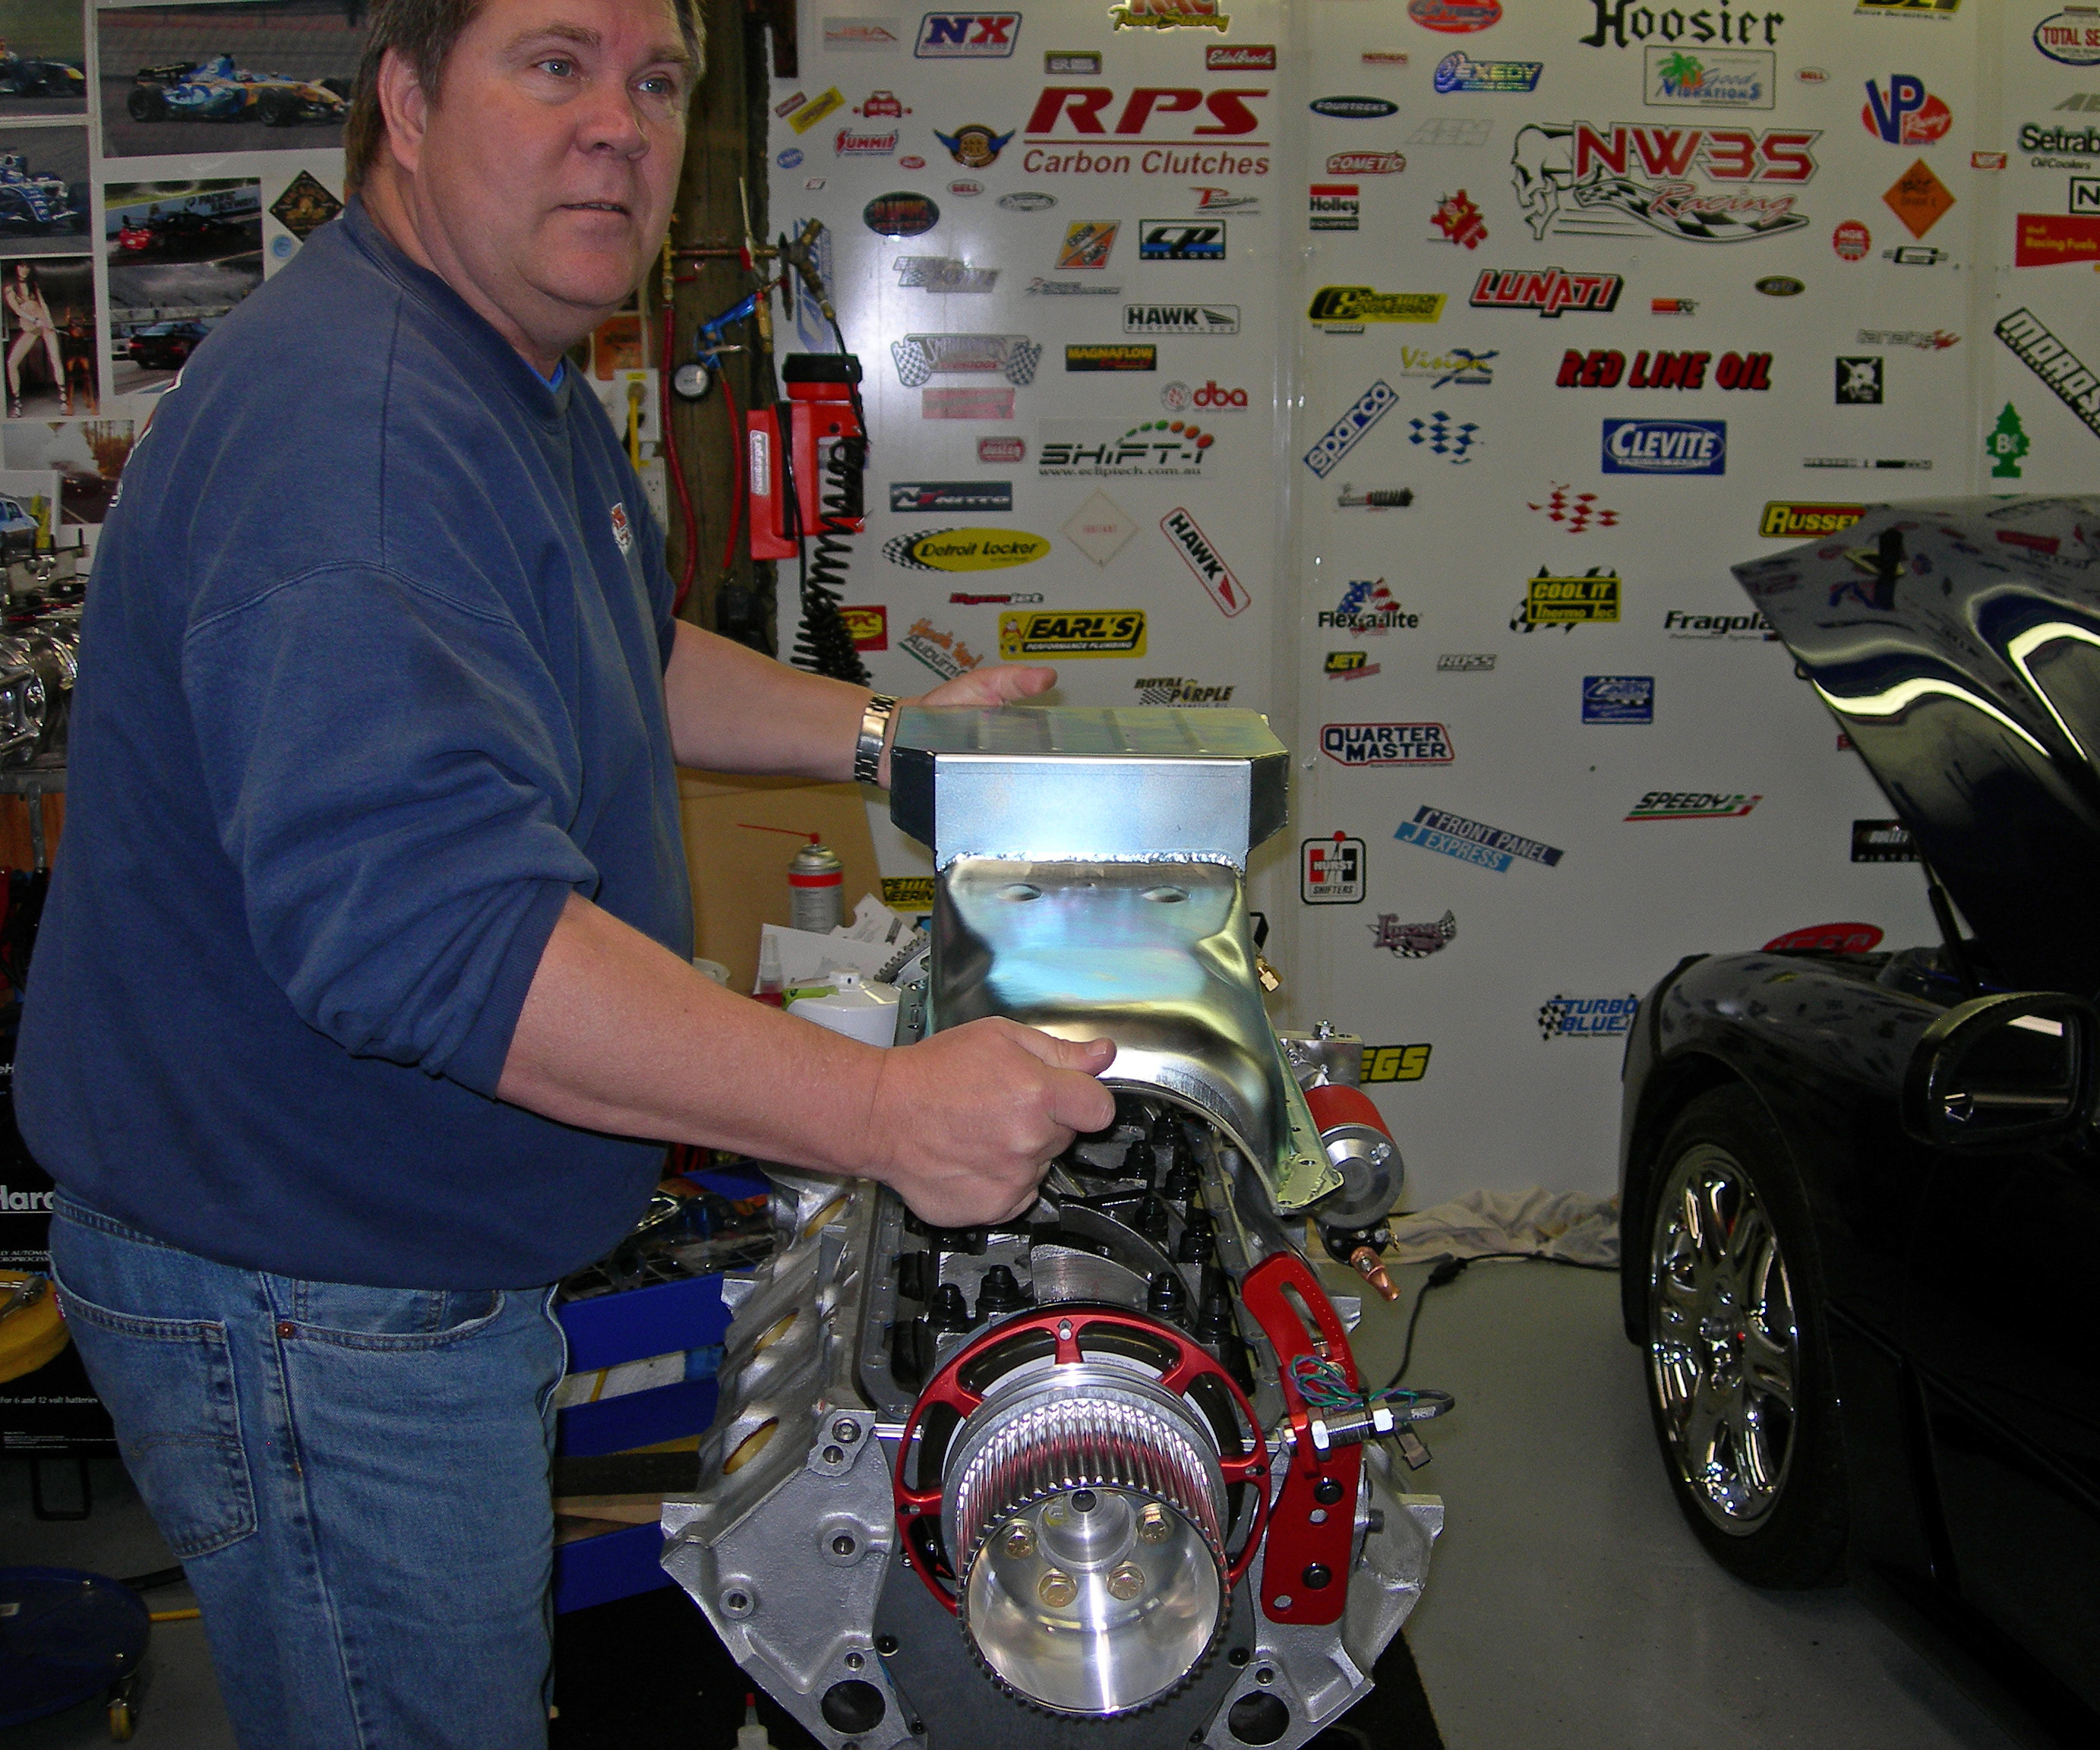
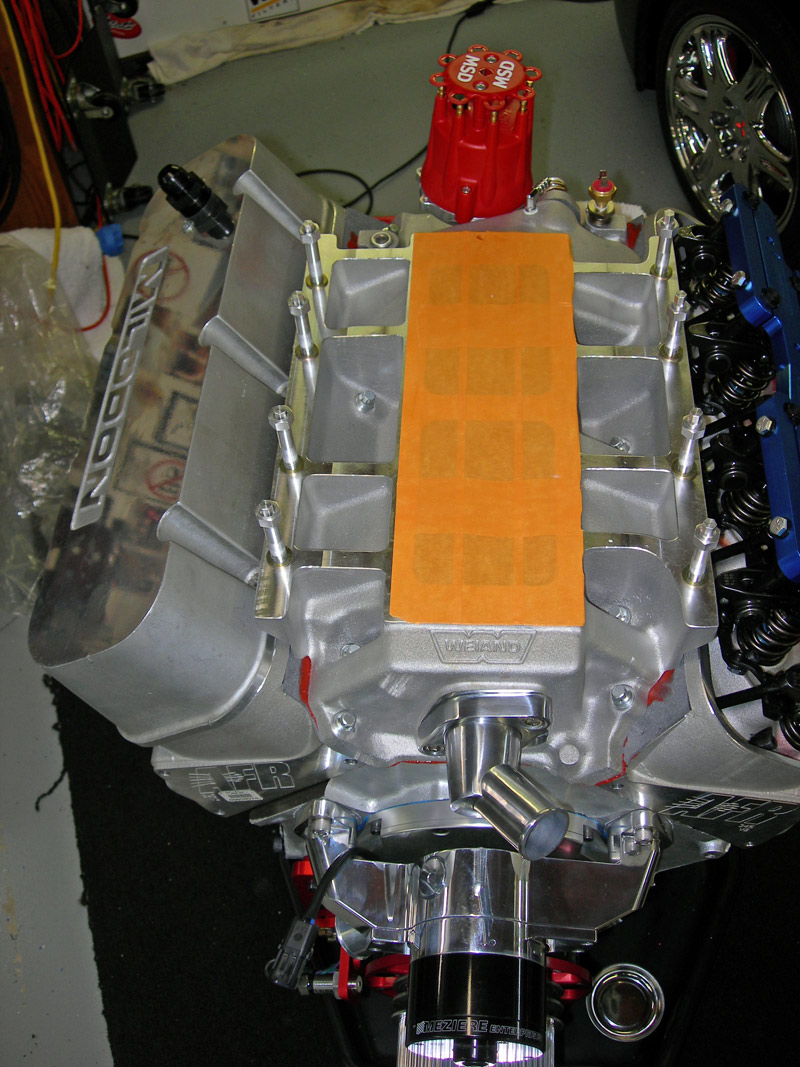
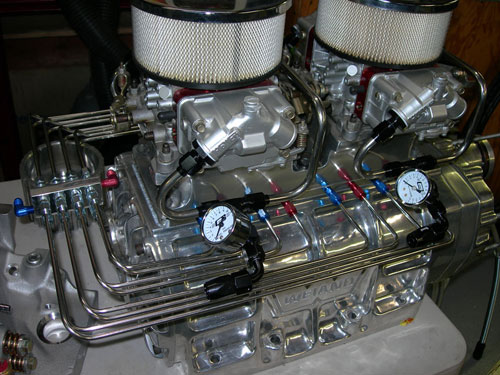
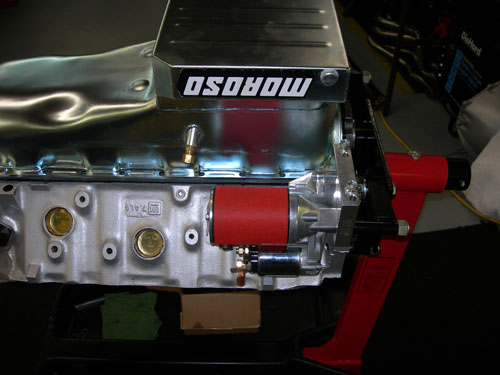
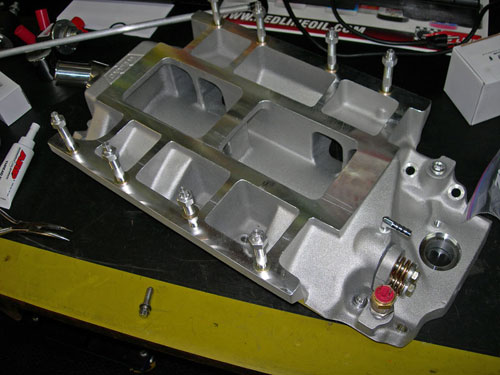
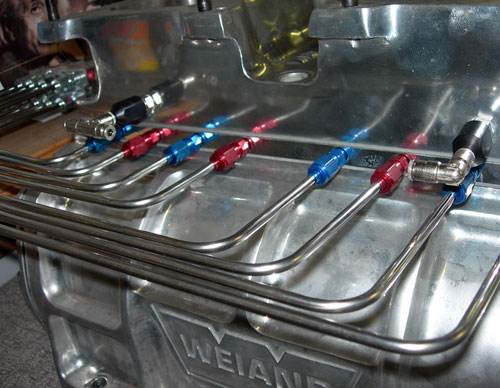
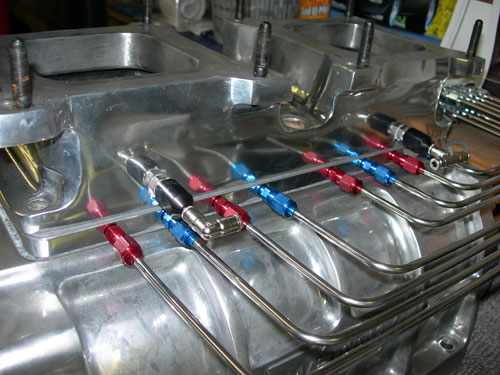
new aluminum blower intake manifold |
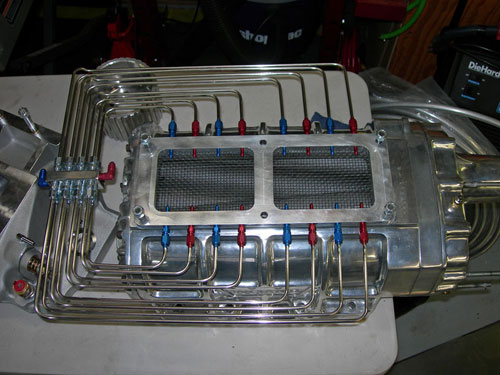
16 port nitrous oxide plate fitted to blower |
 |
 |
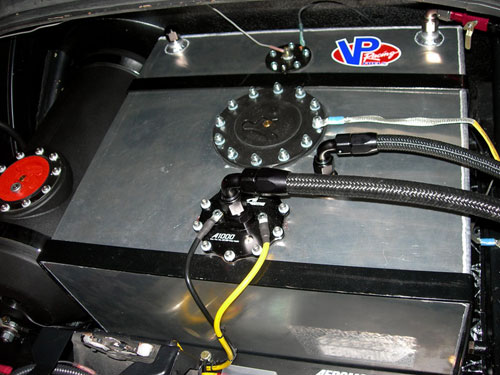
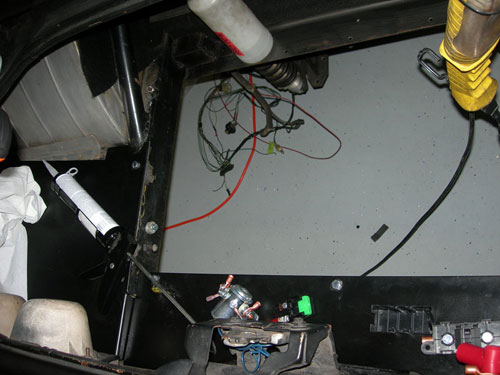
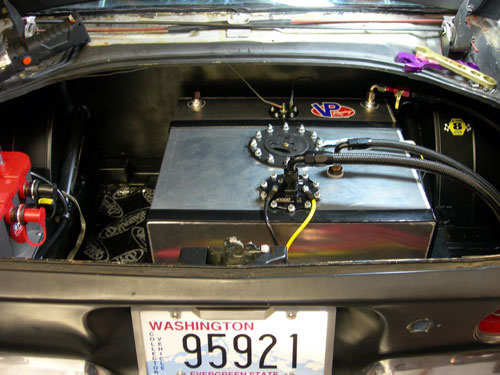
changing up the trunk setup |
fuel cell installed |
 |
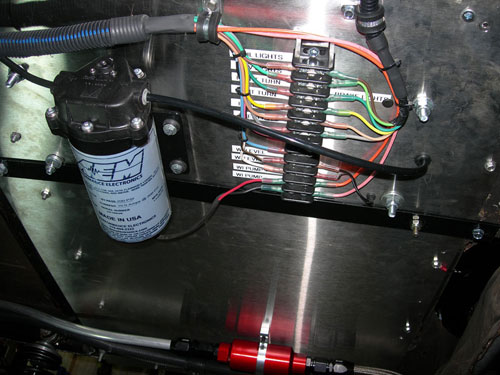
Water injection pump and trunk wiring |
water injection install to carb adapter |
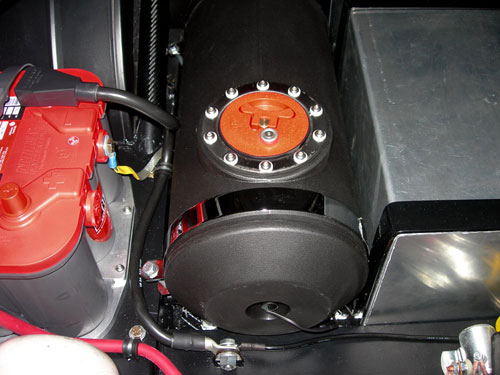
water injection tank installed |
water injection nozzles installed |
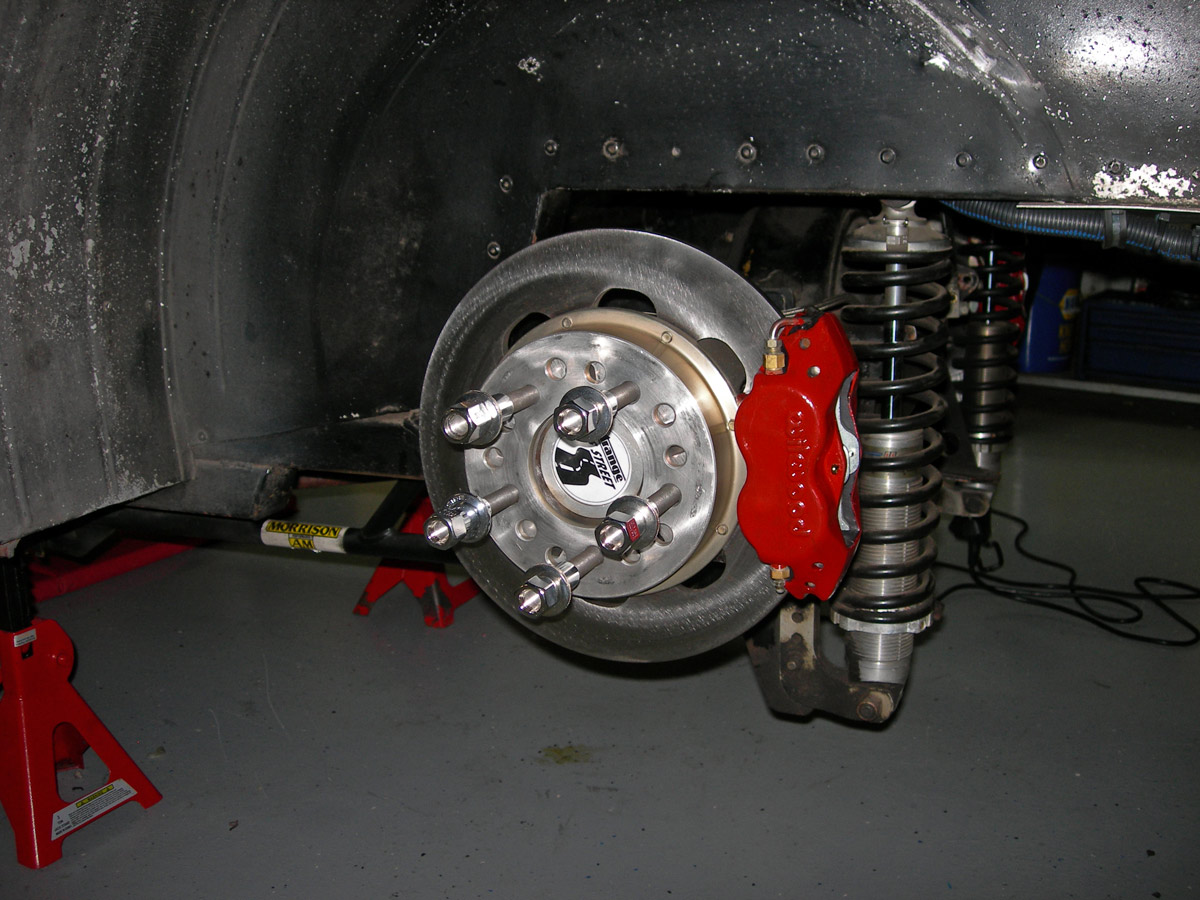
Wilwood 3-caliper disc brakes |
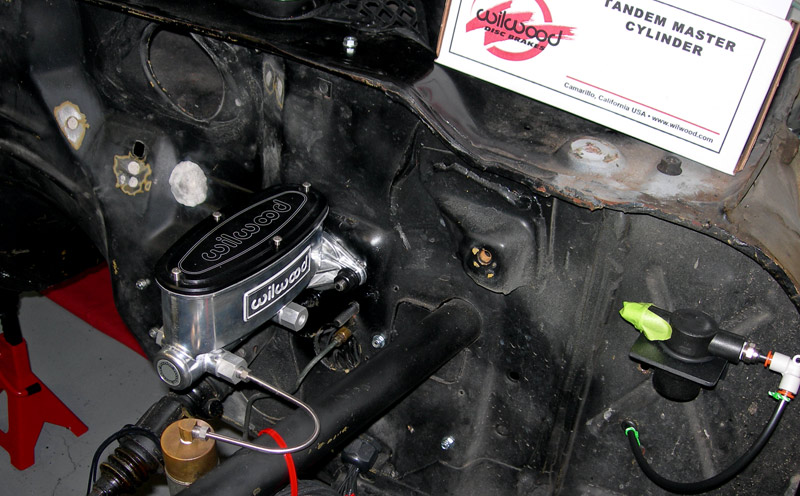
Getting new Wilwood master brake cylinder installed |

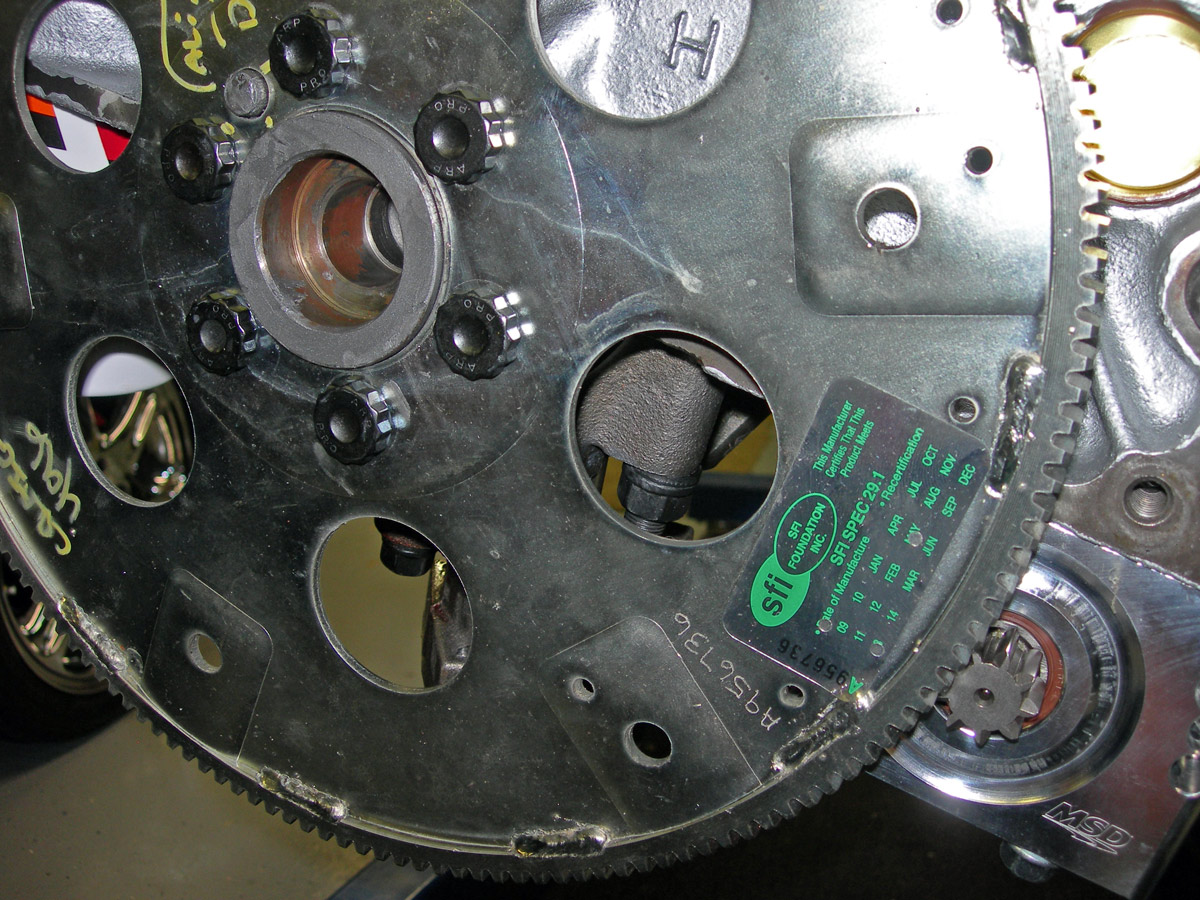
Installing new SFI flexplate and starter |
prep for oil pan install
|
Installing 7 qt oil racing pan |
|
getting head studs checked and ready.
|
Craig torqueing down the heads |
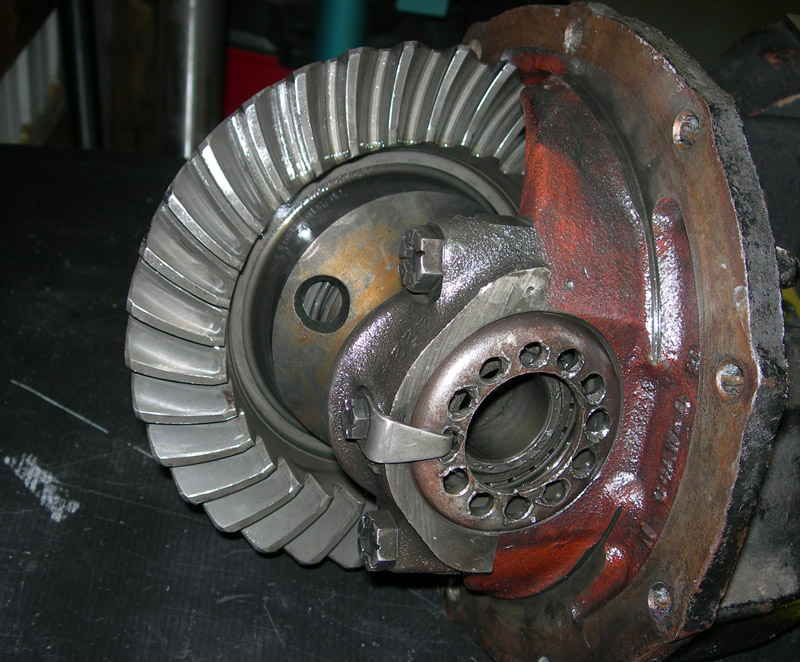
pulling the third member for re-doing pinion setup and |
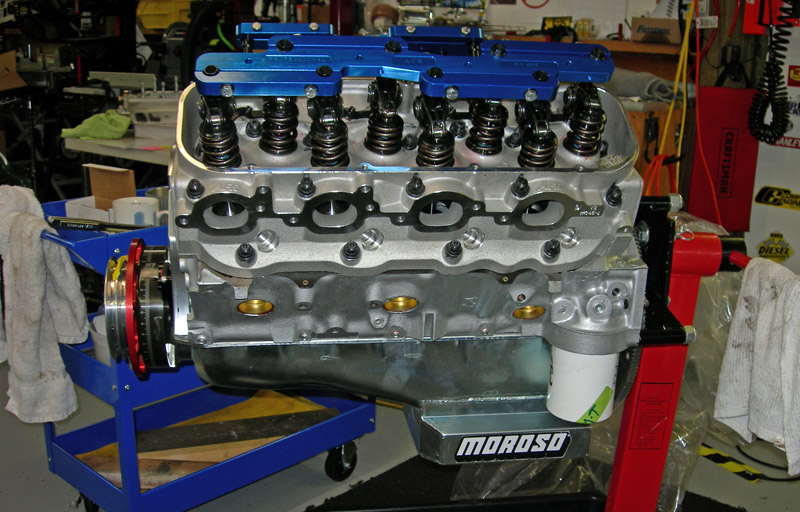
Heads installed! |
shimming starter to spec
|
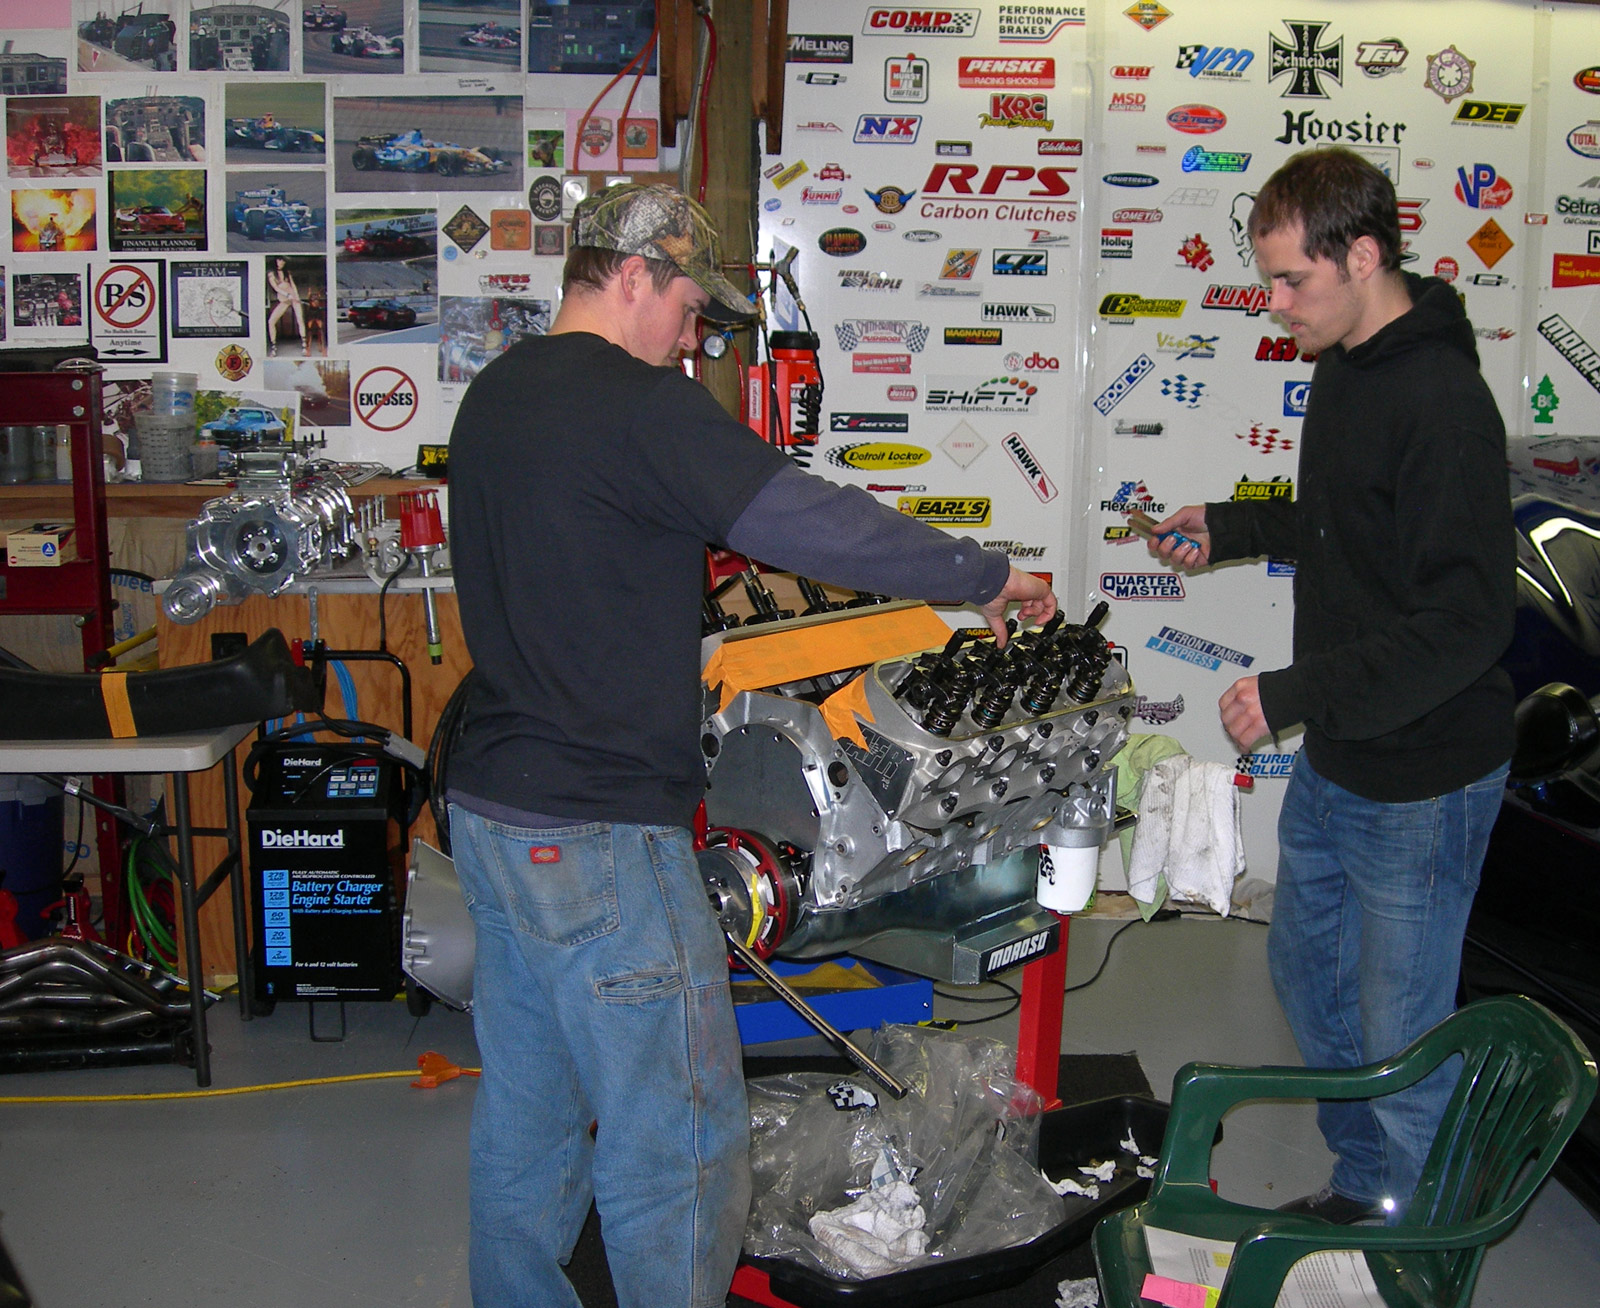
Mark (L) and Mike (R) verifying rocker adjustment, valve lash.
|
Prep for intake manifold install
|
Intake manifold installed |
|
Intake on, water pump on |
plug wires laid out and secured |
Meziere 55gph electric water pump installed
|
|
That's all for now. March 2014 |