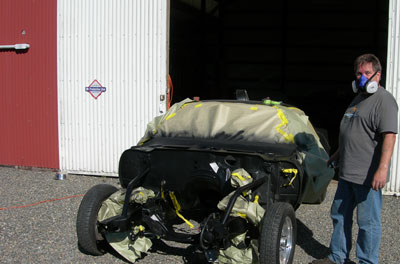
Photos as we have available here and there and while working on the remake of the 1972 Camaro.
These photos will be 2014 and forward mostly. A lot of times it's just busy and I forget to take photos!
PAGE 5
You can click the image for larger view
|

|

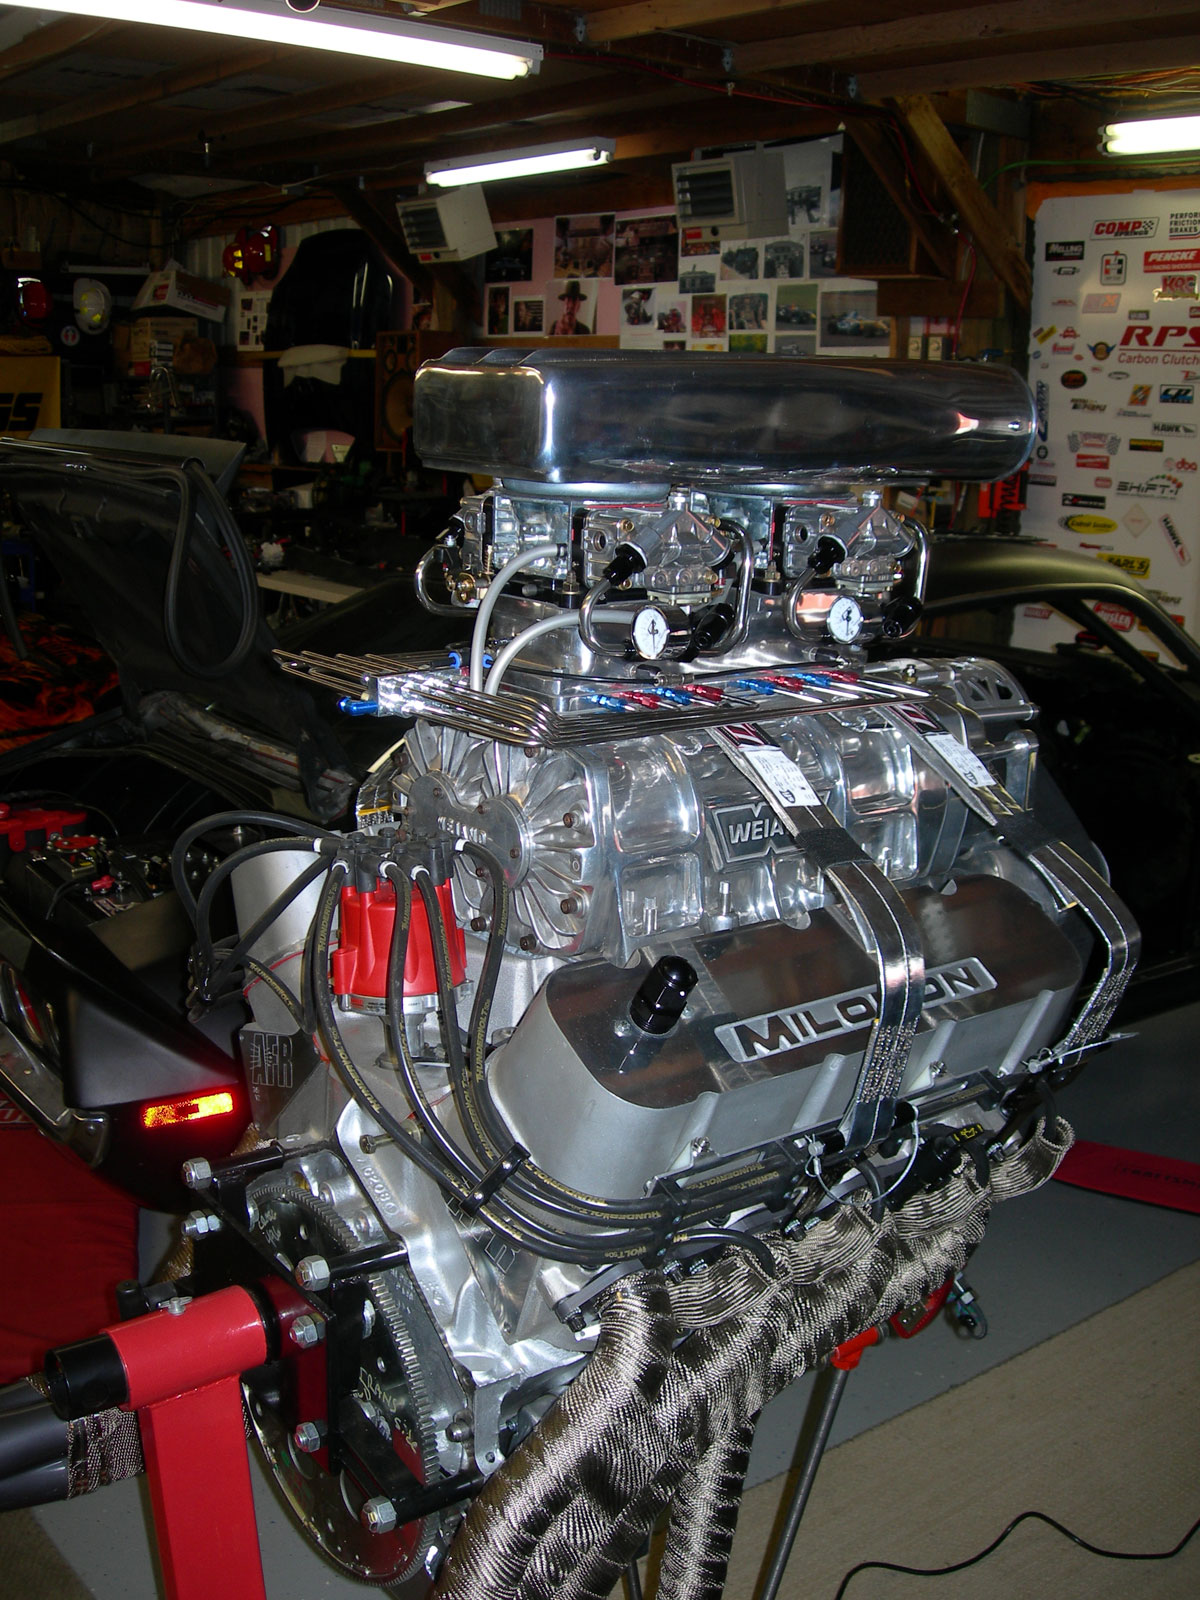
All new linkage setup. Using ODG painted parts and special order fittings it is now all lined up perfectly and over-run carefully checked out (to make sure throttle does not get stuck which can happen in these setups and spells disaster!) |
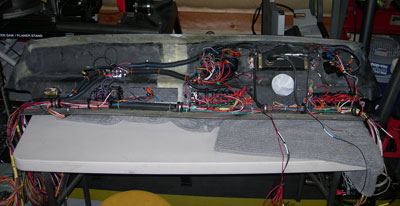
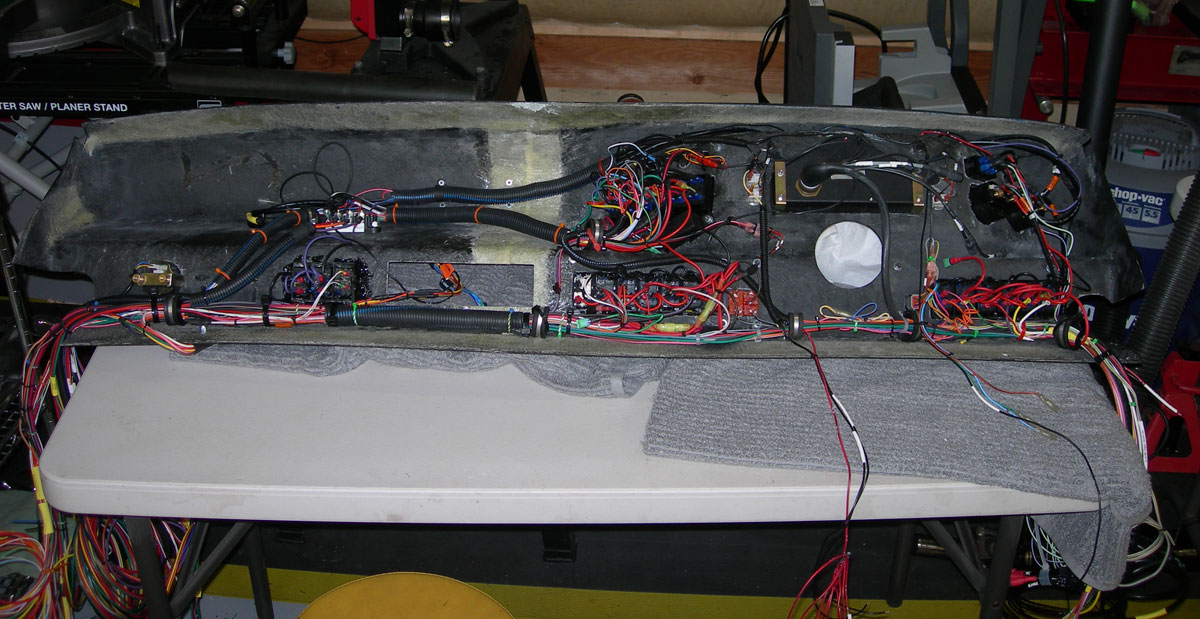
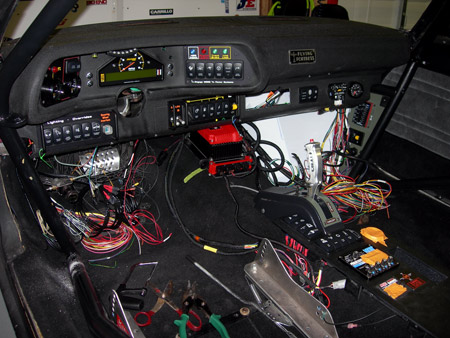
The back side of the dash is all wired up and awaiting installation.
|
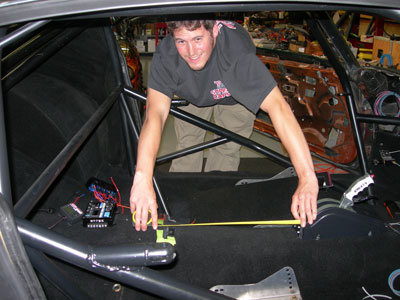
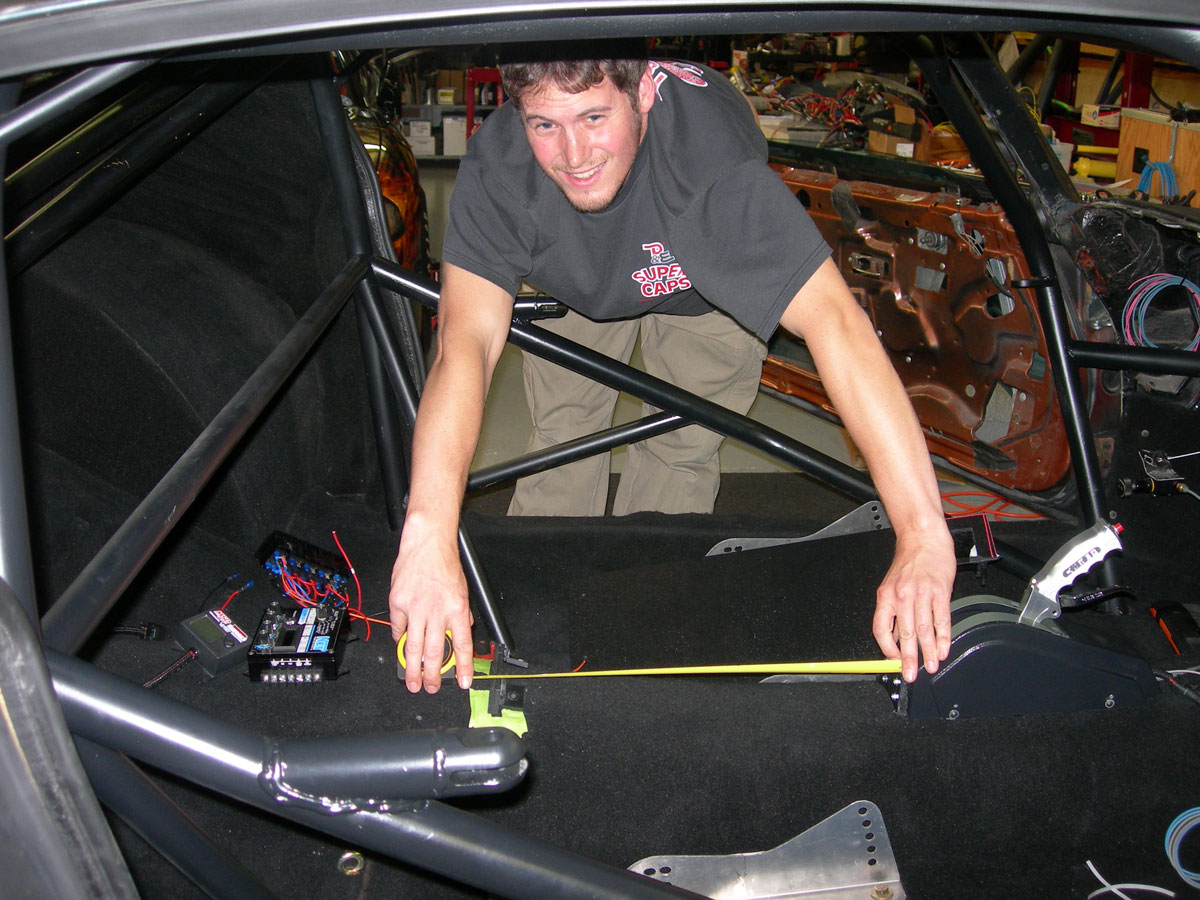
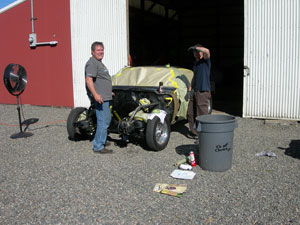
Mark is measuring for the design and installation of the center console (see below) |

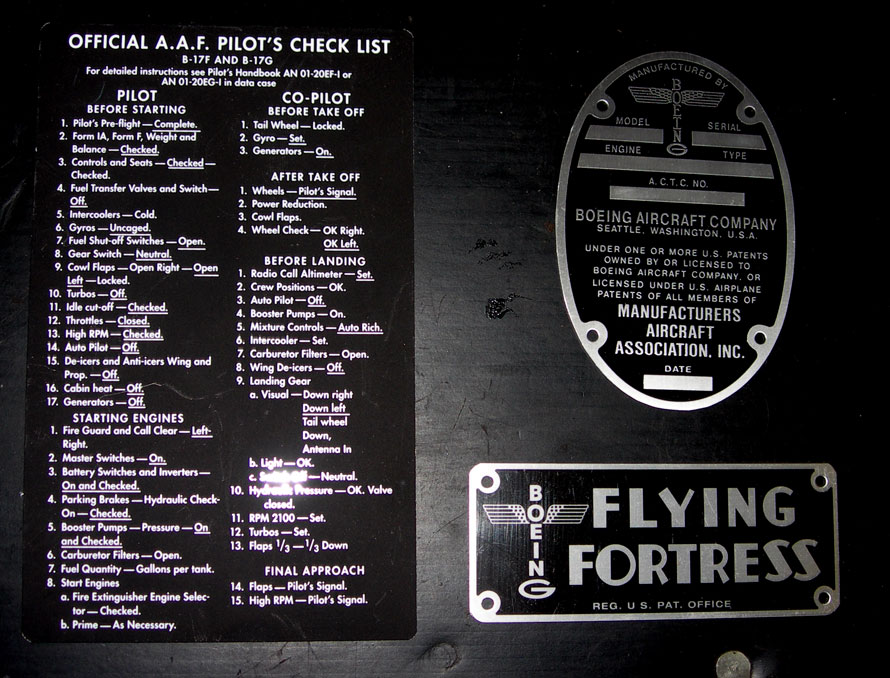
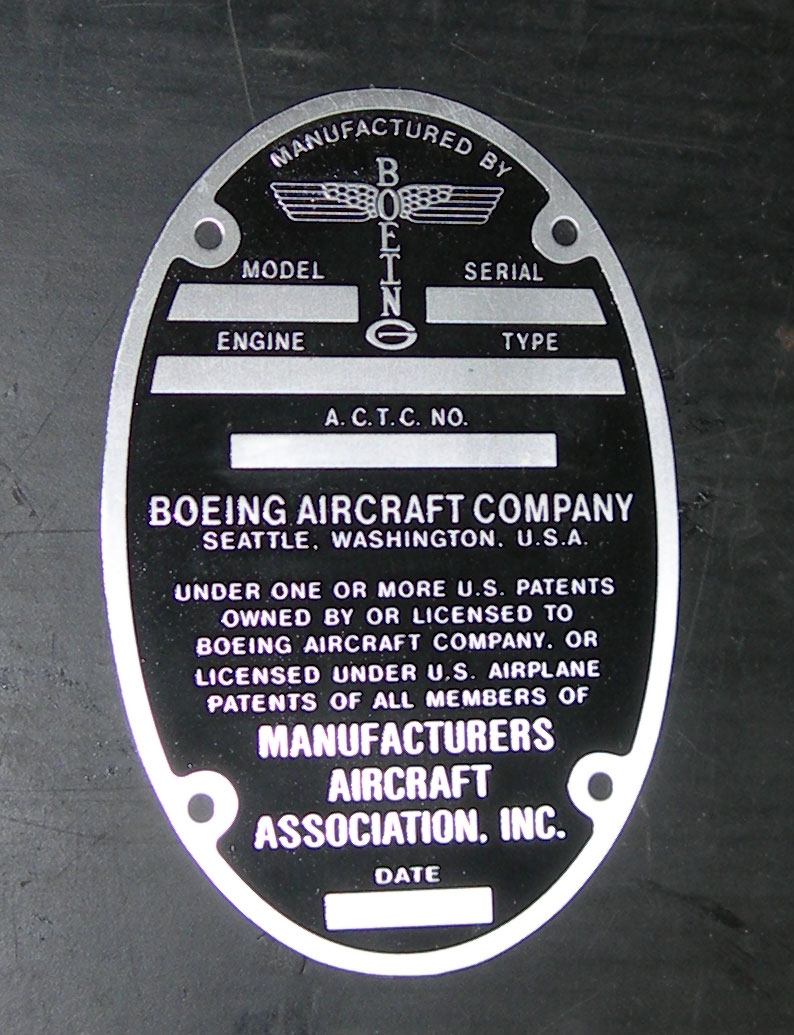
Some B-17 replica items obtained |
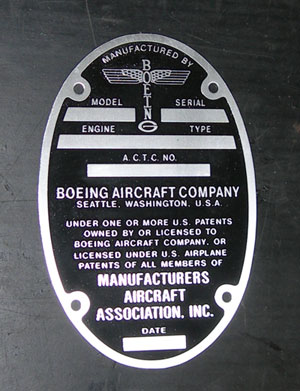
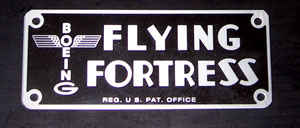
This is an exact replica of the Boeing B-17 build plate.
Was a pricey little item (is actually a painted and raised letter item), but lends a bit more authenticity to the build. It will be laser engraved before placement on car.
|

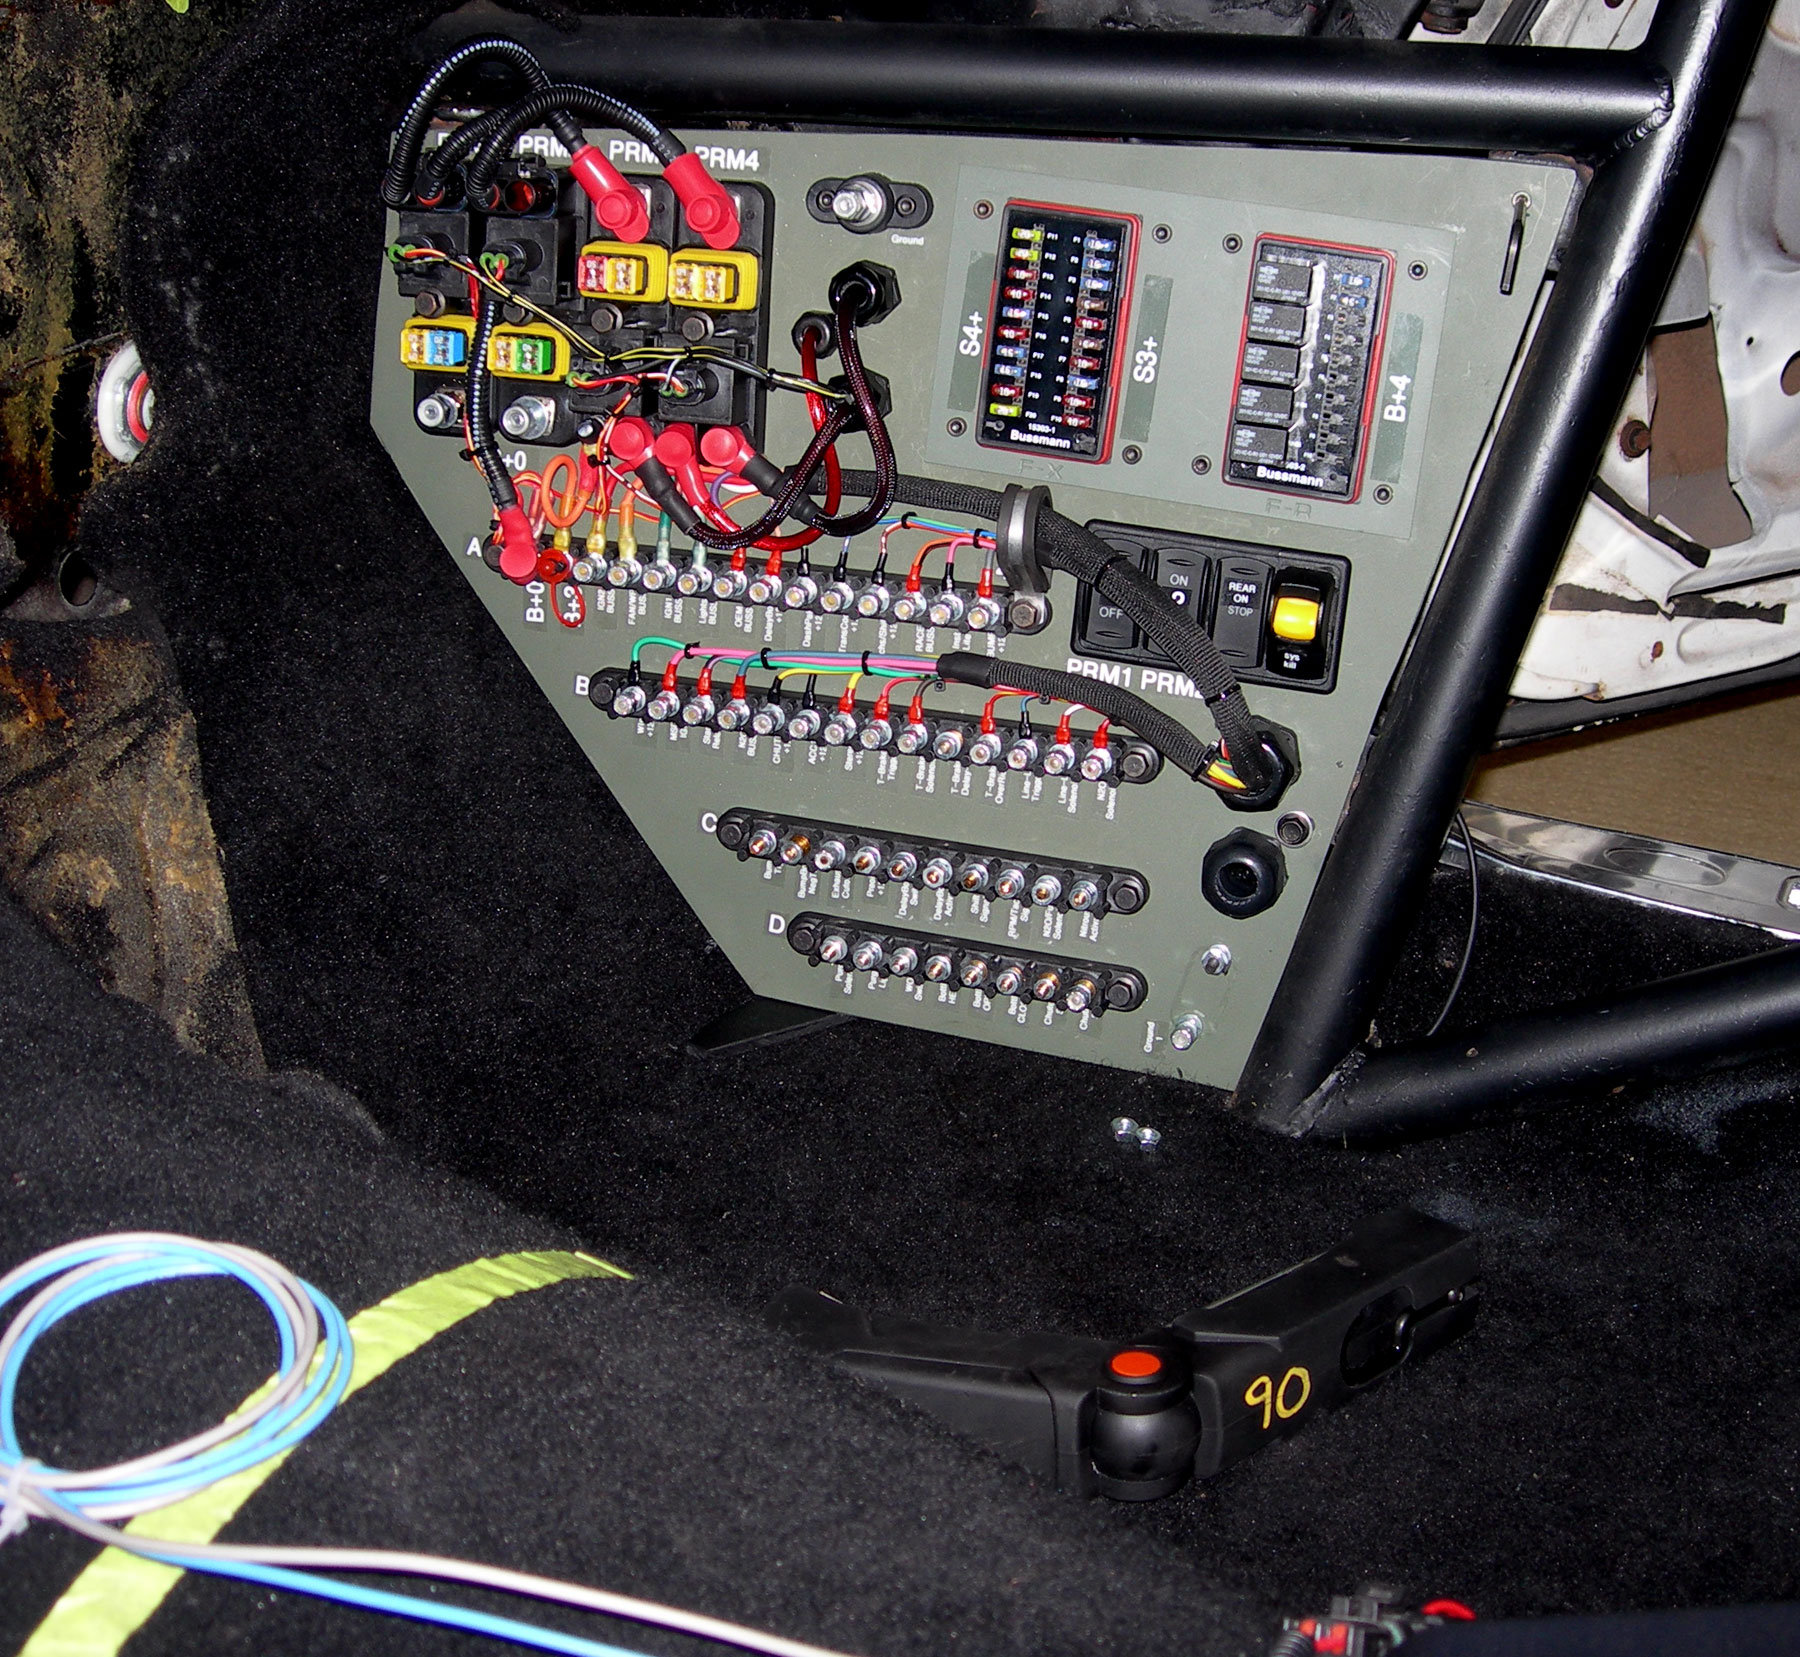
The main power distribution and fuse panel plus wiring control center is installed. This will have a cover to protect from a passenger's feet. All power and electrical control goes through this system.
|
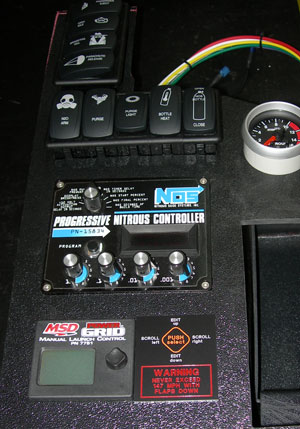
Center console layout and test fit. Nitrous and launch control which will sit behind the shifter.
|
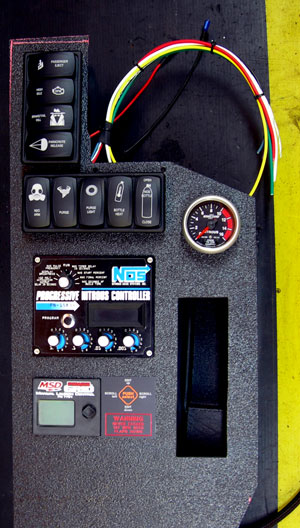
Center console is close to being finished. |
replica "Boeing B-17" dash plate. |
door swingout bar installation for rollcage |
|
We are also awaiting some WWII replica fabric for the seats and other items. We are getting the fabric from a hollywood supplier to make sure the color is right. Same with the parachute bag. Seats themselves have now been painted ODG (i.e. - Dichromate primer over aluminum). |

|

|
|
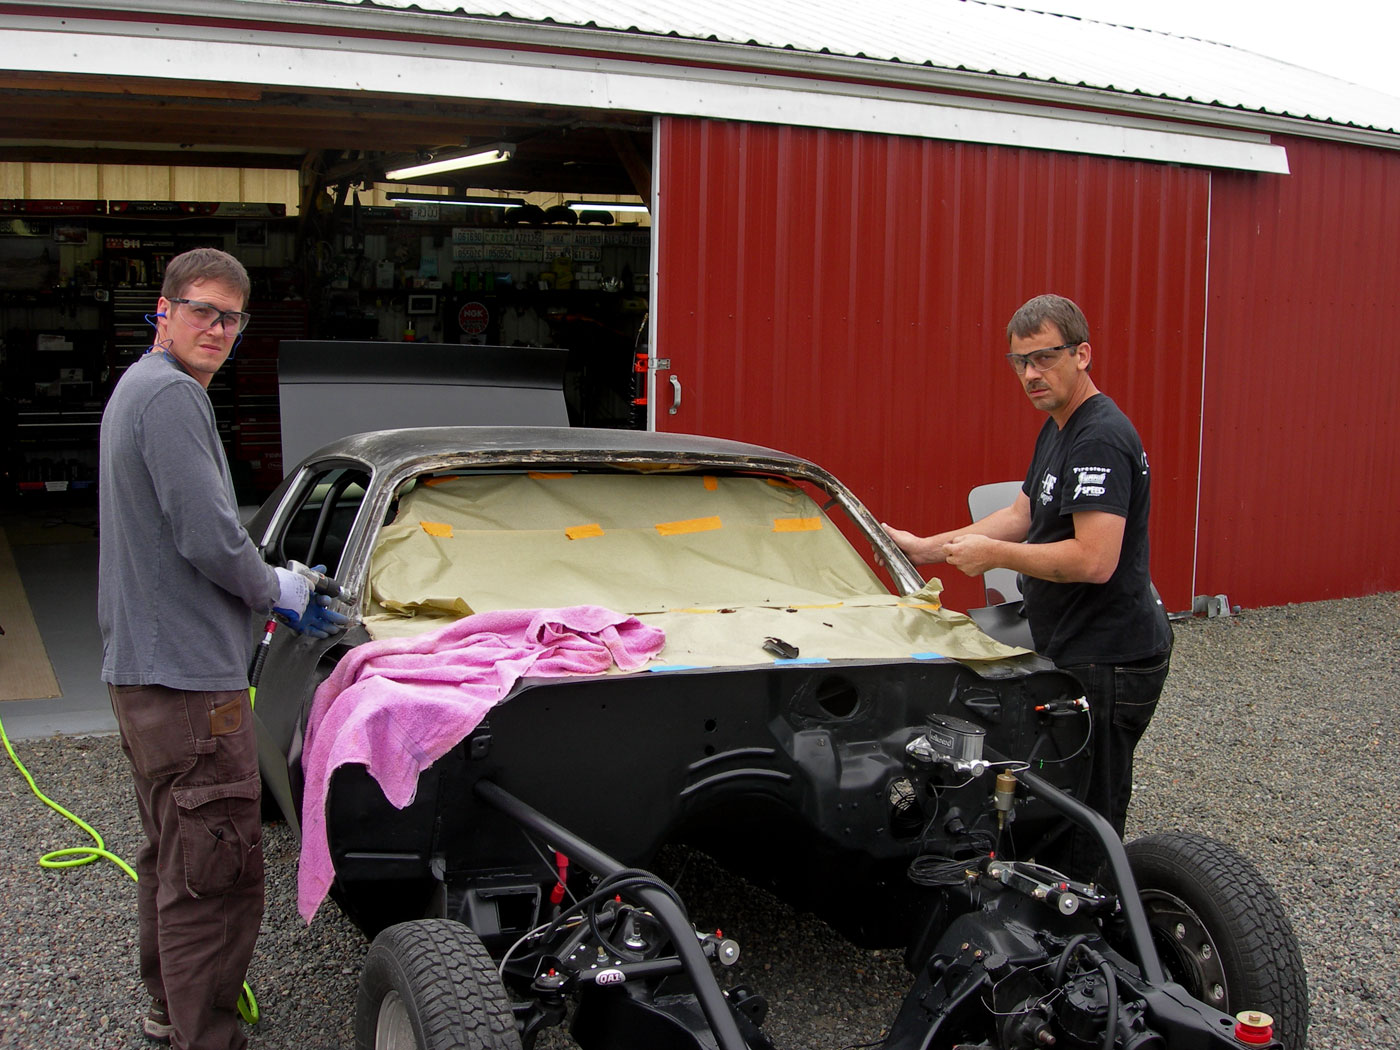
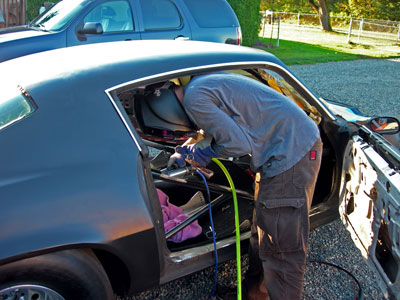
firewall and engine compartment cleanup and repaint |
firewall and engine compartment cleanup and repaint |
DASH INSTALLED
|
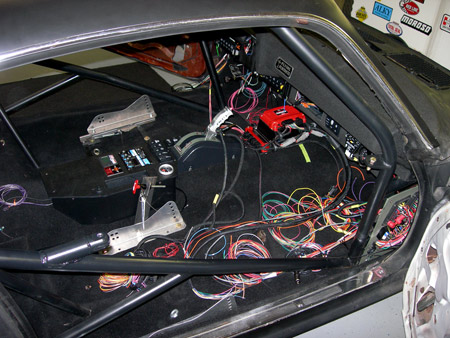
Prep for running wiring, passenger side and ignition
|
|
|
|
|
|
CLICK HERE TO GO TO NEXT PAGE (6) |